Introduction
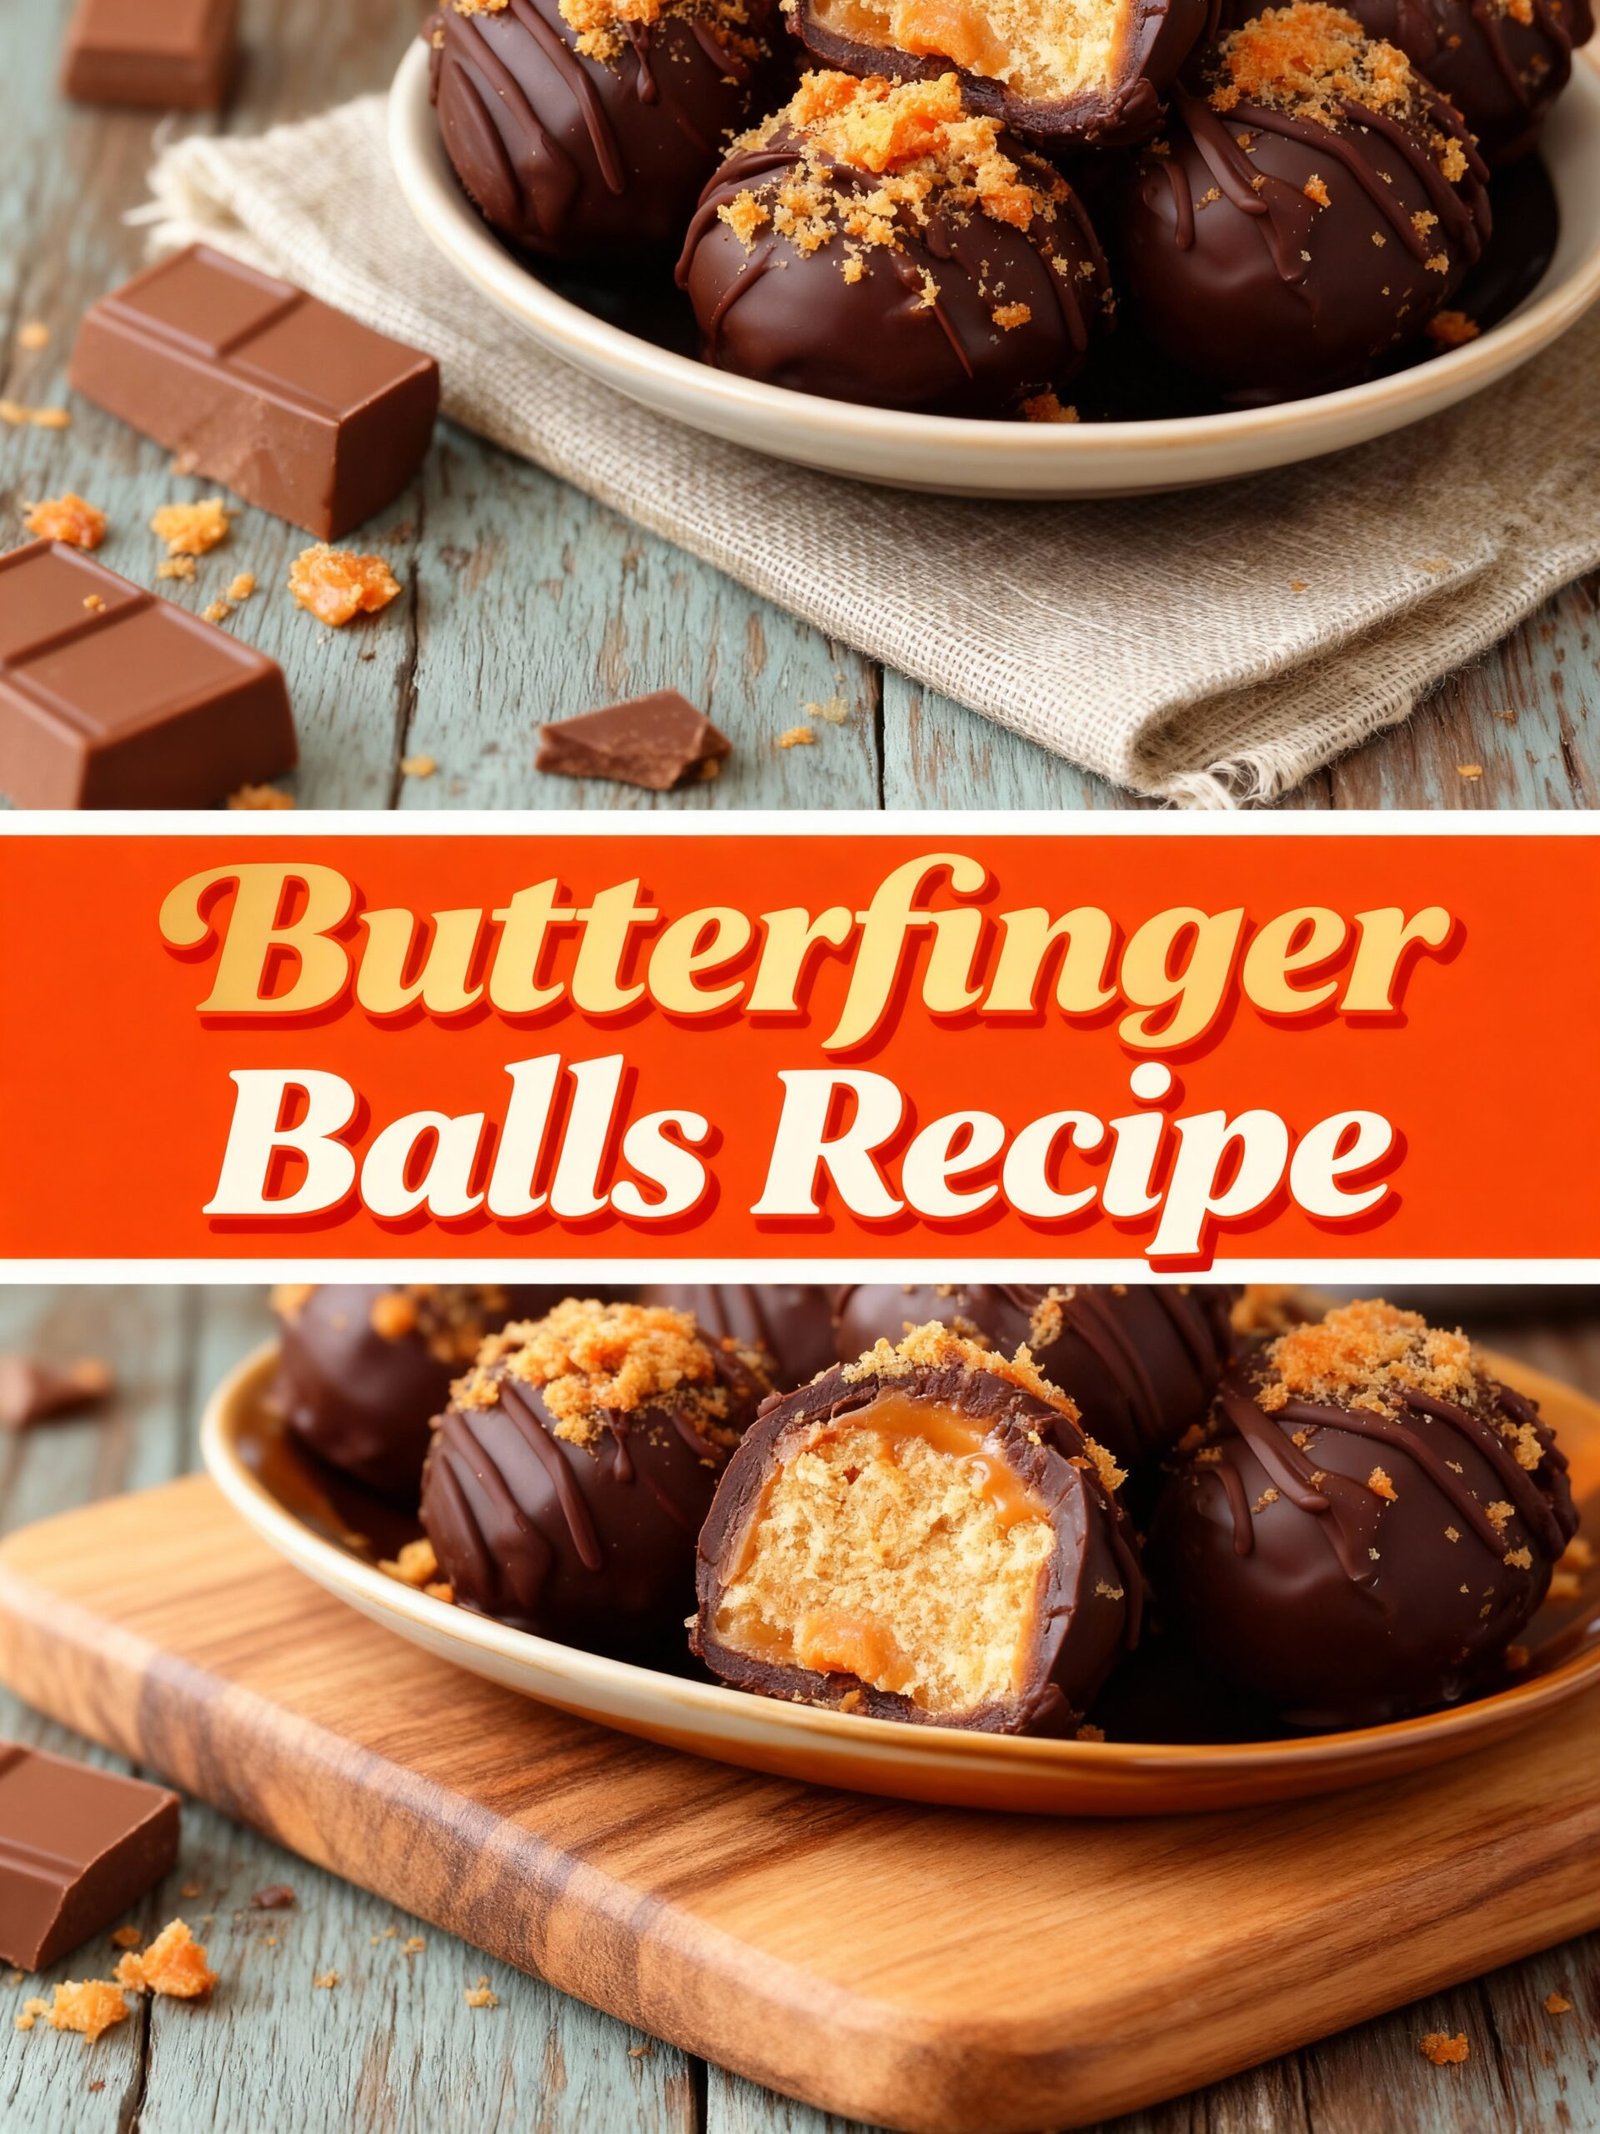
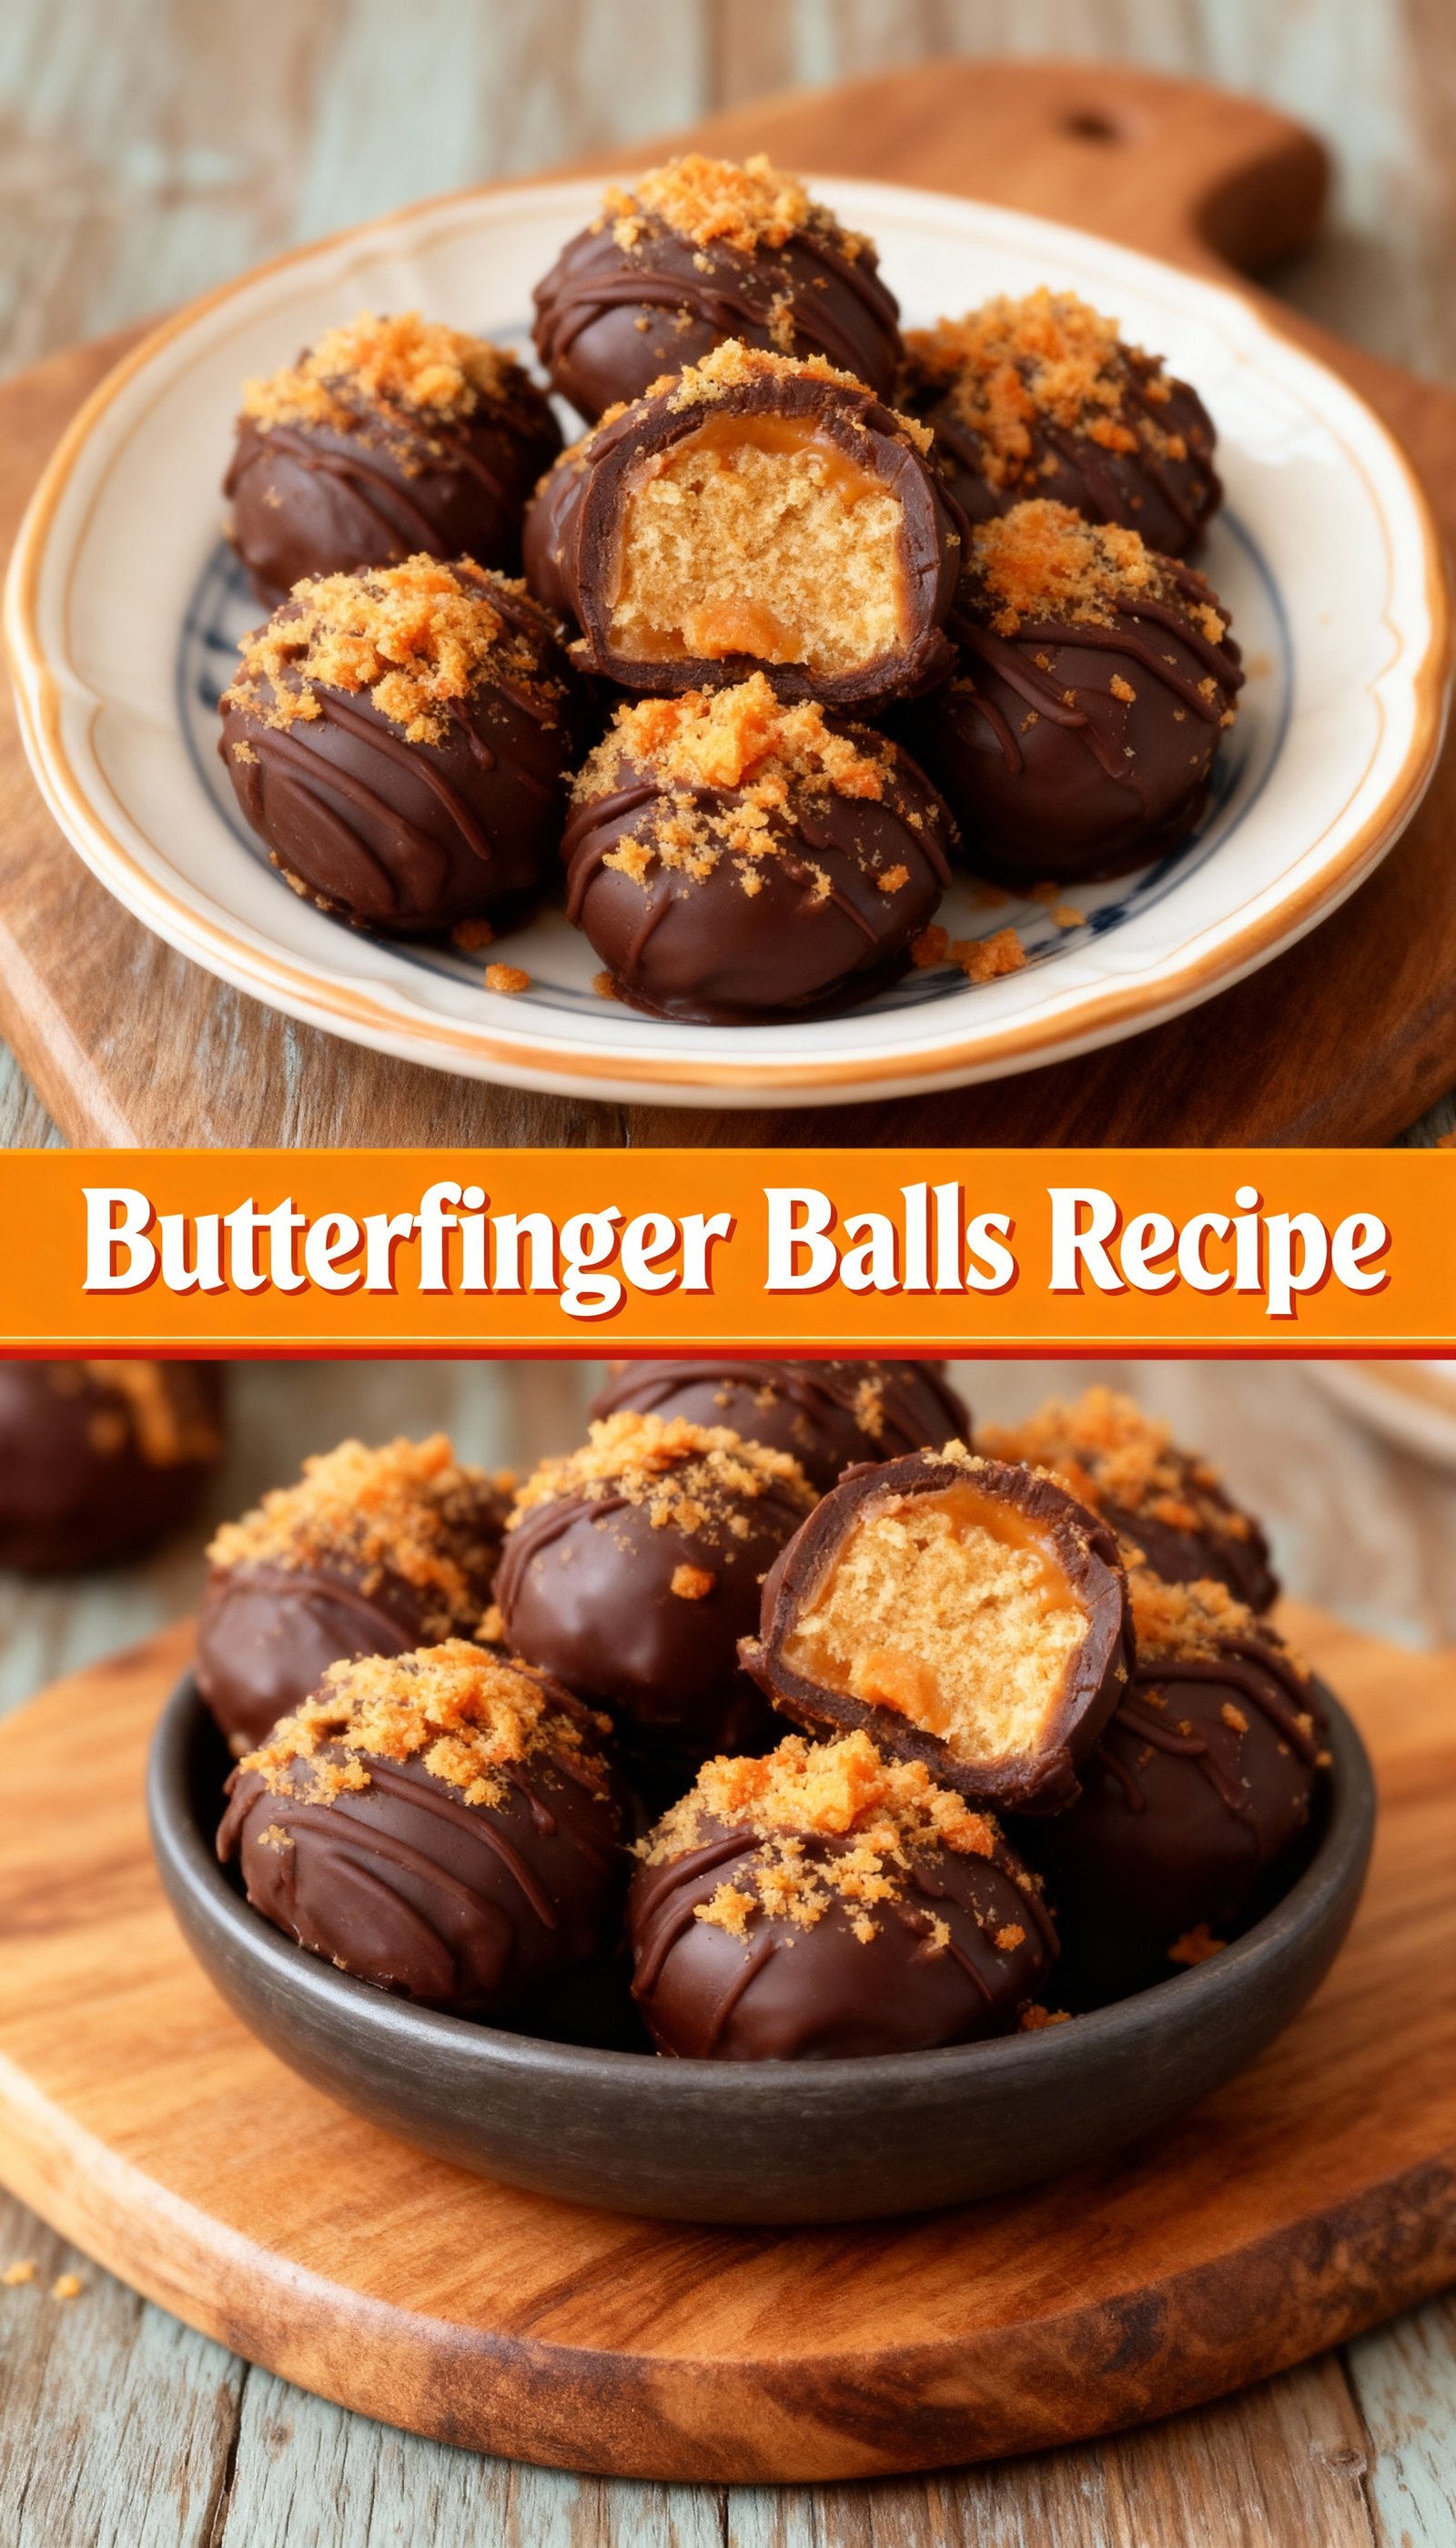
This simple Butterfinger Balls Recipe delivers the classic candy bar flavor in easy no-bake bites. With just a few pantry ingredients, these treats come together quickly for parties or sweet cravings. For more Butterfinger desserts, try this No Bake Caramel Crunch Butterfinger Truffles Recipe or these Butterfinger Caramel Crunch Cookies Recipe.
Ingredients
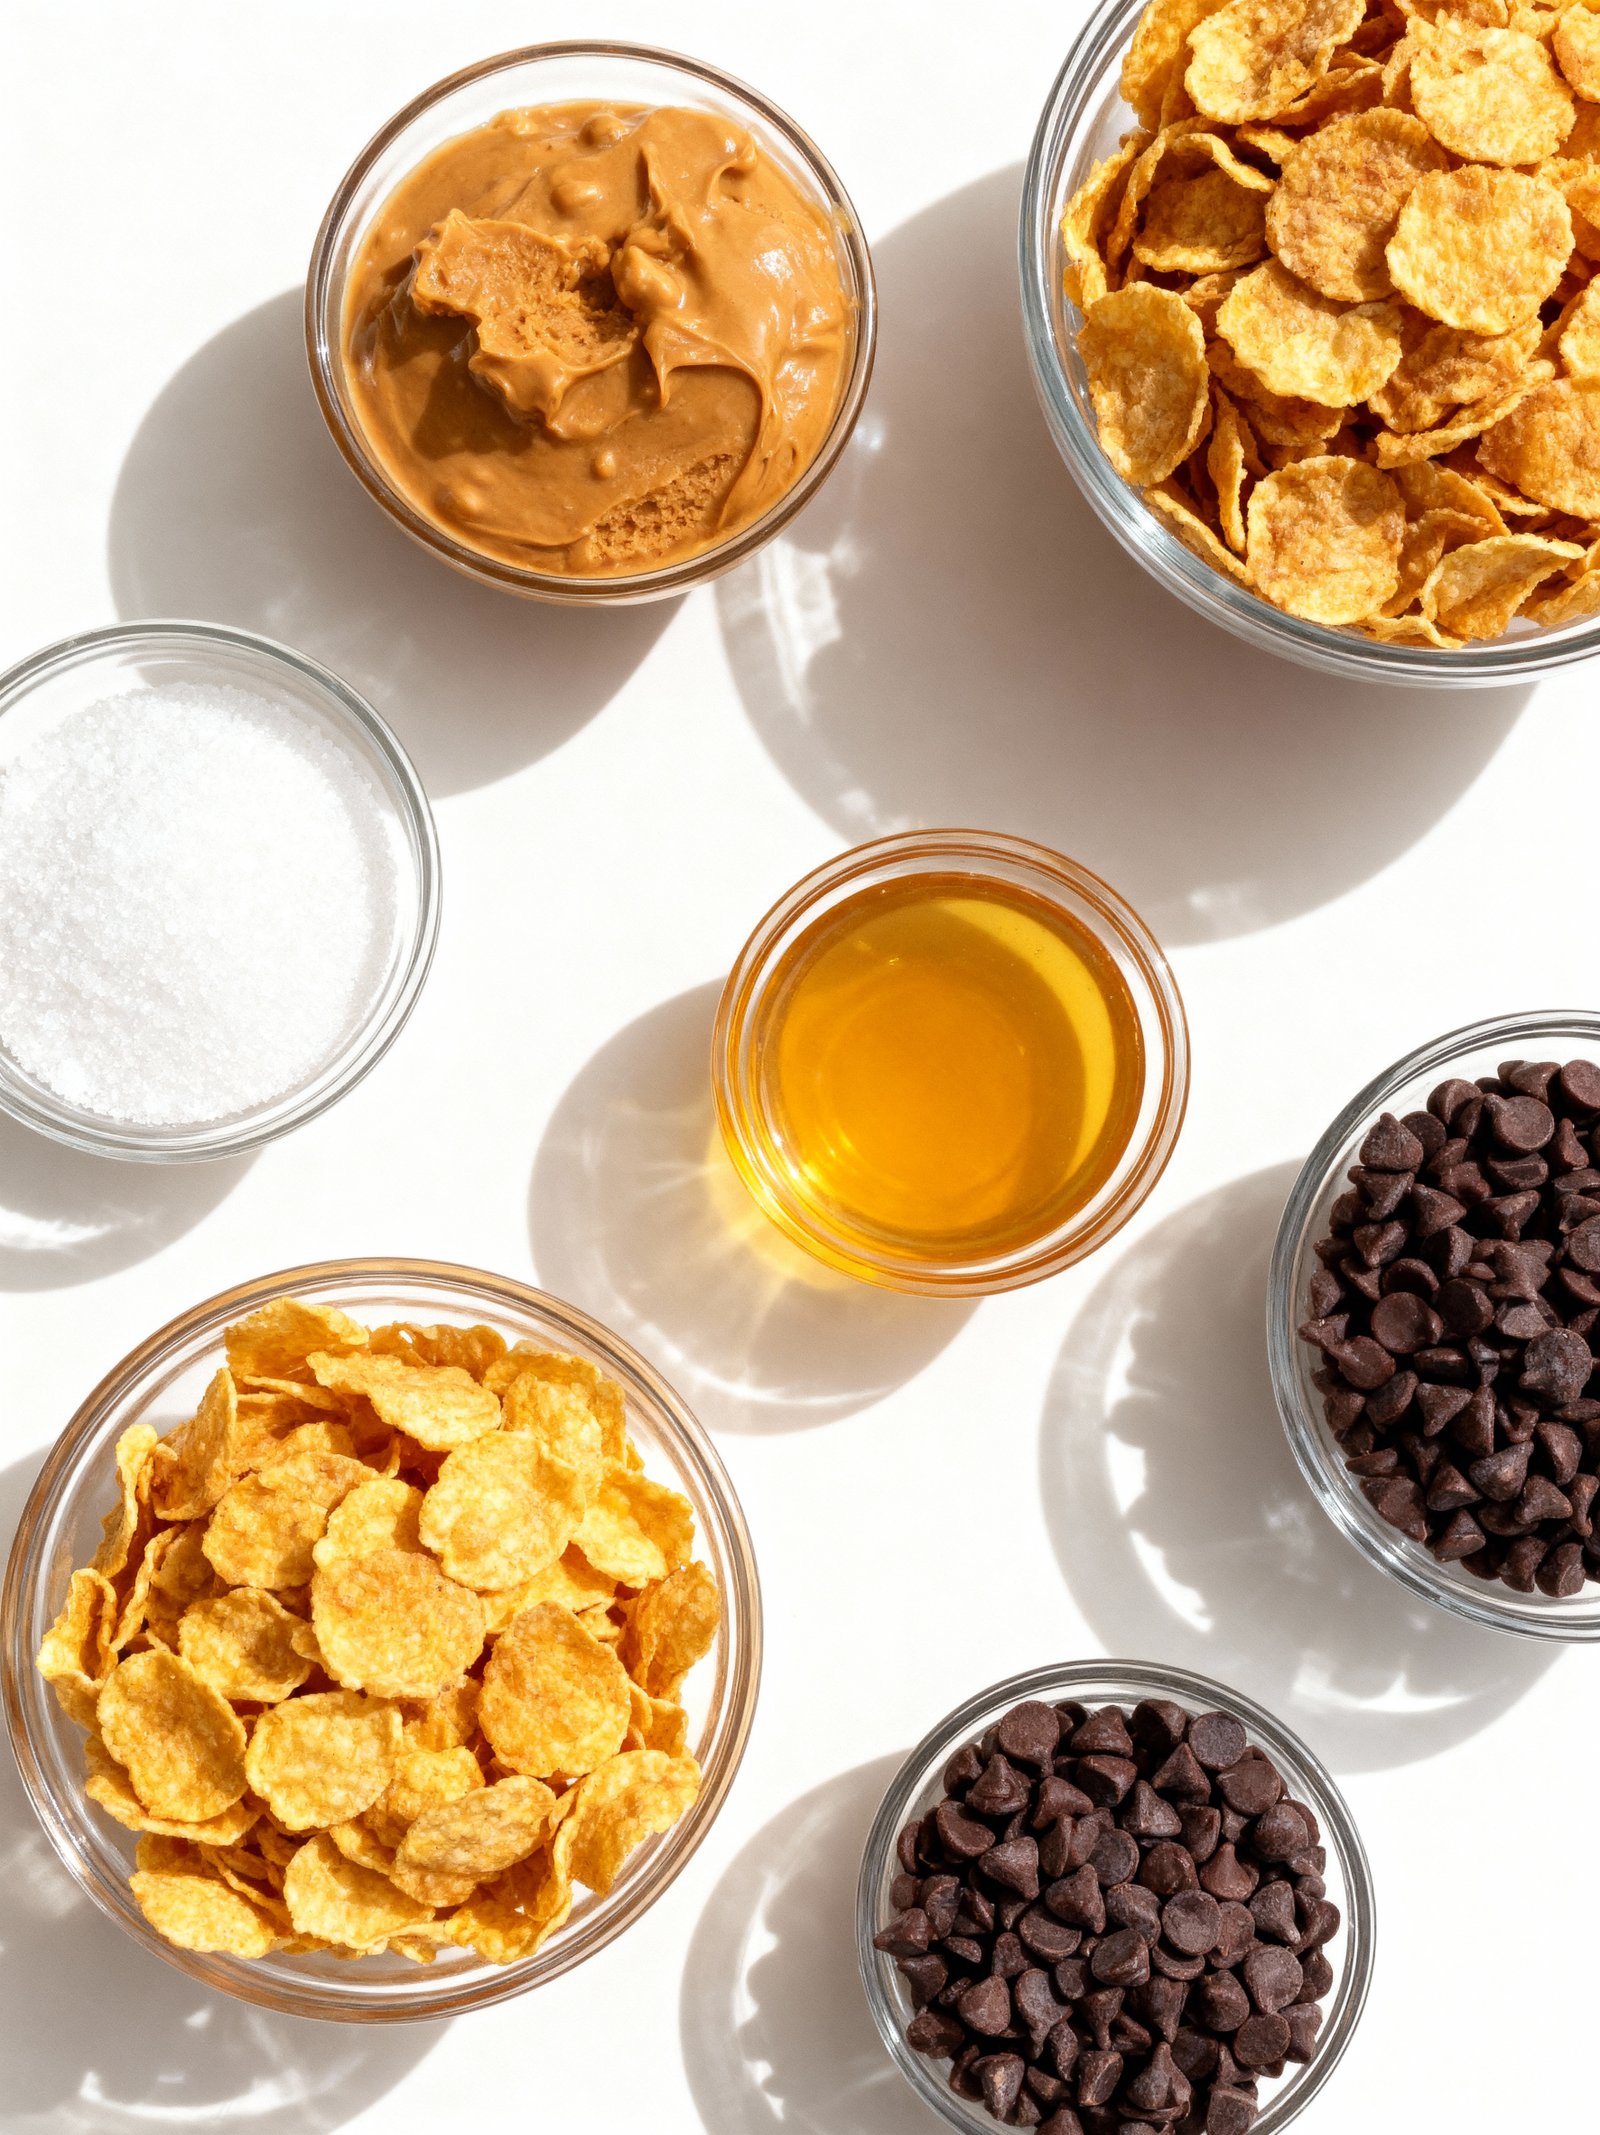
These irresistible treats combine the perfect crunch of corn flakes with rich chocolate and sweet peanut butter for a no-bake dessert that delivers Butterfinger flavor in every bite.
- ½ cup crunchy peanut butter
- ½ cup creamy peanut butter
- ¼ cup granulated white sugar
- ½ cup honey
- 2 cups corn flakes
- 3 cups semi-sweet chocolate chips
Timing
| Prep Time | 20 minutes |
| Cook Time | 10 minutes |
| Total Time | 30 minutes |
Context: This Butterfinger Balls Recipe is about 20% faster than similar recipes.
Step-by-Step Instructions
Step 1 — Prepare Your Ingredients
Gather 10 fun-size Butterfinger candy bars, 8 ounces of cream cheese at room temperature, and 12 ounces of chocolate candy coating. Having all ingredients measured and ready makes the Butterfinger Balls recipe process smooth and efficient.
Step 2 — Crush the Candy Bars
Unwrap the Butterfinger bars and place them in a zip-top bag. Use a rolling pin to crush them into fine crumbs, leaving some small chunks for texture. Alternatively, pulse them briefly in a food processor for consistent results.
Step 3 — Combine with Cream Cheese
In a medium bowl, combine the crushed Butterfinger pieces with softened cream cheese. Mix thoroughly until fully incorporated and the mixture holds together when pressed. The cream cheese should be at room temperature to prevent lumpiness.
Step 4 — Form the Balls
Scoop tablespoon-sized portions of the Butterfinger mixture and roll into 1-inch balls. Place them on a parchment-lined baking sheet. For uniform sizing, use a small cookie scoop. Chill the balls for 30 minutes to firm up before coating.
Step 5 — Melt the Chocolate Coating
Melt chocolate candy coating in a microwave-safe bowl in 30-second intervals, stirring between each, until completely smooth. Alternatively, use a double boiler on the stove over low heat. The coating should be fluid but not overheated.
Step 6 — Coat the Butterfinger Balls
Using a fork or dipping tool, dip each chilled ball into the melted chocolate, allowing excess to drip off. Return to the parchment-lined sheet. Work quickly while the chocolate remains fluid. For best results, keep unused balls chilled until ready to dip.
Step 7 — Set and Decorate
If desired, sprinkle additional Butterfinger crumbs on top before the chocolate sets. Let the Butterfinger Balls sit at room temperature until the coating is completely firm, about 1-2 hours. For faster setting, refrigerate for 15-20 minutes.
Step 8 — Store Properly
Store finished Butterfinger Balls in an airtight container in the refrigerator for up to two weeks. For longer storage, freeze in a single layer before transferring to a freezer bag. These treats taste best when served slightly chilled.
Nutritional Information
| Calories | 180 |
| Protein | 2g |
| Carbohydrates | 22g |
| Fat | 10g |
| Fiber | 1g |
| Sodium | 85mg |
Note: Estimates based on typical ingredients and serving size.
Healthier Alternatives
- Almond butter instead of peanut butter — Provides more vitamin E and a slightly sweeter, milder flavor.
- Date paste instead of corn syrup — Adds natural sweetness and fiber while keeping the mixture bindable.
- Rice cereal instead of crushed Butterfinger — Creates a lighter, gluten-free crunch with less sugar.
- Dark chocolate coating instead of candy melts — Offers antioxidants and a richer, less sweet chocolate flavor.
- Coconut oil in the coating — Makes a dairy-free shell that sets firmly and adds a subtle tropical note.
- Vanilla protein powder mixed into the base — Boosts protein content while complementing the sweet, nutty flavors.
- Monk fruit sweetener in place of powdered sugar — Reduces carbs and glycemic impact without sacrificing sweetness.
- Unsweetened cocoa powder dusting — Provides a low-sodium, sugar-free finish with deep chocolate aroma.
Serving Suggestions
- Serve these Butterfinger Balls alongside a scoop of vanilla ice cream for a classic dessert pairing
- Arrange on a decorative platter for holiday parties and potlucks
- Package in festive tins or cellophane bags for edible gifts
- Create a dessert board with these Butterfinger Balls, fresh fruit, and other bite-sized treats
- Serve as an after-school snack with a cold glass of milk
- Add to your dessert table at birthday parties and celebrations
For an elegant presentation, dust your Butterfinger Balls with edible gold dust or drizzle with melted chocolate before serving. These no-bake treats stay firm at room temperature but taste particularly delicious when slightly chilled.
Common Mistakes to Avoid
- Mistake: Using stale or improperly crushed Butterfinger candy bars. Fix: Use fresh candy and pulse in a food processor until fine crumbs form for even distribution.
- Mistake: Overmixing the cream cheese and candy mixture, causing it to become greasy. Fix: Mix just until combined to maintain a firm, moldable texture.
- Mistake: Skipping the chilling step before rolling the balls. Fix: Refrigerate the mixture for at least 30 minutes to make handling easier and prevent misshapen balls.
- Mistake: Rolling balls that are too large, making them difficult to coat and eat. Fix: Use a small cookie scoop or teaspoon to create uniform, bite-sized portions.
- Mistake: Melting chocolate at too high a temperature, resulting in a thick, clumpy coating. Fix: Melt chocolate slowly using a double boiler or in short microwave bursts, stirring frequently.
- Mistake: Dipping chilled balls into warm chocolate, causing the coating to crack. Fix: Let balls sit at room temperature for 5-10 minutes before dipping to minimize temperature shock.
- Mistake: Not tapping off excess chocolate after dipping, leading to messy pooling. Fix: Gently tap the fork or dipping tool on the bowl’s edge for a smooth, thin chocolate shell.
- Mistake: Storing finished Butterfinger Balls at room temperature, making them soft. Fix: Keep them refrigerated in an airtight container to maintain their shape and texture.
- Mistake: Rushing the setting process by placing them in the freezer. Fix: Allow chocolate to set at room temperature or in the refrigerator to avoid condensation and blooming.
- Mistake: Using low-quality melting chocolate or candy melts. Fix: Opt for high-quality chocolate or specifically formulated candy melts for a smooth, professional finish.
Storing Tips
- Fridge: Store Butterfinger Balls in an airtight container in the refrigerator for up to 2 weeks.
- Freezer: Place Butterfinger Balls in a freezer-safe container or bag for up to 3 months.
- Reheat: Let frozen balls thaw in the refrigerator before serving. If chocolate coating softens, briefly refrigerate to reset.
Always store your Butterfinger Balls Recipe creations at or below 40°F for food safety. For best texture, allow chilled balls to sit at room temperature for 10-15 minutes before serving.
Conclusion
We hope you enjoy making and eating these irresistible Butterfinger Balls! For more delicious treats, try our Easy Oreo Peanut Butter Butterfinger Dessert or Best Reese’s Butterfinger Cheesecake Bars. Share your results in the comments and subscribe for more sweet recipes!
PrintHomemade Butterfinger Bites

This easy-to-make treat tastes just like your favorite candy bar with a crunchy peanut butter and honey base coated in chocolate.
- Prep Time: 15 minutes
- Cook Time: 10 minutes
- Total Time: 1 hour 55 minutes
- Yield: 12 1x
- Method: Dessert
- Cuisine: American
Ingredients
- ½ cup crunchy peanut butter
- ½ cup creamy peanut butter
- ¼ cup granulated white sugar
- ½ cup honey
- 2 cups corn flakes
- 3 cups semi-sweet chocolate chips
Instructions
- Combine the crunchy peanut butter, creamy peanut butter, sugar, and honey in a small pot on the stove over medium heat.
- Continually stir the ingredients together until smooth and homogenous. Once combined, immediately turn off the heat.
- Add the corn flakes and stir, smashing them as you mix until evenly distributed.
- Transfer the mixture to a bowl and chill in the fridge for 30 minutes.
- Divide the mixture into 12 evenly sized balls and place each on a 9×13 inch baking sheet lined with parchment or wax paper.
- Chill the balls for another 30 minutes in the fridge.
- Melt the chocolate chips in the microwave on 30 second intervals, stirring after each interval.
- Dip each Butterfinger ball in the melted chocolate and return them to the baking sheet.
- Chill the Butterfinger balls in the fridge for about an hour, or until the chocolate is completely set.
Notes
For best results, ensure the peanut butter mixture is well chilled before forming balls to maintain shape. Use parchment paper to prevent sticking during chocolate dipping.
Nutrition
- Calories: 220
- Sugar: 18g
- Sodium: 120mg
- Fat: 13g
- Saturated Fat: 5g
- Unsaturated Fat: 8g
- Trans Fat: 0g
- Carbohydrates: 25g
- Fiber: 1g
- Protein: 5g
- Cholesterol: 0mg
FAQs
Can I use a different candy bar for this Butterfinger Balls Recipe?
Yes, you can substitute Butterfinger with a similar crunchy candy bar. However, the unique flavor and texture of Butterfinger are key to the classic Butterfinger Balls Recipe.
How should I store these no-bake Butterfinger Balls?
Store them in an airtight container in the refrigerator for up to one week. For longer storage, you can freeze the Butterfinger Balls Recipe treats for several months.
Why are my Butterfinger balls too soft and not holding their shape?
This usually happens if the mixture is too warm or lacks sufficient binding. Chill the mixture thoroughly before rolling, and ensure you use the correct ratio of ingredients for the Butterfinger Balls Recipe.


