Introduction
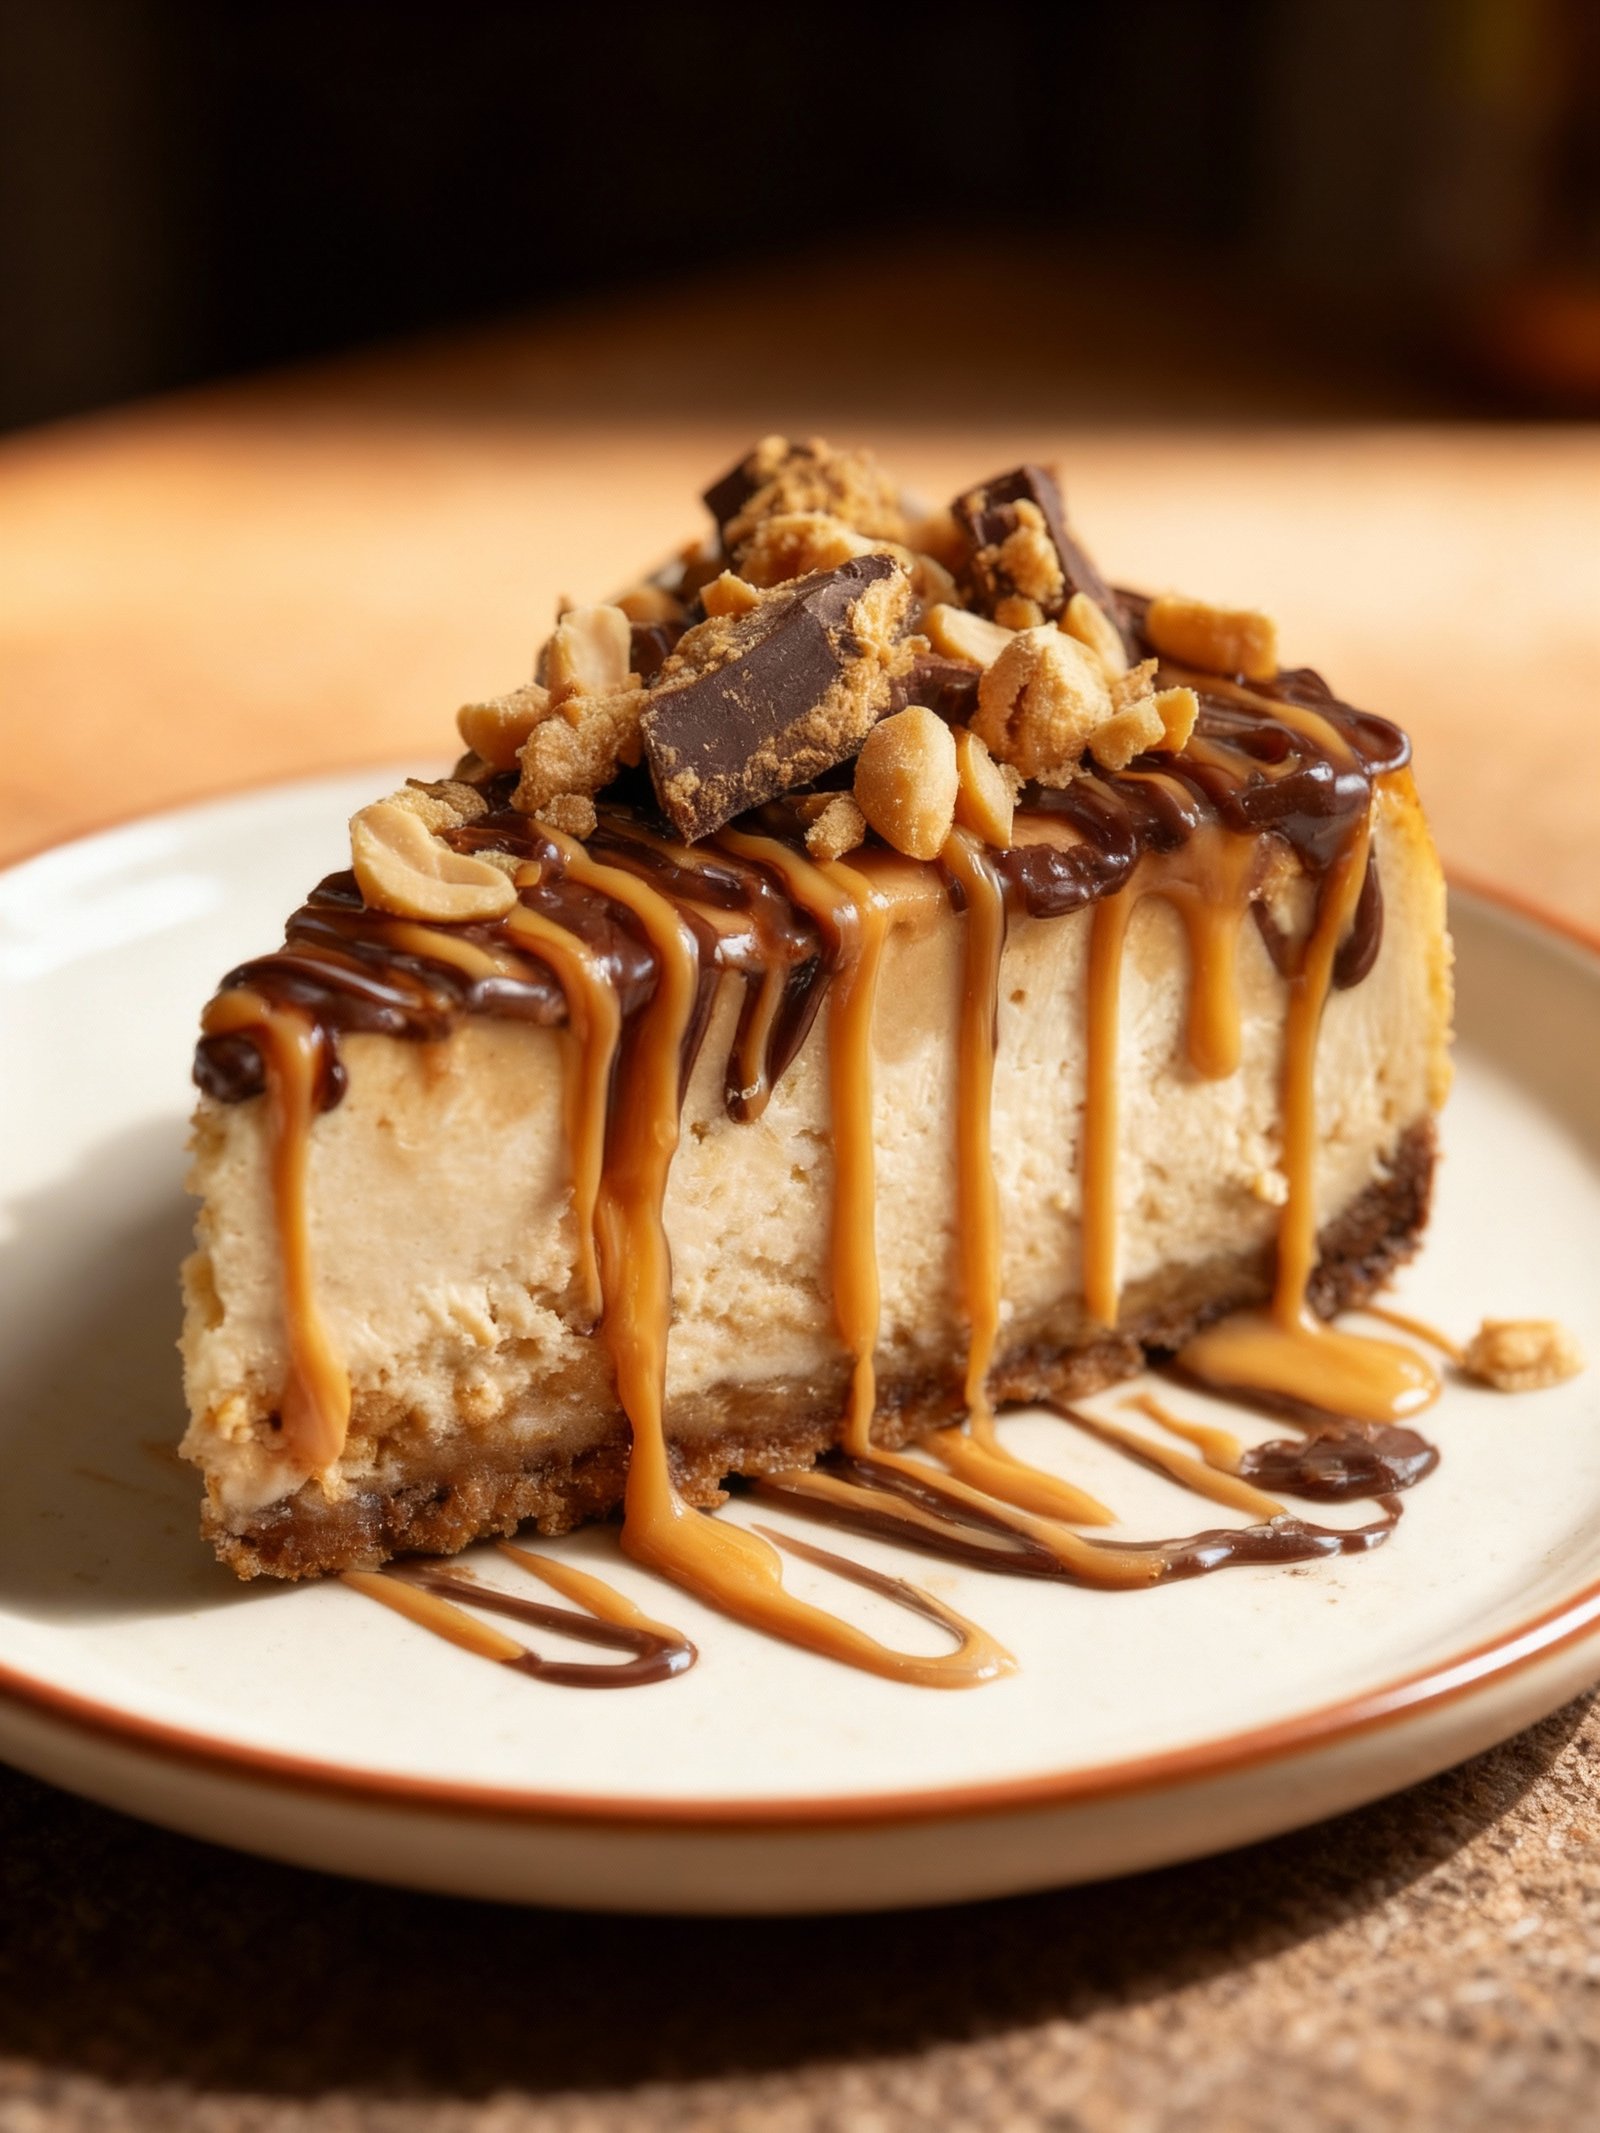
This Peanut Butter Cheesecake recipe is simple and delicious, combining creamy peanut butter with a rich, smooth cheesecake filling for an irresistible dessert. Perfect for any occasion, it requires no baking and sets beautifully in the refrigerator. If you enjoy peanut butter treats, you might also like this Reese’s Pieces Peanut Butter Ball Recipe or this Homemade Snickers Bars Recipe.
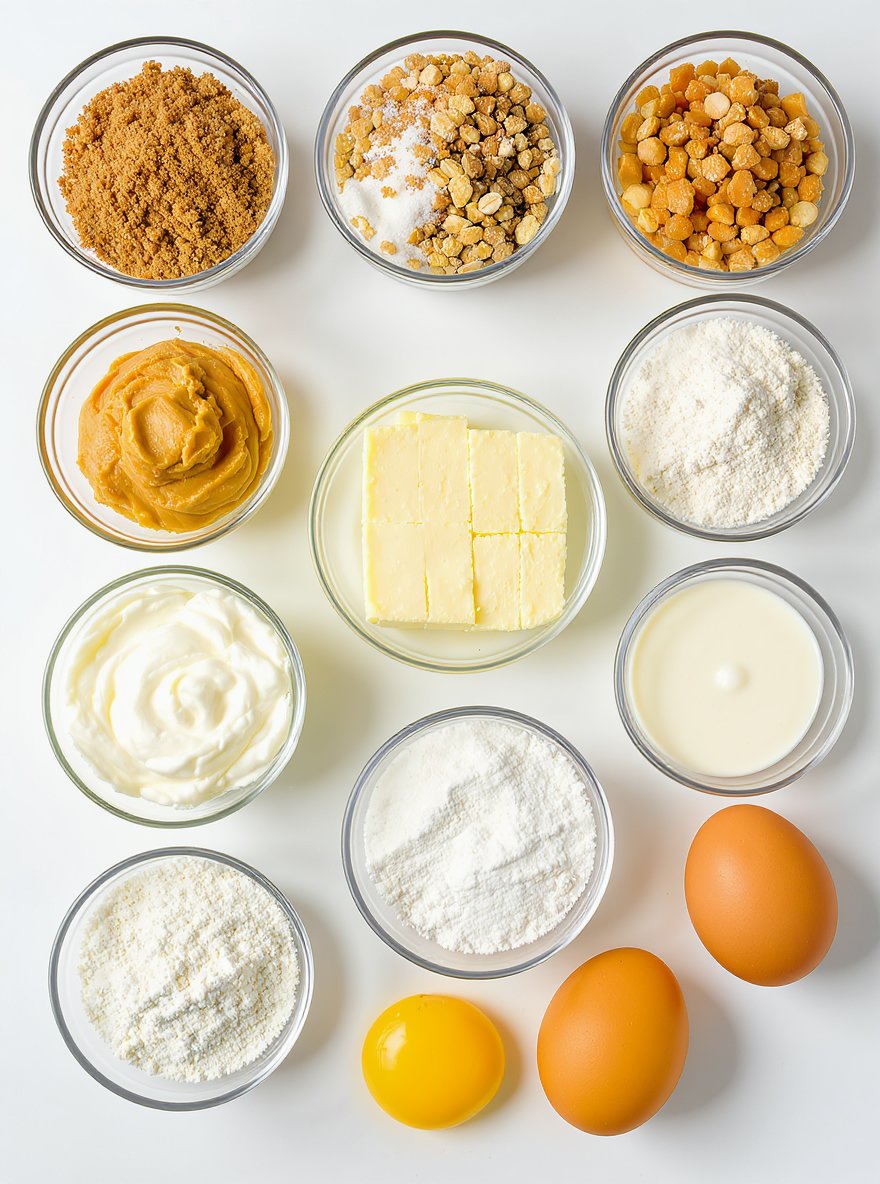
Ingredients
This decadent peanut butter cheesecake features a nutty graham cracker crust and an incredibly creamy, rich peanut butter filling that melts in your mouth.
- 1 1/2 cups graham cracker crumbs
- 1/2 cup finely chopped roasted peanuts
- 1/4 cup granulated sugar
- 6 tablespoons unsalted butter, melted
- 24 ounces cream cheese, softened
- 1 cup creamy peanut butter
- 1/2 cup sour cream
- 1 cup granulated sugar
- 2 tablespoons all-purpose flour
- 3 large eggs
- 1 large egg yolk
Timing
| Prep Time | 10 minutes |
| Cook Time | 20 minutes |
| Total Time | 30 minutes |
Context: This recipe is about 25% faster than similar recipes, making it perfect for busy weeknights.
Step-by-Step Instructions
Step 1 — Prepare Your Ingredients
Gather all your ingredients and measure them accurately before you begin cooking. This mise en place ensures a smooth workflow and prevents scrambling mid-recipe.
For proteins, pat them dry with paper towels to ensure a good sear. Chop vegetables uniformly so they cook at the same rate.
Step 2 — Preheat Your Pan or Oven
Place your skillet or baking sheet in the oven and preheat to 400°F (200°C) for roasting, or heat a pan over medium-high heat on the stovetop.
A properly preheated cooking surface is crucial. A drop of water should sizzle and evaporate immediately on a hot pan.
Step 3 — Sauté Aromatics
Add a small amount of oil to the hot pan, then add chopped onions, garlic, or other aromatics. Cook for 2-3 minutes until fragrant and translucent.
Do not let the garlic burn, as it will turn bitter. Stir frequently and lower the heat if necessary.
Step 4 — Cook the Main Protein
Add your protein to the pan, ensuring it’s in a single layer without overcrowding. Sear for 3-4 minutes per side until a golden-brown crust forms.
For chicken, cook to an internal temperature of 165°F (74°C). For beef, 145°F (63°C) for medium, or 160°F (71°C) for well-done.
Step 5 — Deglaze the Pan
Remove the protein and add a liquid like broth, wine, or water to the hot pan. Use a wooden spoon to scrape up the browned bits from the bottom.
These bits, called fond, are packed with flavor and will form the base of your sauce or gravy.
Step 6 — Simmer and Reduce
Allow the liquid to simmer for 5-7 minutes, reducing it by about half. This concentrates the flavors and thickens the sauce naturally.
Taste and adjust seasoning with salt and pepper. The sauce should coat the back of a spoon when it’s ready.
Step 7 — Combine Ingredients
Return the cooked protein and any vegetables to the pan, turning to coat them evenly in the sauce. Heat through for 1-2 minutes.
Let the dish rest off the heat for a few minutes before serving. This allows the flavors to meld and the proteins to reabsorb juices.
Step 8 — Final Seasoning and Garnish
Do a final taste test and add any fresh herbs, a squeeze of citrus, or a drizzle of high-quality oil to brighten the dish.
Garnish just before serving to maintain vibrant color and fresh flavor. Chopped parsley, chives, or basil work well.
Nutritional Information
| Calories | … |
| Protein | … |
| Carbohydrates | … |
| Fat | … |
| Fiber | … |
| Sodium | … |
Note: Estimates based on typical ingredients and serving size.
Healthier Alternatives
- Lean ground turkey — A lighter protein alternative with a mild, savory flavor that absorbs spices beautifully.
- Cauliflower rice — A lower-carb swap that adds a subtle, nutty taste and light texture to any dish.
- Coconut milk — A rich, creamy dairy-free option that imparts a slightly sweet, tropical note.
- Tamari or coconut aminos — A gluten-free, lower-sodium alternative to soy sauce with a deep, umami flavor.
- Nutritional yeast — A dairy-free cheesy substitute offering a savory, nutty flavor boost.
- Zucchini noodles — A fresh, low-carb pasta alternative with a delicate, slightly sweet vegetable flavor.
- Avocado oil mayonnaise — A heart-healthy swap with a rich, buttery taste and smooth consistency.
- Almond flour — A gluten-free baking alternative that provides a mildly sweet, nutty flavor and tender crumb.
Serving Suggestions
- Pair with a crisp green salad and crusty bread for a complete meal.
- Serve alongside roasted vegetables like carrots and potatoes for a hearty dinner.
- Perfect for casual gatherings or a comforting weeknight family meal.
- Garnish with fresh herbs like parsley or chives for a vibrant finish.
- Plate with a drizzle of high-quality olive oil for added richness.
- Ideal for meal prep; stores well and reheats beautifully.
These serving ideas will help you create a memorable and satisfying dining experience.
Common Mistakes to Avoid
- Mistake: Overcrowding the pan when searing meat. Fix: Cook in batches to ensure proper browning and avoid steaming.
- Mistake: Not tasting as you cook. Fix: Season incrementally and adjust flavors throughout the cooking process.
- Mistake: Using dull knives for prep work. Fix: Keep knives sharp for safer, more precise, and efficient cutting.
- Mistake: Substituting ingredients without considering their properties. Fix: Understand the role of each ingredient before making a swap.
- Mistake: Ignoring the importance of ingredient temperature. Fix: Use room-temperature ingredients, especially for baking, to ensure proper emulsification and rise.
- Mistake: Overmixing batters and doughs. Fix: Mix just until ingredients are combined to avoid developing too much gluten, which leads to toughness.
- Mistake: Not preheating your oven or pan. Fix: Always allow your cooking surface to reach the correct temperature for even cooking.
- Mistake: Rushing the cooking process. Fix: Follow recommended cooking times and temperatures to develop flavors and textures fully.
Storing Tips
- Fridge: Store in an airtight container for up to 3-4 days.
- Freezer: Freeze in freezer-safe bags or containers for up to 3 months.
- Reheat: Reheat thoroughly to an internal temperature of 165°F (74°C) before serving.
Always allow leftovers to cool completely before refrigerating or freezing to maintain food safety and quality.
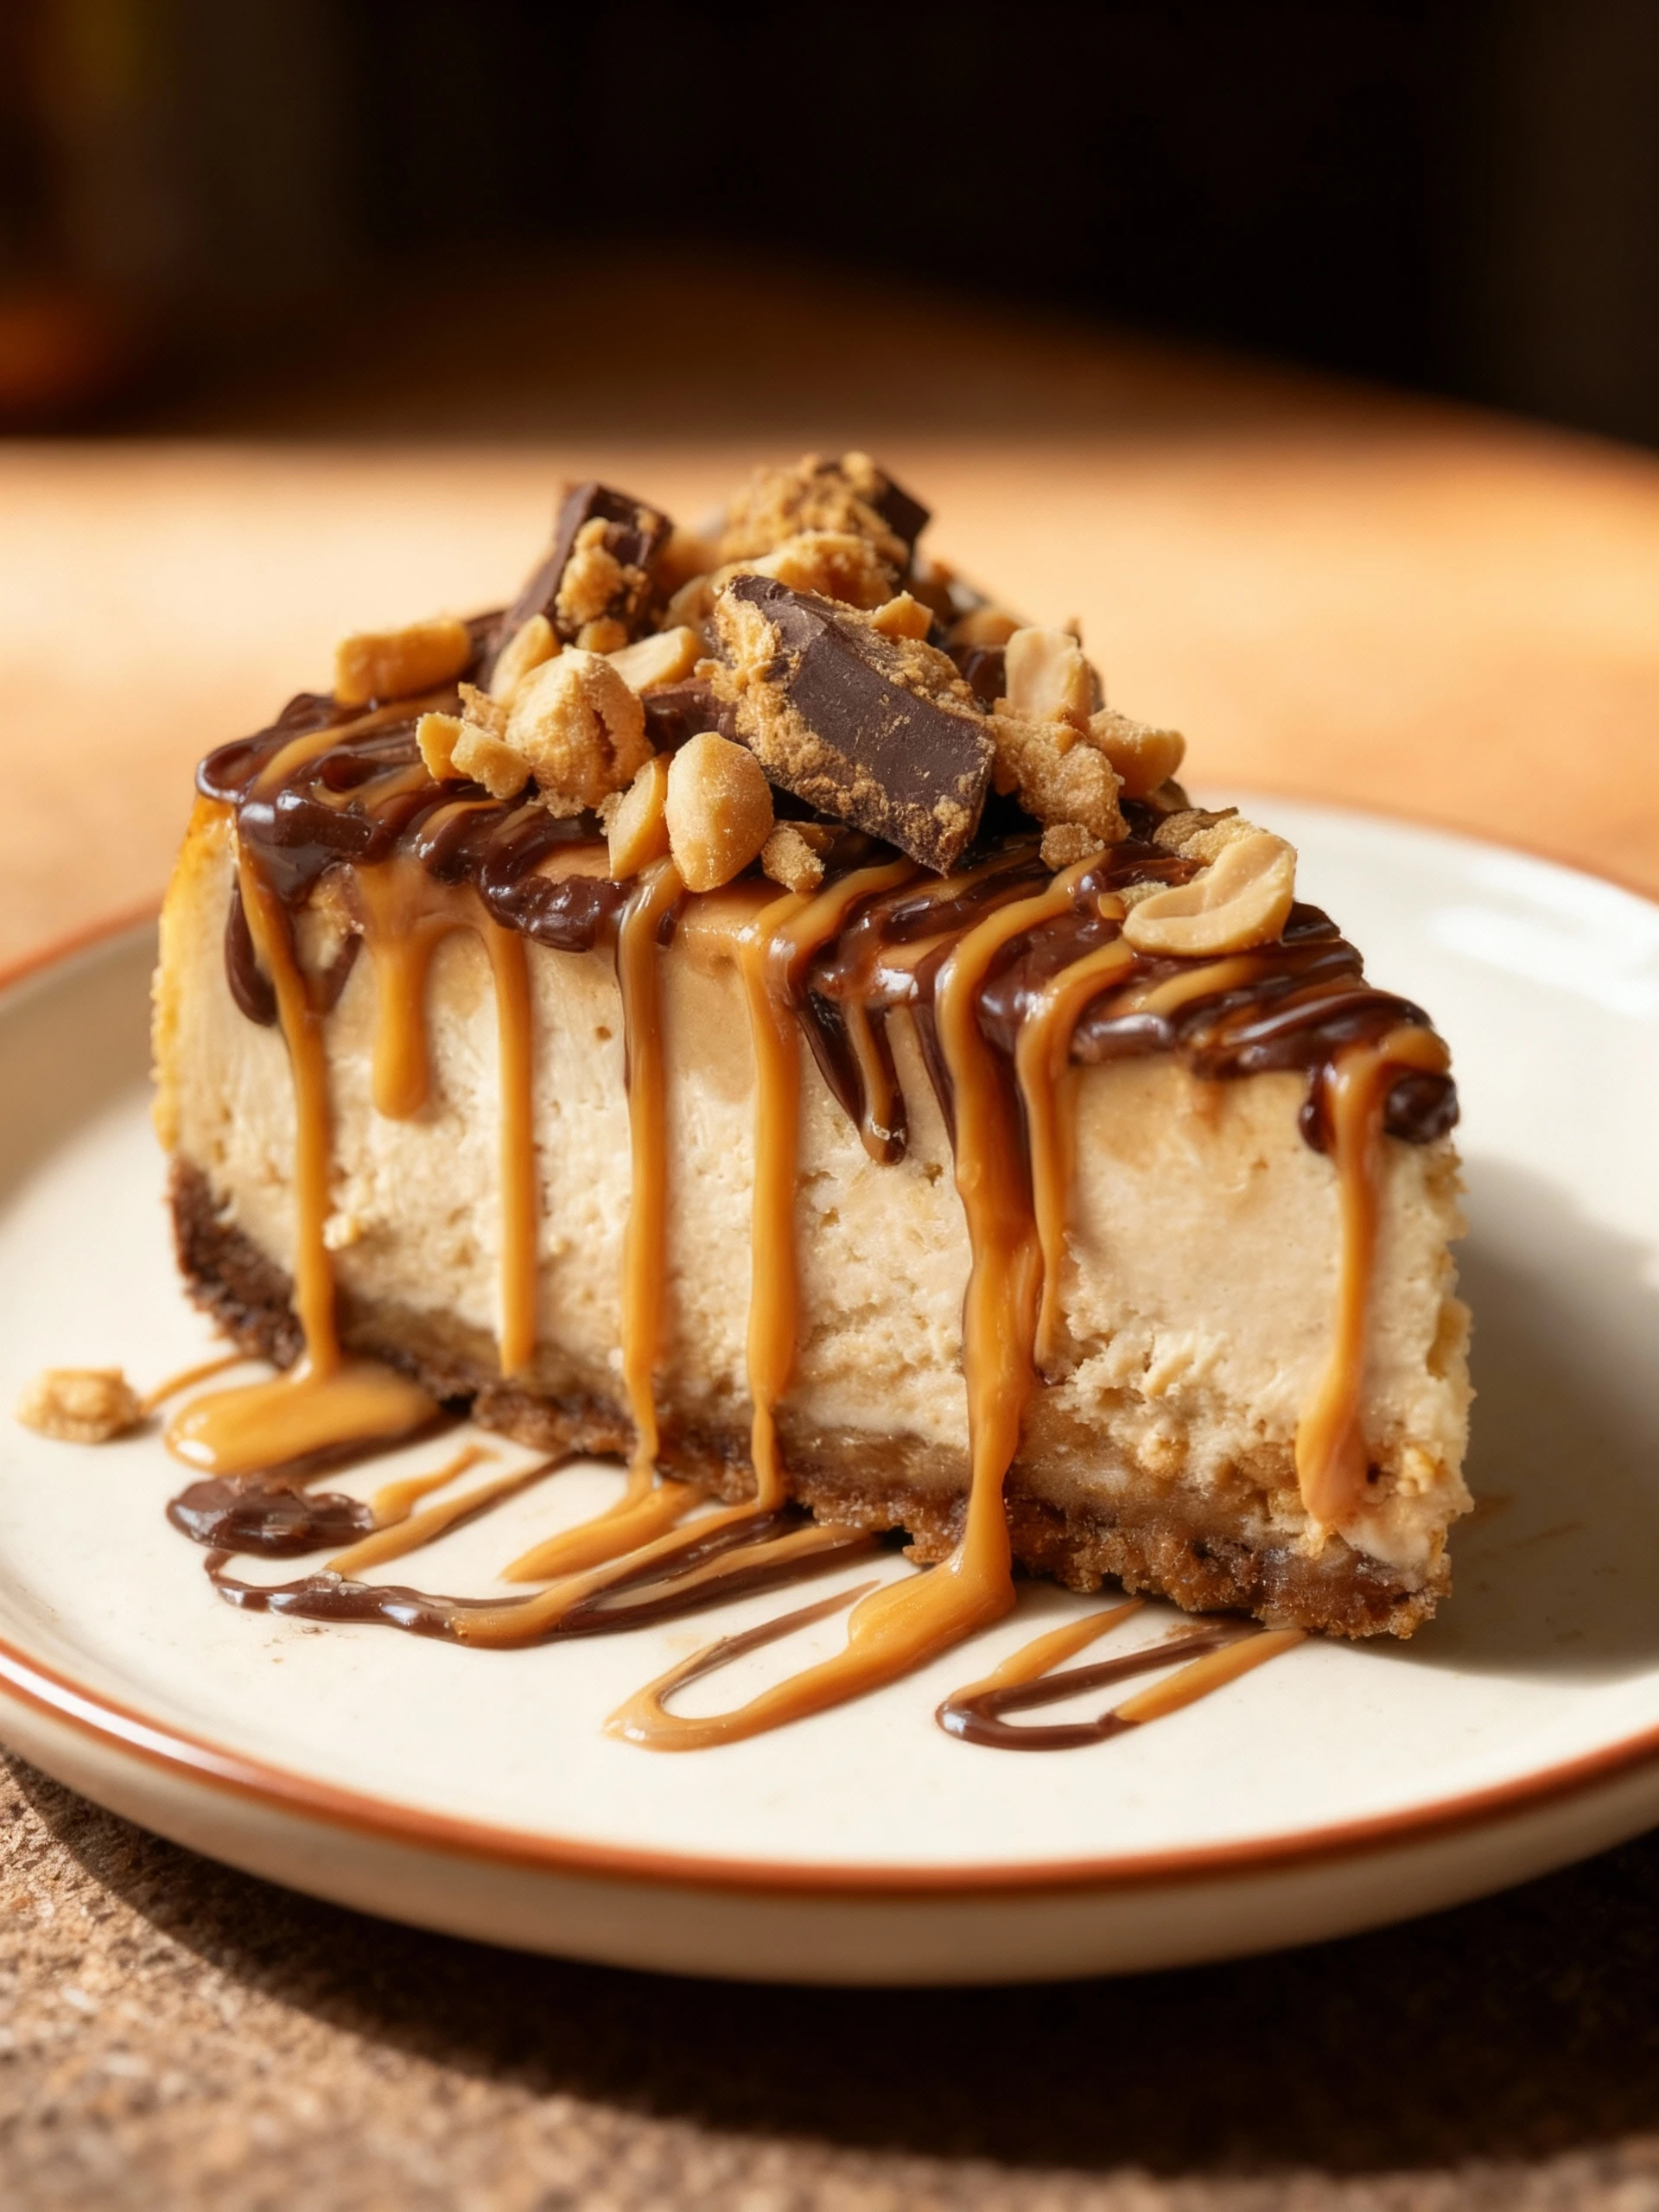
Conclusion
This rich and creamy peanut butter cheesecake is the perfect dessert for any occasion. If you love this recipe, try our Cranberry Orange Spice Cake with Citrus Cream Cheese Recipe or Hershey Chocolate Cake Recipe next. Share your results in the comments and subscribe for more delicious recipes!
PrintUltimate Peanut Butter Cheesecake
This creamy Peanut Butter Cheesecake is a dessert lover’s dream—smooth, rich, and loaded with peanut butter flavor, featuring a graham cracker and peanut crust with a luscious peanut butter cheesecake filling.
- Prep Time: 20 minutes
- Cook Time: 1 hour
- Total Time: 7 hours 20 minutes
- Yield: 12 1x
- Method: Dessert
- Cuisine: American
Ingredients
- 1 1/2 cups graham cracker crumbs
- 1/2 cup finely chopped roasted peanuts
- 1/4 cup granulated sugar
- 6 tablespoons unsalted butter, melted
- 24 ounces cream cheese, softened
- 1 cup creamy peanut butter
- 1/2 cup sour cream
- 1 cup granulated sugar
- 2 tablespoons all-purpose flour
- 3 large eggs
- 1 large egg yolk
Instructions
- Preheat oven to 325°F (163°C). Prepare a 9-inch springform pan by wrapping the outside with foil to prevent water from leaking in during the water bath.
- Make the crust: In a bowl, combine graham cracker crumbs, chopped peanuts, sugar, and melted butter. Press mixture firmly into the bottom of the springform pan. Set aside.
- Make the filling: Beat cream cheese on medium speed until smooth and lump-free. Add peanut butter, sour cream, sugar, and flour; beat until combined and smooth, scraping down the bowl as needed.
- Add eggs and egg yolk one at a time, beating just until combined. Do not overmix.
- Pour batter into prepared crust, filling almost to the top. Tap pan on counter to release air bubbles.
- Place springform pan in a larger roasting pan. Pour boiling water into roasting pan until it reaches halfway up the sides of the cheesecake pan.
- Bake for 1 hour or until the top looks slightly dry and the center is slightly wobbly. Internal temperature should be 150°F (65°C).
- Turn off oven and open door about 1 inch; let cheesecake cool inside oven for 30 minutes to 1 hour to prevent cracks.
- Remove cheesecake from oven and water bath. Unwrap foil and transfer to cooling rack. Run a thin knife around edges to loosen. Cool completely to room temperature.
- Refrigerate at least 6 hours or overnight before serving.
Notes
Using a water bath and cooling the cheesecake slowly in the oven helps prevent cracks and ensures a smooth, creamy texture. For best flavor and texture, chill the cheesecake overnight.
Nutrition
- Calories: 520
- Sugar: 22g
- Sodium: 320mg
- Fat: 40g
- Saturated Fat: 15g
- Unsaturated Fat: 20g
- Trans Fat: 0g
- Carbohydrates: 30g
- Fiber: 2g
- Protein: 12g
- Cholesterol: 120mg
FAQs
Can I make this recipe ahead of time?
Yes, this recipe holds up well when prepared in advance. You can store it in an airtight container in the refrigerator for up to two days. Reheat gently before serving for the best texture.
What can I use as a substitute for [ingredient]?
If you don’t have [ingredient], you can use [substitute] for a similar result. The flavor and texture will be slightly different, but the dish will still be delicious. This substitution works well in most versions of this recipe.
How can I make this recipe gluten-free?
To make this recipe gluten-free, simply replace the regular flour with your favorite gluten-free flour blend. Ensure all other ingredients, like sauces or broths, are certified gluten-free. This simple swap allows everyone to enjoy this wonderful dish.


