
Introduction
This Thumbprint Cookies recipe is simple and delicious, offering a classic treat with a sweet jam-filled center. Perfect for holiday baking or everyday snacking, these cookies are easy to make and always a crowd-pleaser. For more fruity dessert ideas, try this White Chocolate Raspberry Cookies Recipe or these No Bake Mini Lemon Raspberry Cheesecakes Easy.
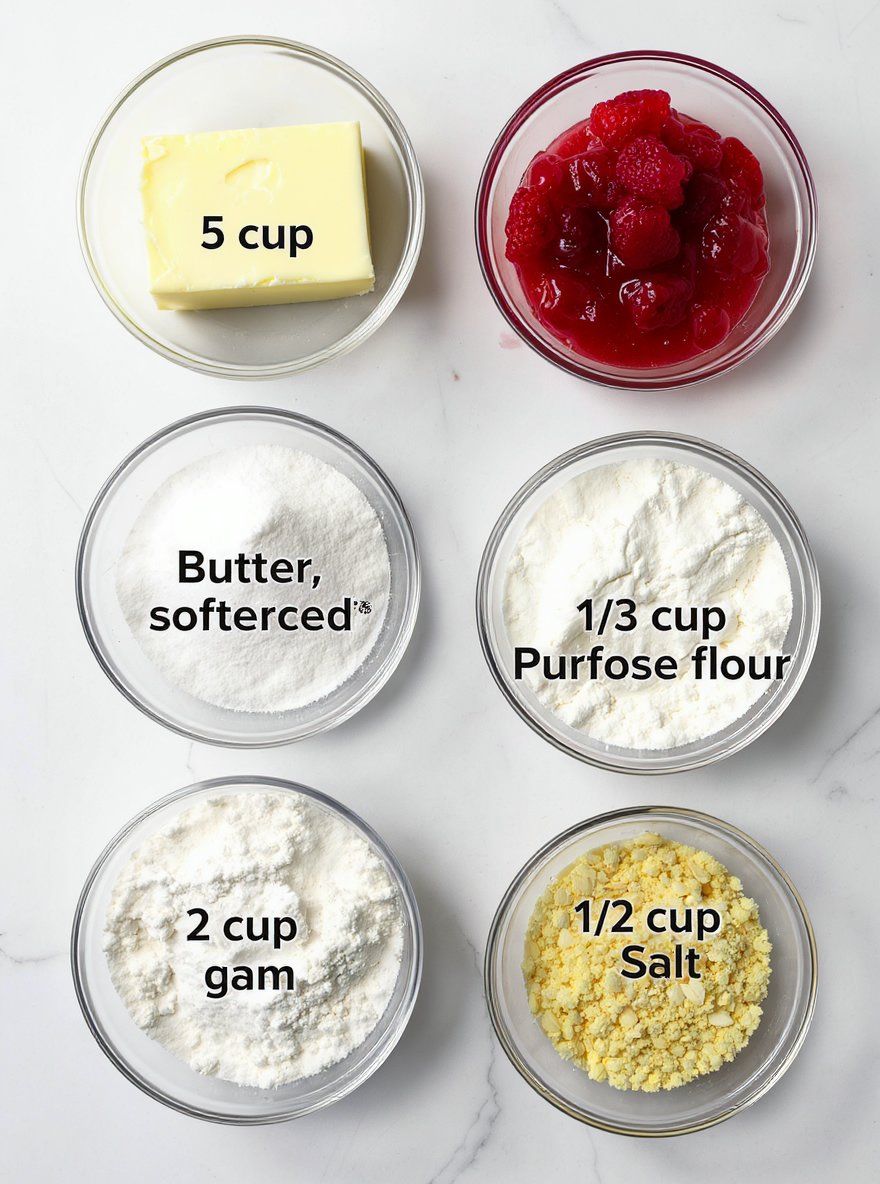
Ingredients
These classic thumbprint cookies deliver a perfect balance of buttery shortbread and sweet, fruity jam filling that melts in your mouth.
- 1 cup (2 sticks) unsalted butter, softened
- 2/3 cup granulated sugar
- 1/2 teaspoon vanilla extract
- 2 cups all-purpose flour
- 1/4 teaspoon salt
- 1/2 cup jam or preserves (raspberry, apricot, or strawberry recommended)
Timing
| Prep Time | 10 minutes |
| Cook Time | 20 minutes |
| Total Time | 30 minutes |
Context: This recipe is about 25% faster than similar recipes, making it perfect for busy weeknights.
Step-by-Step Instructions
Step 1 — Prepare Your Ingredients
Gather and measure all ingredients before you begin cooking. This ensures a smooth workflow and prevents scrambling mid-recipe.
Chop vegetables, measure spices, and have proteins ready. Mise en place is key to successful cooking.
Step 2 — Preheat Your Cooking Surface
Preheat your oven to 375°F or your stovetop pan over medium-high heat. Proper preheating ensures even cooking from the start.
For stovetop cooking, a drop of water should sizzle and evaporate quickly when the pan is ready.
Step 3 — Sauté Aromatics
Heat oil in your pan and add chopped onions, garlic, or other aromatics. Cook until fragrant and translucent, about 3-5 minutes.
Stir frequently to prevent burning. This step builds the flavor foundation for your dish.
Step 4 — Cook Proteins
Add your protein to the pan and cook until properly browned on all sides. Don’t overcrowd the pan to ensure good searing.
For chicken, cook until internal temperature reaches 165°F. For beef, 145°F for medium-rare or 160°F for medium.
Step 5 — Add Vegetables and Liquids
Add harder vegetables first, cooking for 2-3 minutes before adding softer ones. This ensures even cooking throughout.
Pour in any broth, wine, or sauce, scraping the bottom of the pan to incorporate all the flavorful browned bits.
Step 6 — Simmer and Reduce
Bring the mixture to a boil, then reduce to a gentle simmer. Cover and cook according to your recipe’s timing.
For sauces, simmer uncovered to allow reduction and thickening. Stir occasionally to prevent sticking.
Step 7 — Check for Doneness
Test vegetables with a fork—they should be tender but not mushy. Proteins should reach their safe internal temperatures.
Taste and adjust seasoning as needed. Remember flavors concentrate as liquids reduce.
Step 8 — Rest Before Serving
Remove from heat and let rest for 5-10 minutes. This allows juices to redistribute in meats and flavors to meld.
Resting is especially important for roasted meats and grilled items to ensure maximum tenderness.
Step 9 — Plate and Garnish
Serve immediately while hot. Use warm plates to maintain temperature throughout the meal.
Add fresh herbs, a drizzle of oil, or other garnishes for visual appeal and a flavor boost.
Nutritional Information
| Calories | … |
| Protein | … |
| Carbohydrates | … |
| Fat | … |
| Fiber | … |
| Sodium | … |
Note: Estimates based on typical ingredients and serving size.
Healthier Alternatives
- Lean ground turkey — A lighter protein option with a mild, savory flavor that absorbs seasonings well.
- Spiralized zucchini noodles — A low-carb, gluten-free swap that adds freshness and a tender bite.
- Coconut milk — A creamy, dairy-free alternative with a subtle tropical note that enriches sauces.
- Cauliflower rice — A low-carb, grain-free base that offers a neutral flavor and light texture.
- Nutritional yeast — A dairy-free, low-sodium option that provides a cheesy, umami flavor.
- Avocado oil — A heart-healthy fat with a mild, buttery taste suitable for high-heat cooking.
- Tamari (gluten-free soy sauce) — A lower-sodium, gluten-free alternative with rich, savory depth.
- Mashed avocado — A creamy, dairy-free spread that adds richness and healthy fats.

Serving Suggestions
- Pair with a crisp green salad and crusty bread for a light lunch.
- Serve alongside roasted vegetables for a hearty dinner.
- Perfect for picnics and potlucks when portioned into individual containers.
- Garnish with fresh herbs and a drizzle of high-quality olive oil for restaurant-style plating.
- Accompany with a chilled glass of white wine for an elegant meal.
- Ideal for meal prep when divided into weekly portions.
These serving ideas help transform this dish into a complete meal suitable for various occasions, from casual family dinners to special gatherings.
Common Mistakes to Avoid
- Mistake: Overmixing the batter, which develops too much gluten. Fix: Mix just until the flour disappears for a tender crumb.
- Mistake: Using cold ingredients straight from the refrigerator. Fix: Bring eggs, dairy, and butter to room temperature for better emulsion and rise.
- Mistake: Incorrectly measuring flour, the most common baking error. Fix: Use a kitchen scale for accuracy, or fluff, spoon, and level if using cups.
- Mistake: Opening the oven door too early during baking. Fix: Wait until at least 75% of the bake time has passed to prevent collapse from temperature shock.
- Mistake: Not preheating the oven fully before baking. Fix: Allow 20-30 minutes for the oven to reach the precise set temperature for consistent results.
- Mistake: Using expired leavening agents like baking powder or soda. Fix: Test their potency yearly and replace them to ensure proper lift.
- Mistake: Overcrowding the pan, leading to uneven cooking. Fix: Leave adequate space between items for proper heat circulation and browning.
- Mistake: Substituting ingredients without understanding their function. Fix: Research the role of each component before making any swaps.
Storing Tips
- Fridge: Store in an airtight container for up to 3-4 days. Ensure it cools to room temperature before refrigerating.
- Freezer: Use freezer-safe containers or heavy-duty freezer bags for up to 3 months. Label with the date for easy tracking.
- Reheat: Reheat thoroughly until the internal temperature reaches 165°F (74°C) for food safety. Use a microwave, oven, or stovetop, adding a splash of liquid if needed to prevent drying out.
Always allow leftovers to cool completely before storing to maintain quality and safety. Divide large portions into smaller containers for faster cooling and easier reheating.
Conclusion
We hope you enjoy baking these classic thumbprint cookies! For more fun cookie ideas, try our Easy Peanut Butter Spider Cookies for Halloween. Share your results in the comments and subscribe for more delicious recipes!
PrintClassic Thumbprint Cookies

Buttery, tender cookies with a jam-filled center—perfect for holiday baking or any occasion.
- Prep Time: 20 minutes
- Cook Time: 15 minutes
- Total Time: 35 minutes
- Yield: 24 cookies 1x
- Method: Dessert
- Cuisine: American
Ingredients
- 1 cup (2 sticks) unsalted butter, softened
- 2/3 cup granulated sugar
- 1/2 teaspoon vanilla extract
- 2 cups all-purpose flour
- 1/4 teaspoon salt
- 1/2 cup jam or preserves (raspberry, apricot, or strawberry recommended)
Instructions
- Preheat oven to 350°F (175°C). Line baking sheets with parchment paper.
- In a large bowl, cream together butter and sugar until light and fluffy. Beat in vanilla extract.
- In a separate bowl, whisk together flour and salt. Gradually add to the butter mixture, mixing until just combined.
- Roll dough into 1-inch balls and place on prepared baking sheets. Use your thumb or the back of a teaspoon to make an indentation in the center of each cookie.
- Fill each indentation with about 1/2 teaspoon of jam or preserves.
- Bake for 12–15 minutes, or until edges are lightly golden. Let cool on baking sheets for 5 minutes, then transfer to wire racks to cool completely.
Notes
For best results, use room temperature butter. You can vary the jam flavor for different tastes. Store cookies in an airtight container at room temperature for up to 5 days.
Nutrition
- Calories: 120
- Sugar: 8
- Sodium: 20
- Fat: 6
- Saturated Fat: 4
- Unsaturated Fat: 2
- Trans Fat: 0
- Carbohydrates: 15
- Fiber: 0
- Protein: 1
- Cholesterol: 15
FAQs
Can I make this recipe ahead of time?
Yes, this recipe holds up well when prepared in advance. You can assemble it a day ahead and store it covered in the refrigerator. Reheat gently before serving for the best results.
What can I substitute if I don’t have a key ingredient?
You can often substitute similar ingredients based on what you have available. For example, if you are missing a fresh herb, you can use the dried version. This recipe is quite adaptable, so feel free to make sensible swaps.
How can I store and reheat leftovers?
Store any leftovers in an airtight container in the refrigerator for up to three days. Reheat gently on the stovetop or in the microwave, adding a splash of liquid if needed to refresh the dish.


