Introduction
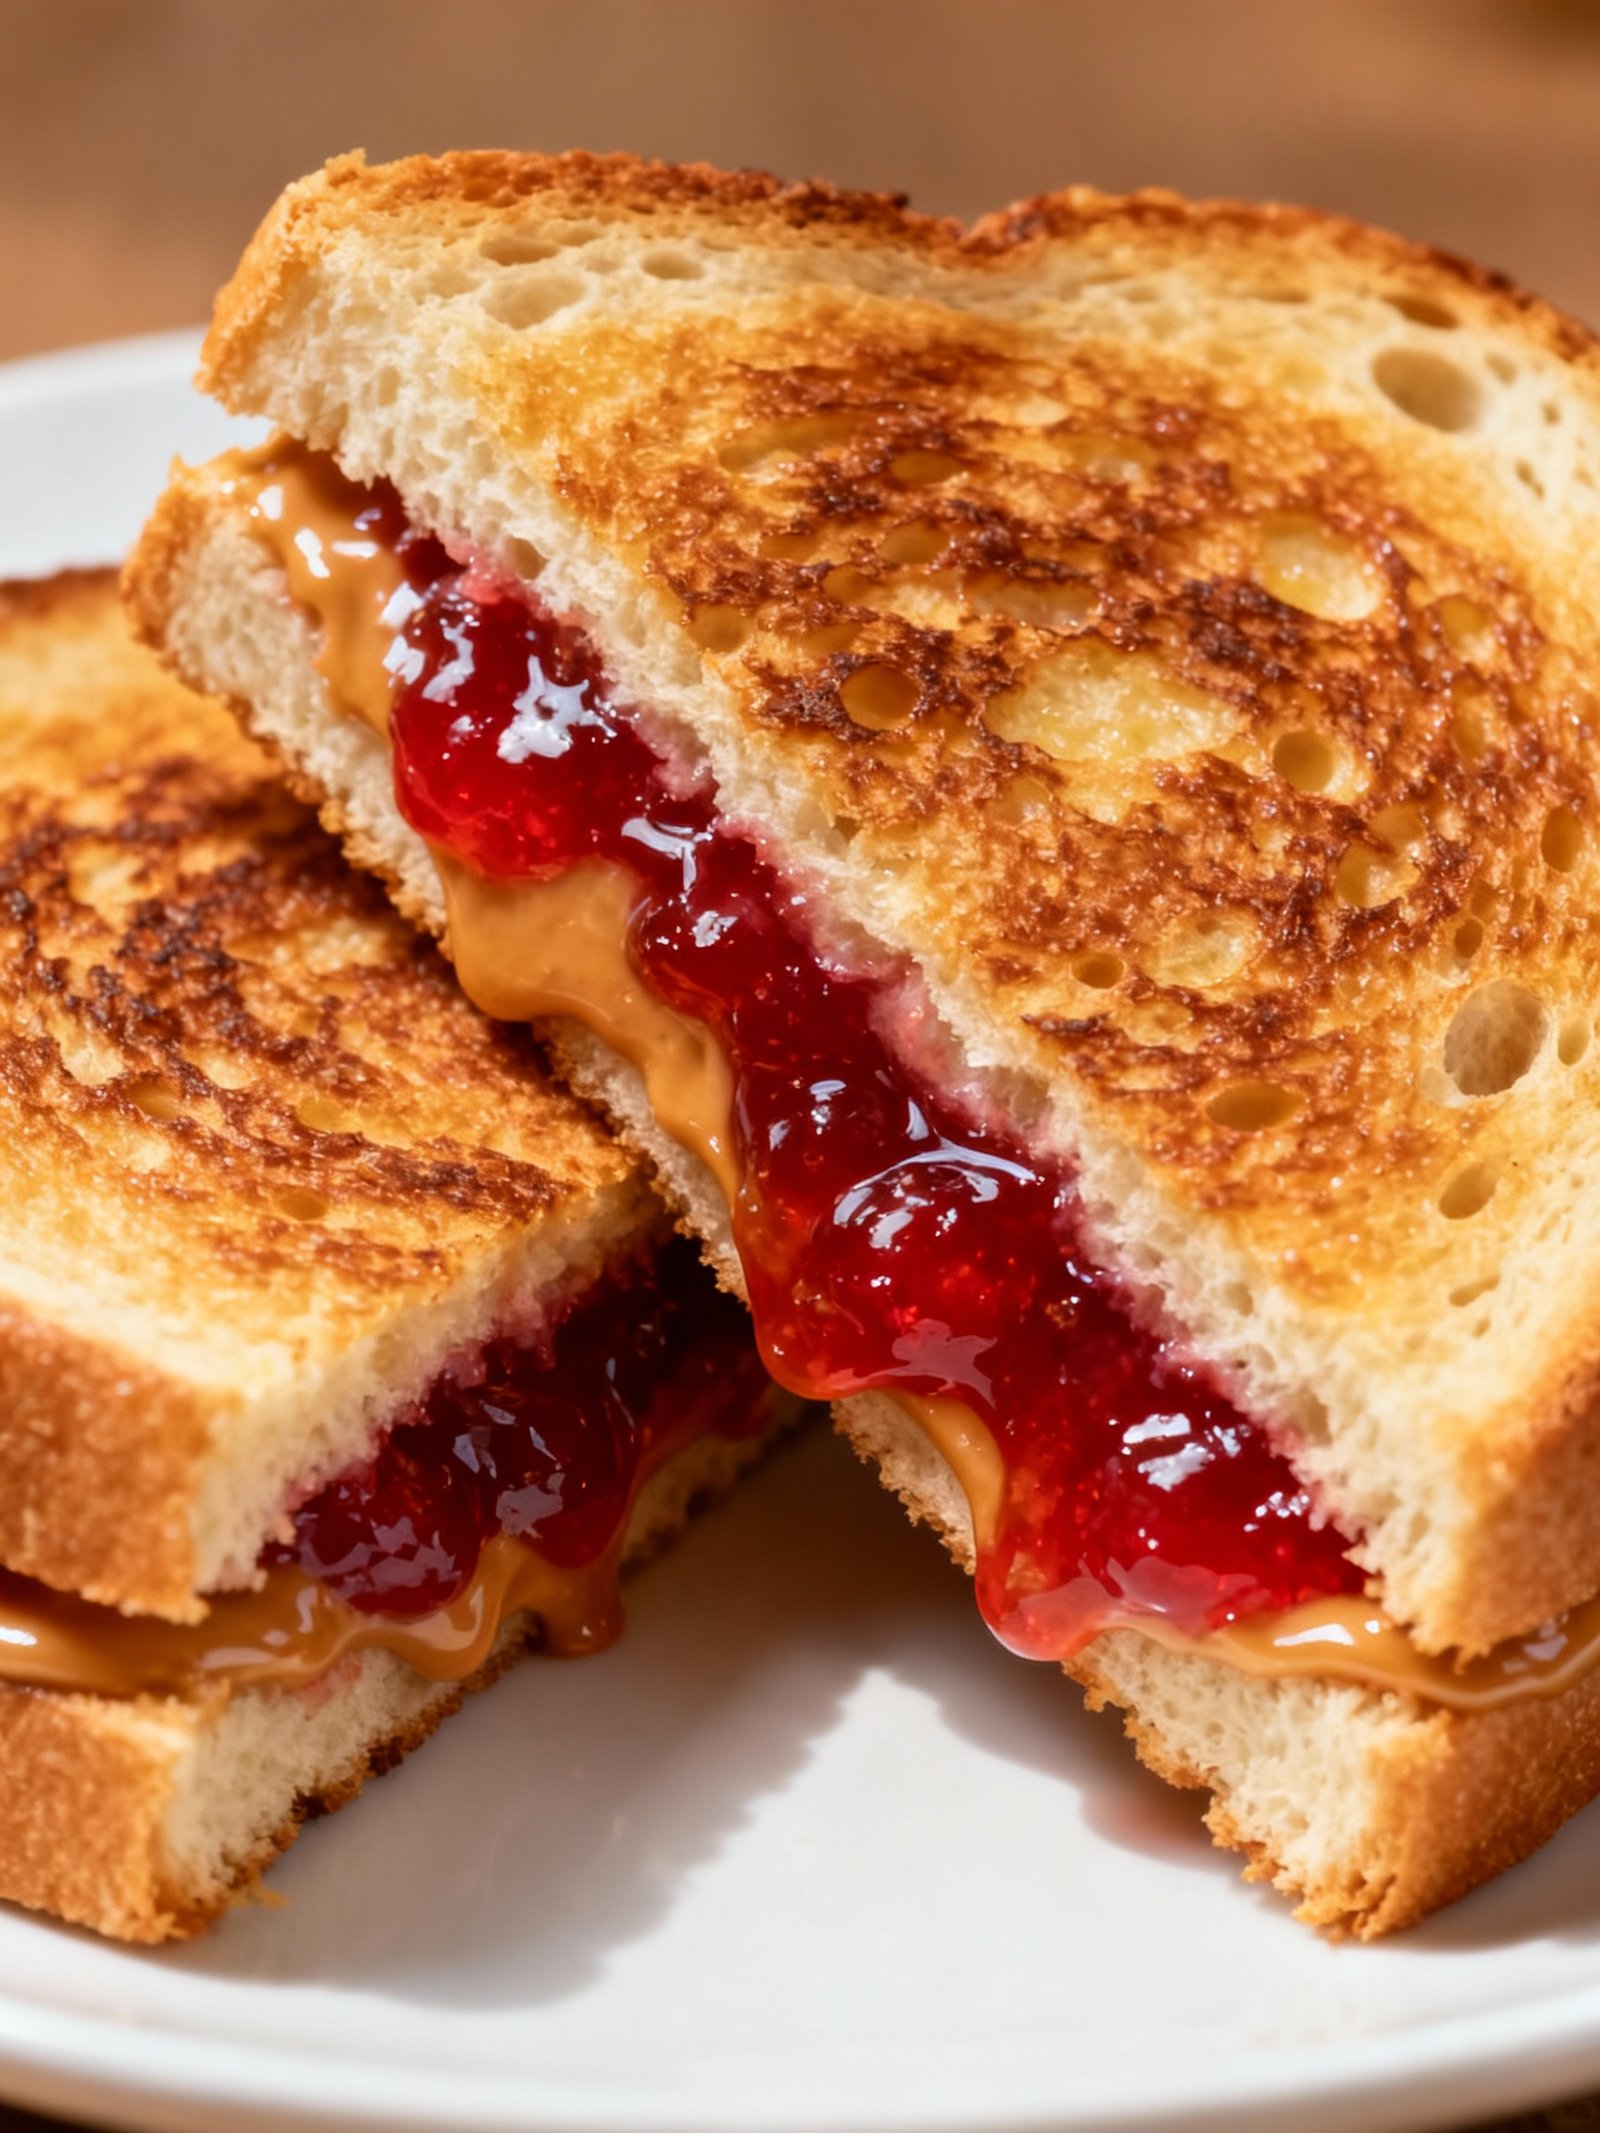
It’s peanut butter jelly time! This classic combination is a nostalgic favorite that never goes out of style. Whether you’re making a quick lunch or a fun snack, this simple recipe delivers the perfect balance of creamy and sweet. For more peanut butter treats, try the Decadent Reese’s Marshmallow Brownies Recipe or the Trisha Yearwood’s Butterscotch Bars Recipe.
Ingredients
The simple combination of creamy peanut butter and sweet, fruity jelly spread between soft, fresh bread creates a nostalgic comfort food that’s both satisfying and easy to make.
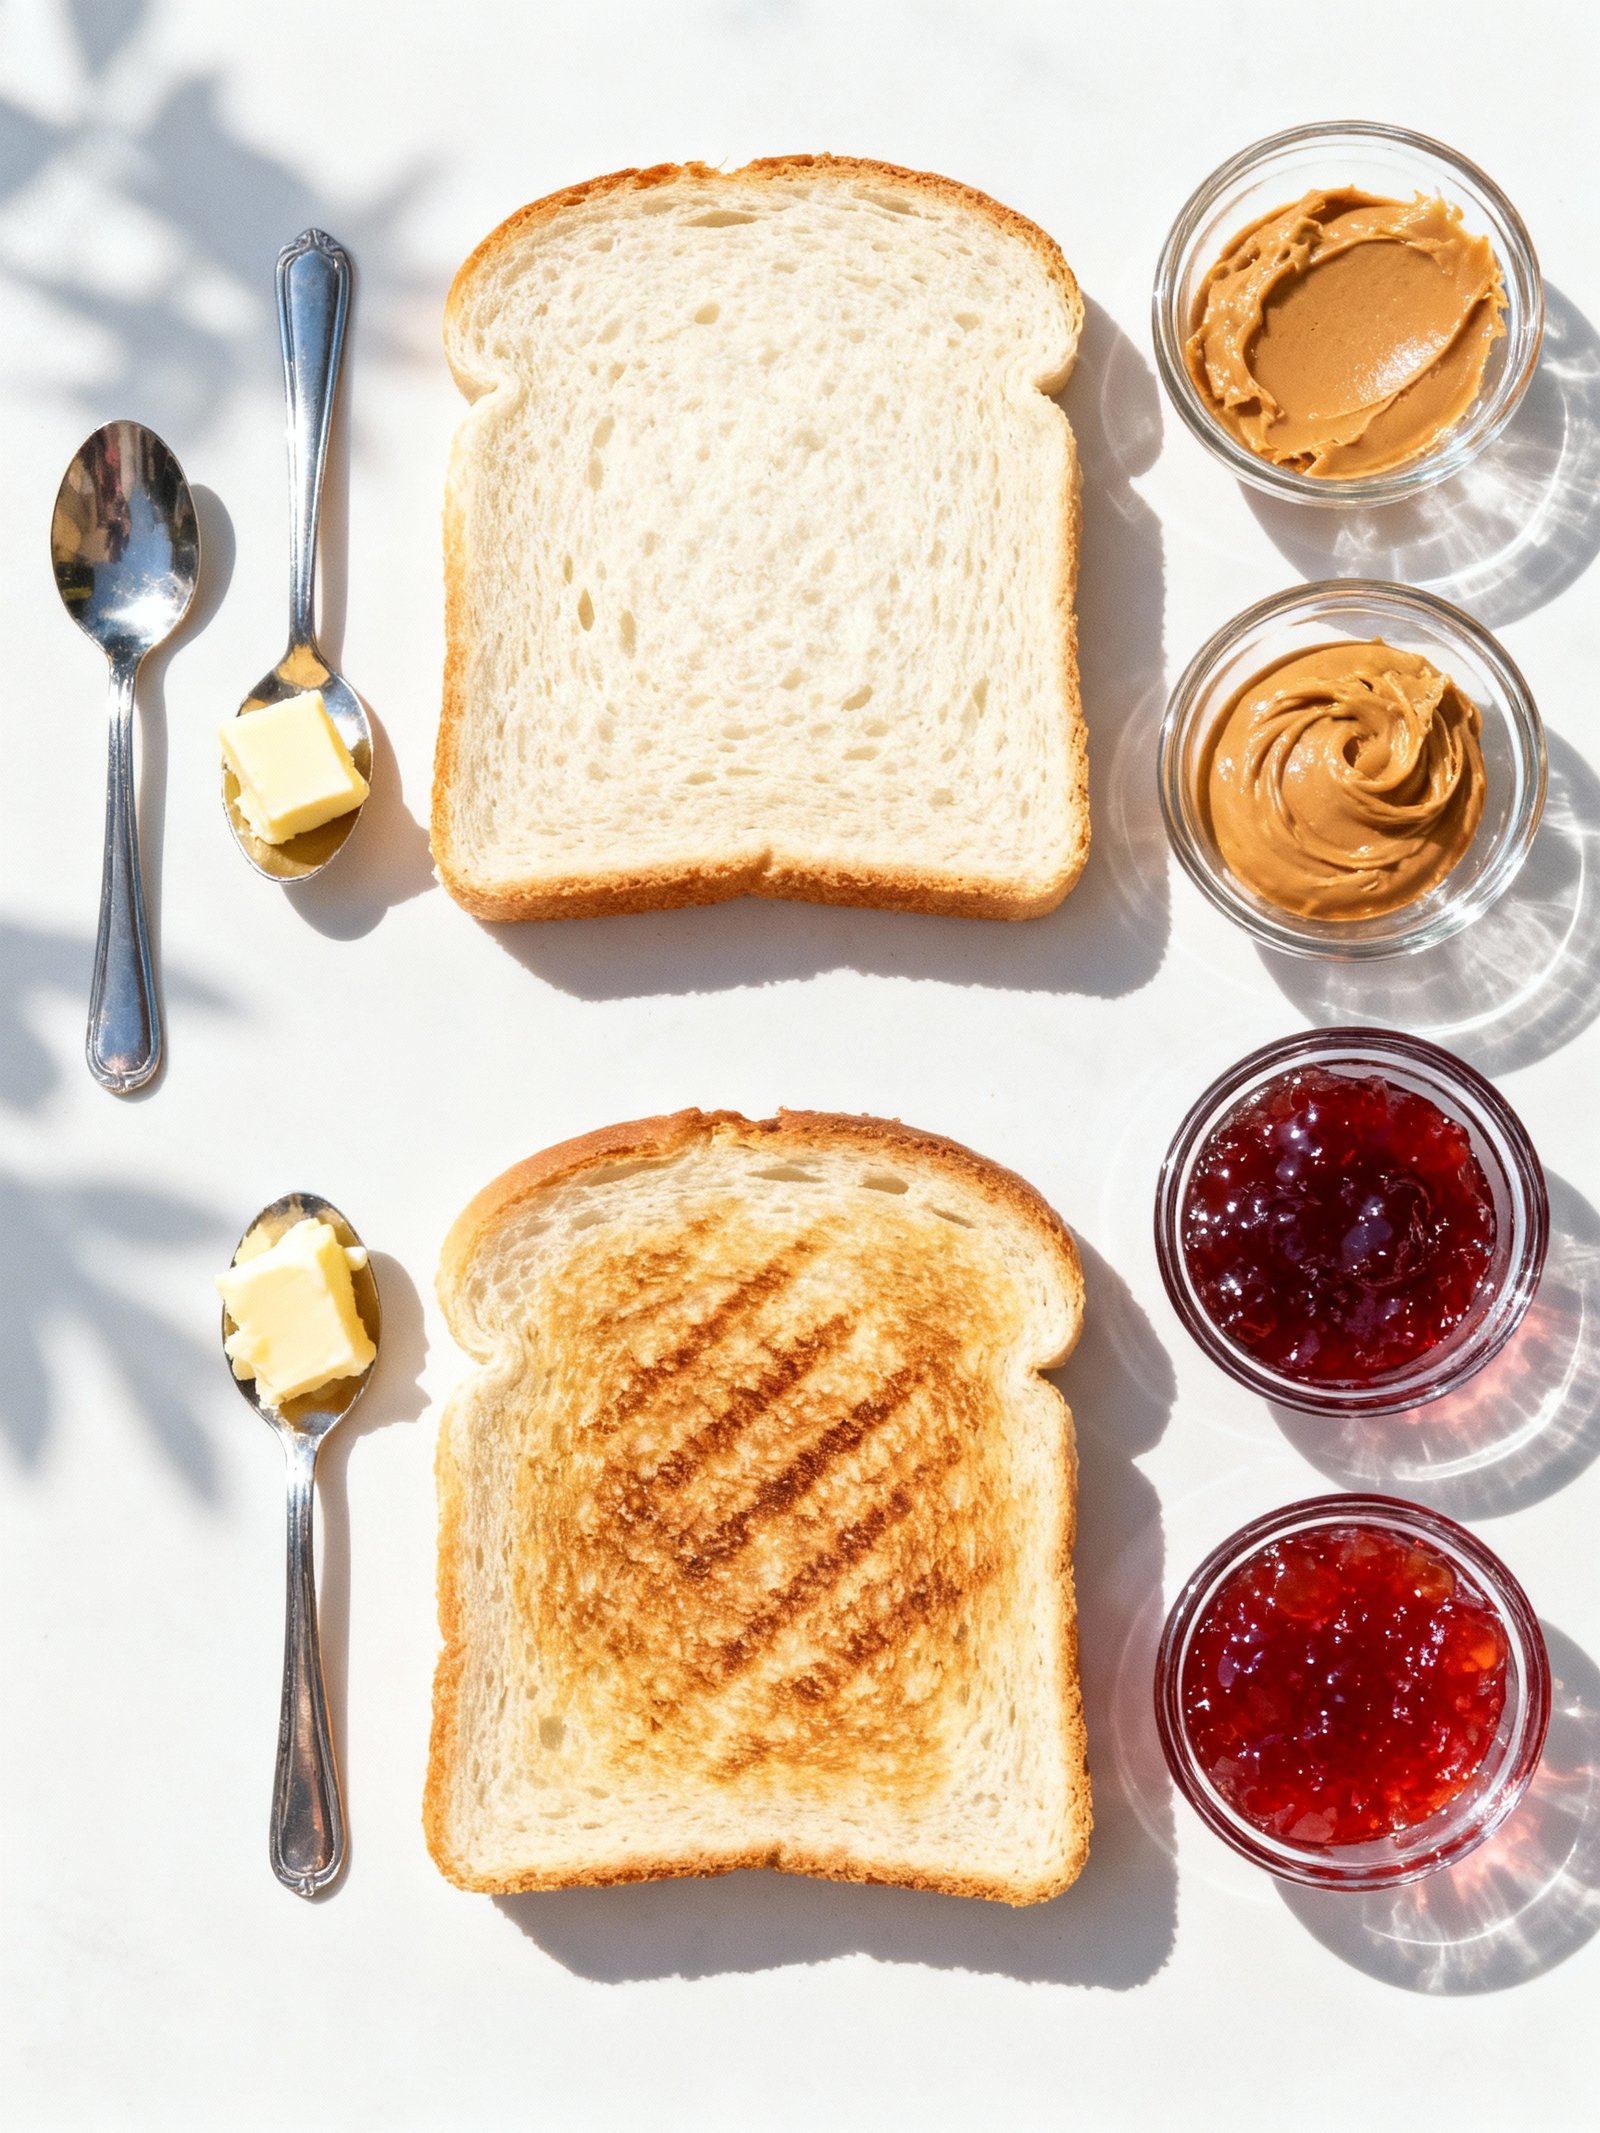
- 2 slices of bread (white, wheat, or your favorite variety)
- 2 tablespoons peanut butter (creamy or crunchy)
- 1 tablespoon jelly or jam (grape, strawberry, or your preferred flavor)
Timing
| Prep Time | 5 minutes |
| Cook Time | 0 minutes |
| Total Time | 5 minutes |
Context: This “It’s peanut butter jelly time” recipe is about 50% faster than similar recipes since it requires no cooking.
Step-by-Step Instructions
Step 1 — Gather Your Ingredients
For this classic “It’s peanut butter jelly time” recipe, you’ll need two slices of your preferred bread, smooth or crunchy peanut butter, and your favorite fruit jelly or jam. Optional additions include honey or sliced bananas for extra flavor.
Ensure all ingredients are at room temperature for easier spreading and better texture integration.
Step 2 — Prepare Your Work Surface
Lay both bread slices flat on a clean cutting board or plate. This prevents countertop contamination and gives you a stable base for assembly.
If toasting your bread, do so lightly until golden brown (about 2-3 minutes in a standard toaster) for enhanced flavor and structural integrity.
Step 3 — Spread the Peanut Butter
Using a butter knife, spread an even layer of peanut butter on one slice of bread. Cover the entire surface edge-to-edge to prevent dry spots.
For optimal consistency, stir natural peanut butter thoroughly if oil separation has occurred. Aim for about 2 tablespoons per sandwich.
Step 4 — Apply the Jelly
On the second bread slice, spread your jelly evenly using a separate knife or a clean side of your spreader. This prevents flavor cross-contamination.
Use approximately 1½ tablespoons of jelly—enough for flavor without making the bread soggy. For chunkier preserves, distribute fruit pieces evenly.
Step 5 — Combine the Slices
Carefully place the jelly-covered slice on top of the peanut butter slice, coated sides facing inward. Press down gently to adhere.
Align the crusts perfectly before pressing to ensure filling doesn’t squeeze out the sides during the final step.
Step 6 — Cut and Serve
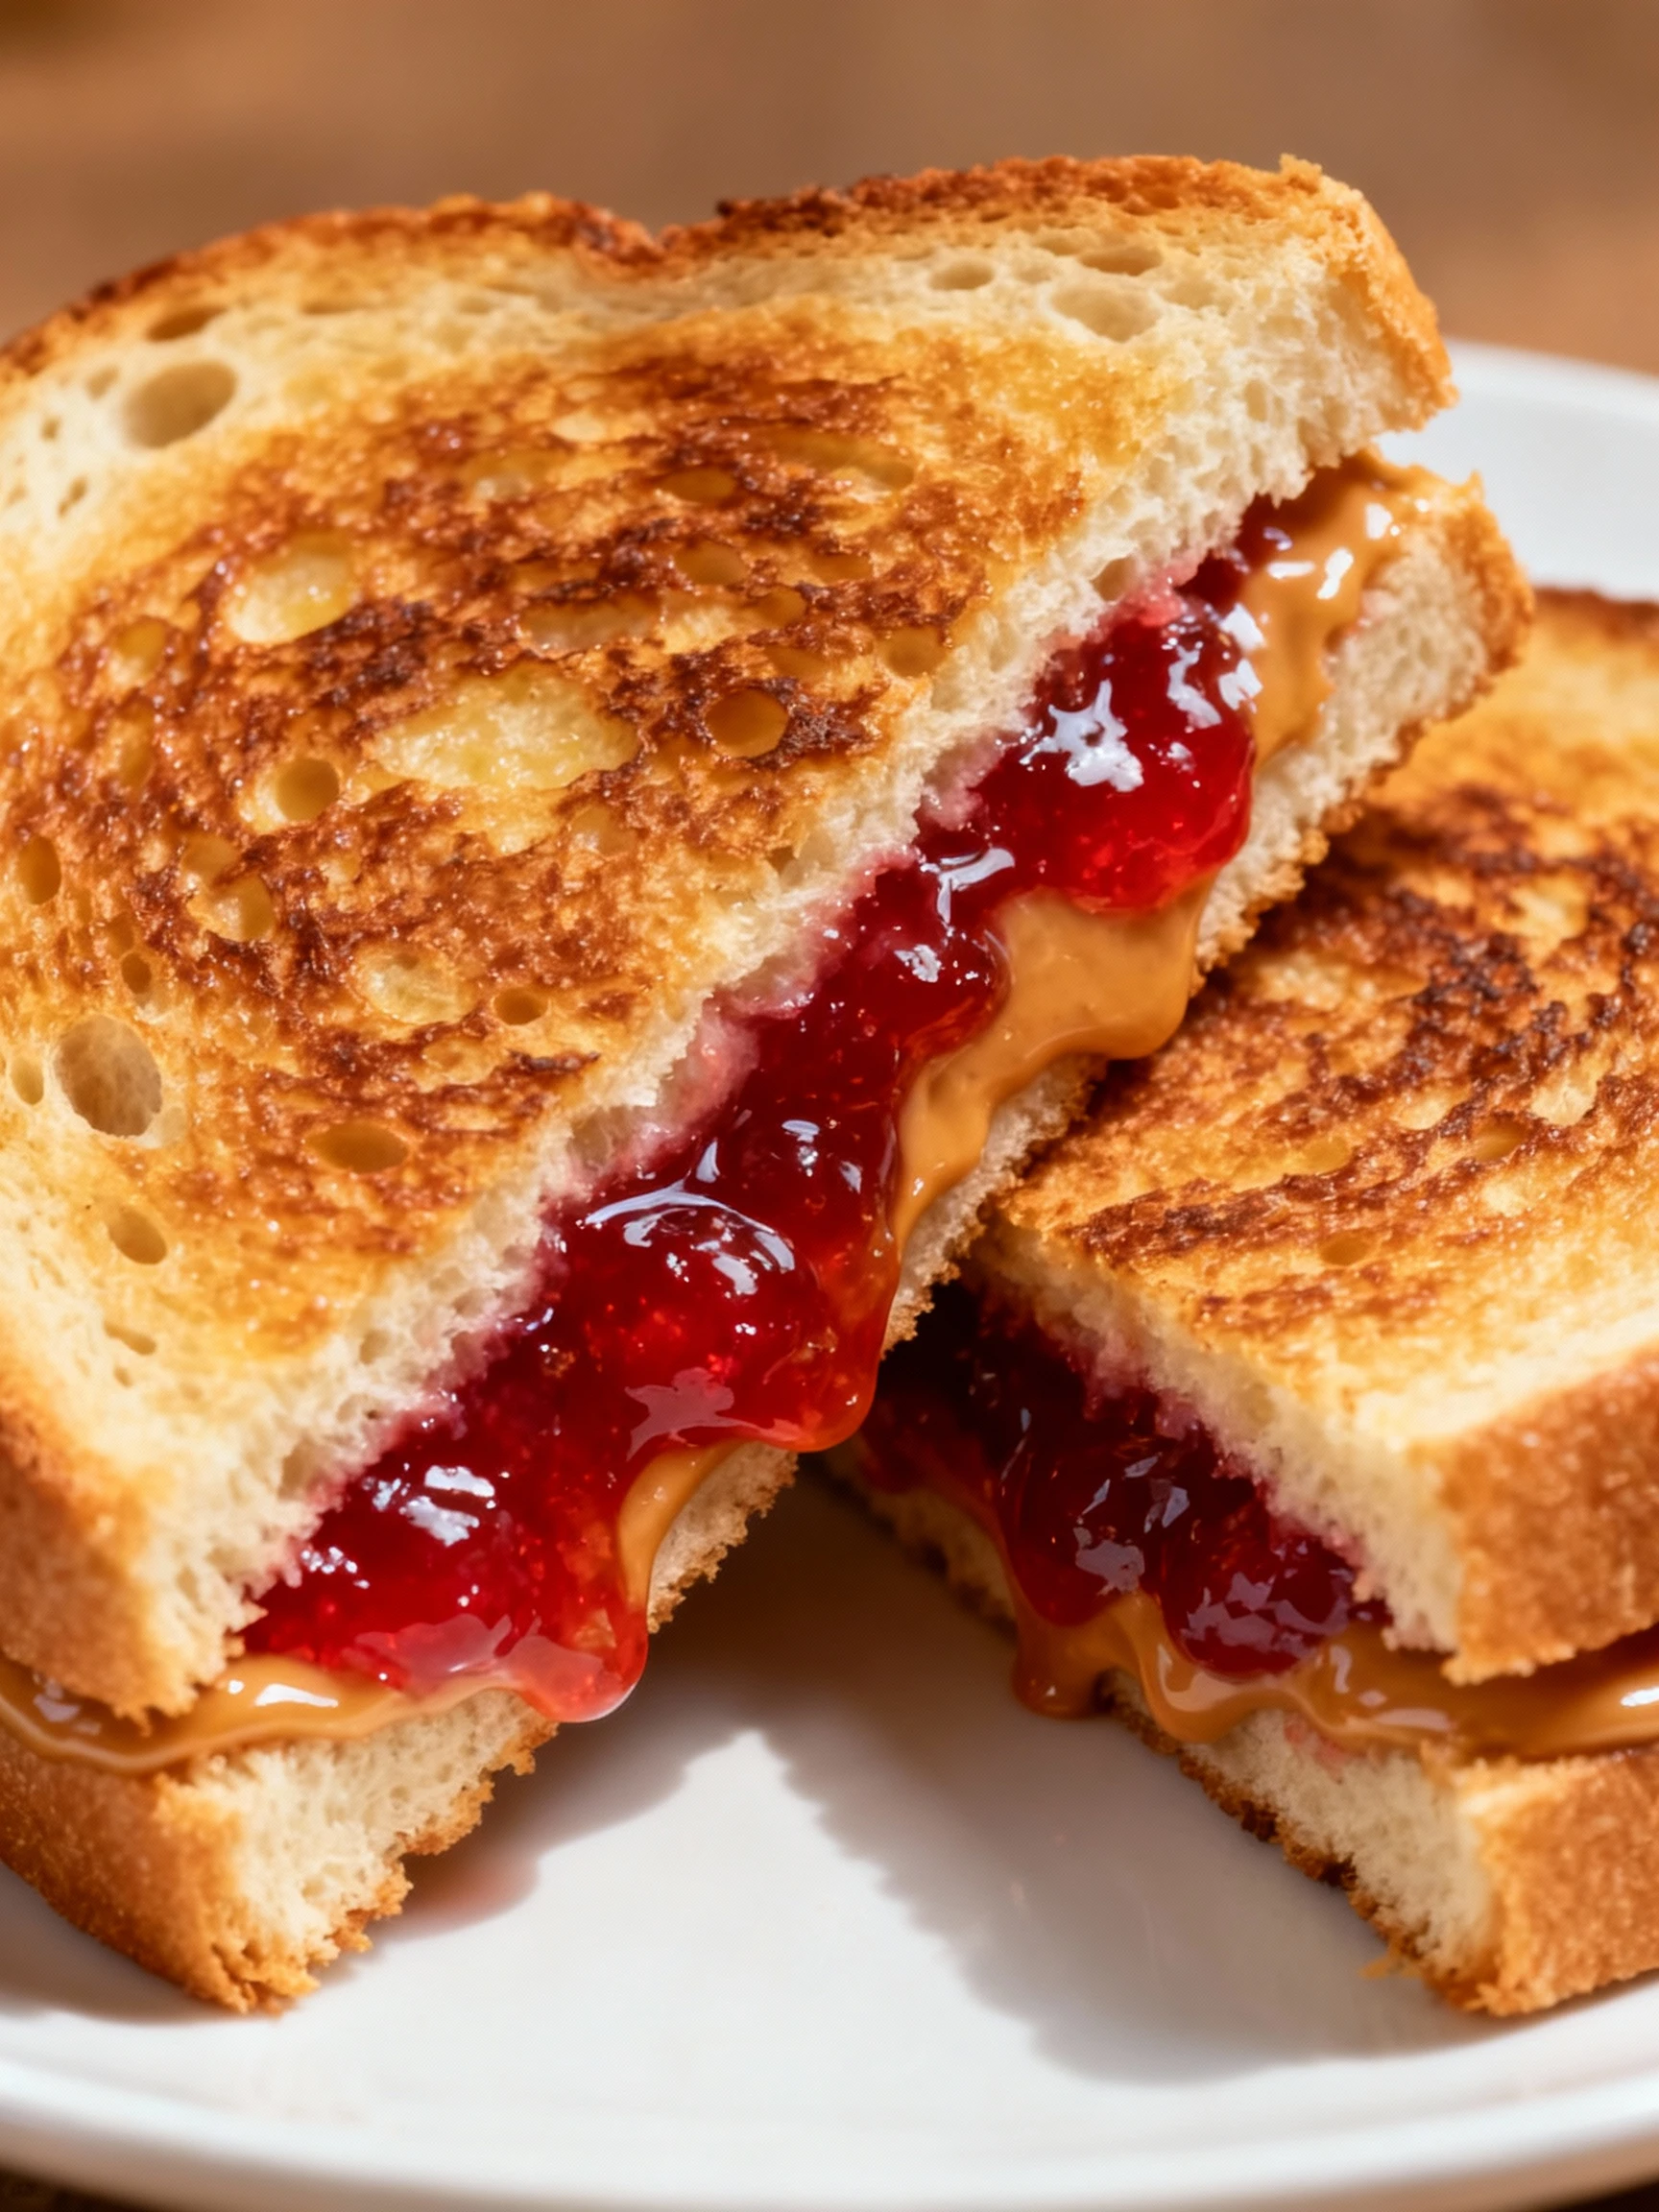
Using a sharp serrated knife, slice the sandwich diagonally from corner to corner. This creates triangles that are easier to handle and visually appealing.
Serve immediately for best texture. If preparing ahead, wrap tightly in wax paper to maintain freshness without becoming soggy.
Nutritional Information
| Calories | 350 |
| Protein | 12g |
| Carbohydrates | 45g |
| Fat | 16g |
| Fiber | 3g |
| Sodium | 280mg |
Note: Estimates based on typical ingredients and serving size.
Healthier Alternatives
- Almond butter instead of peanut butter — provides a richer, slightly sweeter flavor and more vitamin E.
- Low-sugar chia seed jam instead of regular jelly — adds fiber and omega-3s with a naturally thickened texture.
- Whole grain or gluten-free bread instead of white bread — boosts fiber content and offers a heartier, nuttier taste.
- Greek yogurt or dairy-free yogurt spread instead of butter — increases protein while keeping it creamy and tangy.
- Low-carb tortilla or lettuce wrap instead of bread — reduces carbs and calories for a lighter, crispier option.
- Unsweetened apple butter instead of jelly — delivers natural sweetness with no added sugar and a warm spice note.
- Powdered peanut butter mixed with water instead of regular peanut butter — lowers fat and calories while maintaining classic flavor.
Serving Suggestions
- Pair with a tall glass of cold milk for a classic, comforting combination that complements the creamy peanut butter.
- Serve alongside fresh apple slices or banana coins for a fun, interactive snack that adds a healthy fruit twist.
- Transform it into a dessert by grilling the sandwich until golden brown for a warm, melty, and decadent treat.
- Cut into fun shapes using cookie cutters for kids’ lunches or parties, making the It’s peanut butter jelly time recipe more appealing.
- Pack it for a picnic or hike; it’s a non-perishable, energy-boosting meal perfect for on-the-go occasions.
- Create a deconstructed version by serving the components with crackers or toast points for an elegant, shareable appetizer.
For a beautiful plating tip, dust the plate with a light sprinkle of powdered sugar or add a few whole peanuts and a drizzle of honey for a gourmet touch.
Common Mistakes to Avoid
- Mistake: Using the wrong bread type, leading to sogginess or tearing. Fix: Opt for sturdy, thick-sliced bread like Texas toast or sourdough to maintain structural integrity.
- Mistake: Spreading peanut butter and jelly unevenly, causing messy bites. Fix: Spread ingredients evenly to the edges, creating a consistent flavor and texture in every bite.
- Mistake: Choosing jelly with high water content, which soaks the bread. Fix: Use thicker preserves or fruit spreads to prevent the sandwich from becoming soggy.
- Mistake: Applying peanut butter straight from the fridge, making it hard to spread. Fix: Let peanut butter sit at room temperature for 10-15 minutes for a smooth, easy spread.
- Mistake: Overfilling the sandwich, causing the fillings to squeeze out. Fix: Use a moderate amount of each spread to keep the sandwich neat and intact.
- Mistake: Not toasting the bread, which can result in a less satisfying texture. Fix: Lightly toast the bread to add a pleasant crunch and help resist sogginess.
- Mistake: Using a dull knife to spread, which can tear the bread. Fix: Use a flexible butter knife for smooth, gentle application without damaging the bread.
- Mistake: Storing the sandwich improperly, leading to quick staleness. Fix: Wrap it tightly in wax paper or store in an airtight container to maintain freshness.
- Mistake: Ignoring flavor balance by using overly sweet ingredients. Fix: Pair sweet jelly with natural, unsweetened peanut butter for a more balanced taste.
- Mistake: Cutting the sandwich with a sawing motion, which mashes the fillings. Fix: Use a sharp serrated knife and a gentle pressing motion for a clean cut.
Storing Tips
- Fridge: Store your peanut butter jelly time sandwiches in an airtight container for up to 2 days to maintain freshness.
- Freezer: Wrap each sandwich tightly in plastic wrap and place in a freezer-safe bag for up to 1 month.
- Reheat: For a warm sandwich, reheat in a toaster oven or skillet until the internal temperature reaches at least 165°F for food safety.
Always use clean, sealed containers to prevent contamination and preserve the delicious peanut butter jelly time flavor.
Conclusion
This classic peanut butter jelly time recipe delivers the perfect nostalgic flavor combination. It’s quick, easy, and always satisfying. Give this simple recipe a try and share your results in the comments below!
PrintClassic Peanut Butter and Jelly Sandwich

A simple, classic peanut butter and jelly sandwich made with white bread, peanut butter, and fruit jelly. Perfect for a quick and nostalgic snack.
- Prep Time: 5 minutes
- Cook Time: 5 minutes (if grilling)
- Total Time: 10 minutes
- Yield: 1 sandwich 1x
- Method: Snack or Lunch
- Cuisine: American
Ingredients
- 2 slices white bread
- 2 teaspoons butter (optional, for grilled version)
- 1 teaspoon peanut butter
- 2 teaspoons fruit jelly
Instructions
- Optional: Spread butter on one side of each slice of bread if grilling.
- Spread peanut butter evenly on one slice of bread.
- Spread jelly evenly on the other slice of bread.
- Put the two slices together, with the peanut butter and jelly sides facing each other.
- If desired, grill the sandwich in a skillet over medium heat until golden brown on both sides and peanut butter is melted, about 2-3 minutes per side.
- Serve immediately.
Notes
For a crunchy twist, grill the sandwich with butter on the bread outside before toasting. Adjust peanut butter and jelly amounts to taste for creaminess or sweetness. Toasted bread enhances texture but can be served untoasted for a softer bite.
Nutrition
- Calories: 300
- Sugar: 15g
- Sodium: 250mg
- Fat: 15g
- Saturated Fat: 3g
- Unsaturated Fat: 10g
- Trans Fat: 0g
- Carbohydrates: 35g
- Fiber: 3g
- Protein: 8g
- Cholesterol: 5mg
FAQs
What is the best type of bread to use for this It’s peanut butter jelly time recipe?
Soft white or whole wheat sandwich bread works best. It holds the peanut butter and jelly well without tearing. Avoid overly crusty or seeded breads for the classic It’s peanut butter jelly time experience.
Can I make this It’s peanut butter jelly time recipe ahead of time?
Yes, you can prepare sandwiches a few hours in advance. For best results, wrap them tightly in plastic wrap to prevent the bread from drying out. The jelly may soften the bread if stored for too long.
What are some good jelly alternatives for this recipe?
You can use jam, preserves, or even honey for a different flavor. Fruit spreads like strawberry or grape are popular choices. This variation still captures the spirit of It’s peanut butter jelly time.


