
Introduction
It’s peanut butter jelly time! This classic sandwich recipe brings back nostalgic memories with its simple, delicious combination. Whether you’re packing a lunch or craving a quick snack, this timeless favorite never disappoints. For more sweet treats, try the Banana Bread Chocolate Chip Cookies Recipe or the Creamy Banana Pudding Cheesecake Bars Recipe.
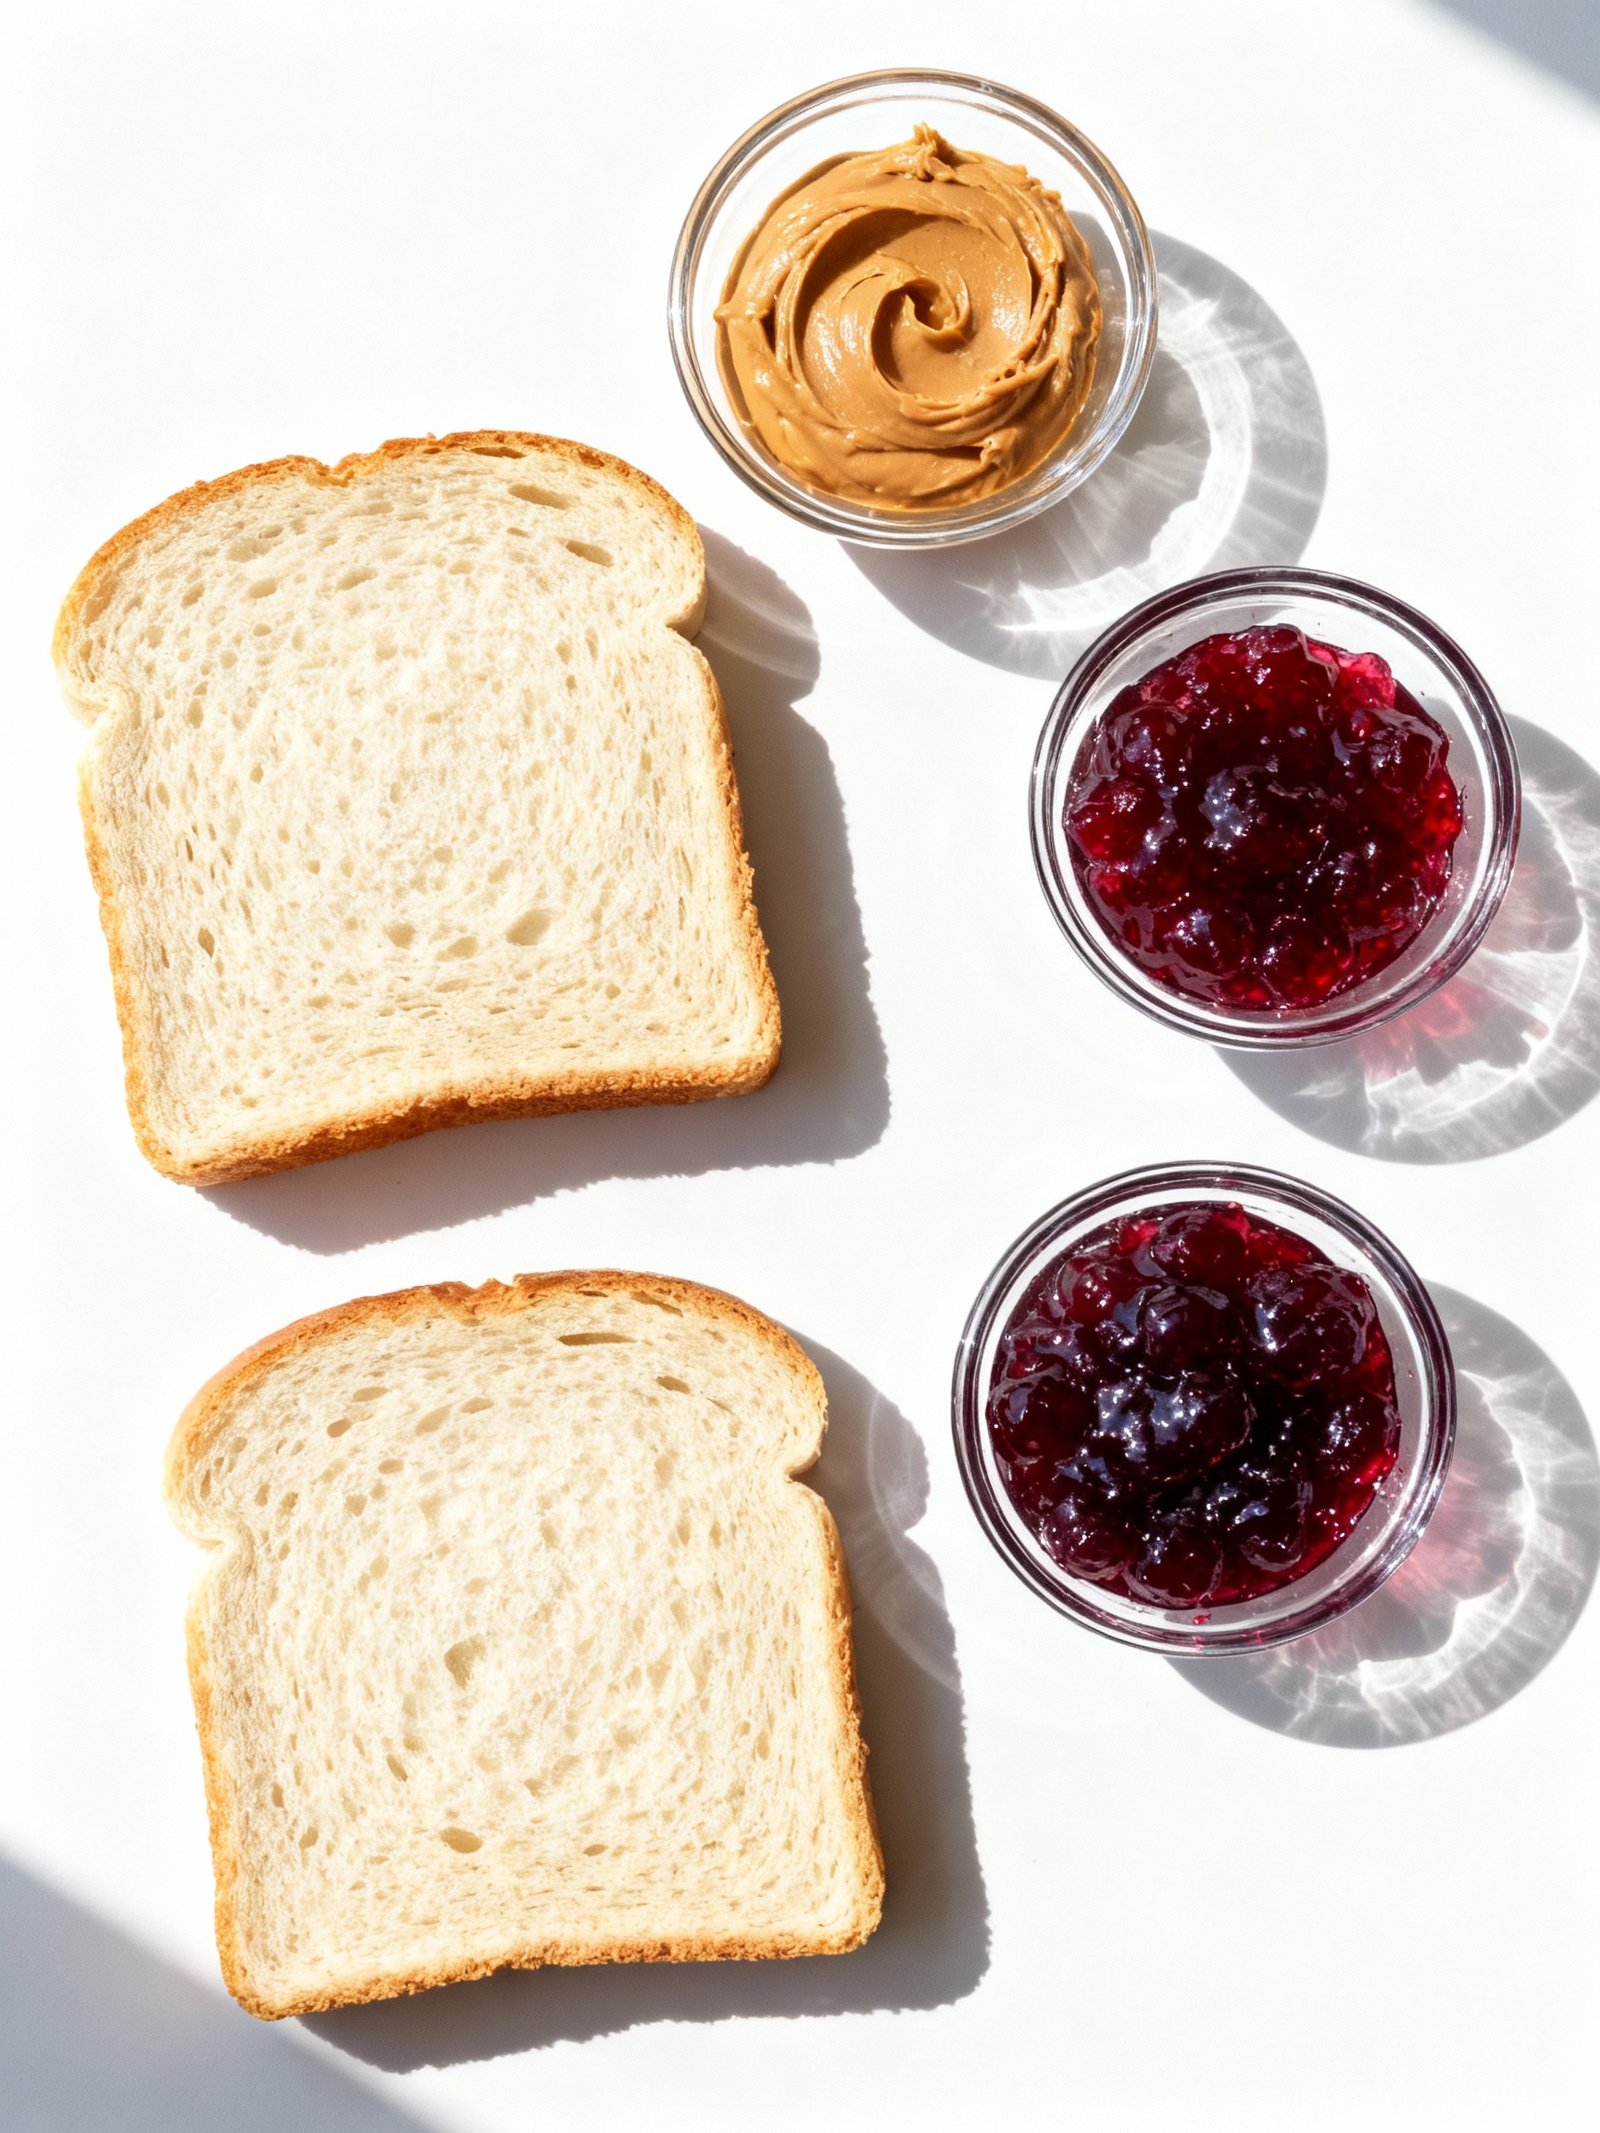
Ingredients
The nostalgic aroma of toasted bread mingling with sweet jelly and rich, creamy peanut butter creates a comforting experience that takes you right back to childhood.
- 2 slices bread (white, wheat, or your favorite variety)
- 2 tablespoons peanut butter (creamy or crunchy)
- 1 tablespoon jelly (grape, strawberry, or your preferred flavor)
Timing
| Prep Time | 5 minutes |
| Cook Time | 0 minutes |
| Total Time | 5 minutes |
Context: This It’s peanut butter jelly time recipe is about 50% faster than similar recipes since it requires no cooking.
Step-by-Step Instructions
Step 1 — Gather Your Ingredients
For this classic peanut butter jelly time recipe, you’ll need two slices of your favorite bread, smooth or crunchy peanut butter, and your preferred jelly or jam. Ensure all ingredients are at room temperature for easier spreading.
Using fresh, soft bread will prevent tearing during assembly. Stale bread can make the sandwich less enjoyable.
Step 2 — Prepare Your Work Surface
Lay both slices of bread flat on a clean cutting board or plate. This setup prevents mess and allows for even spreading.
Keep a damp cloth nearby to wipe your knife between spreads, avoiding flavor mixing.
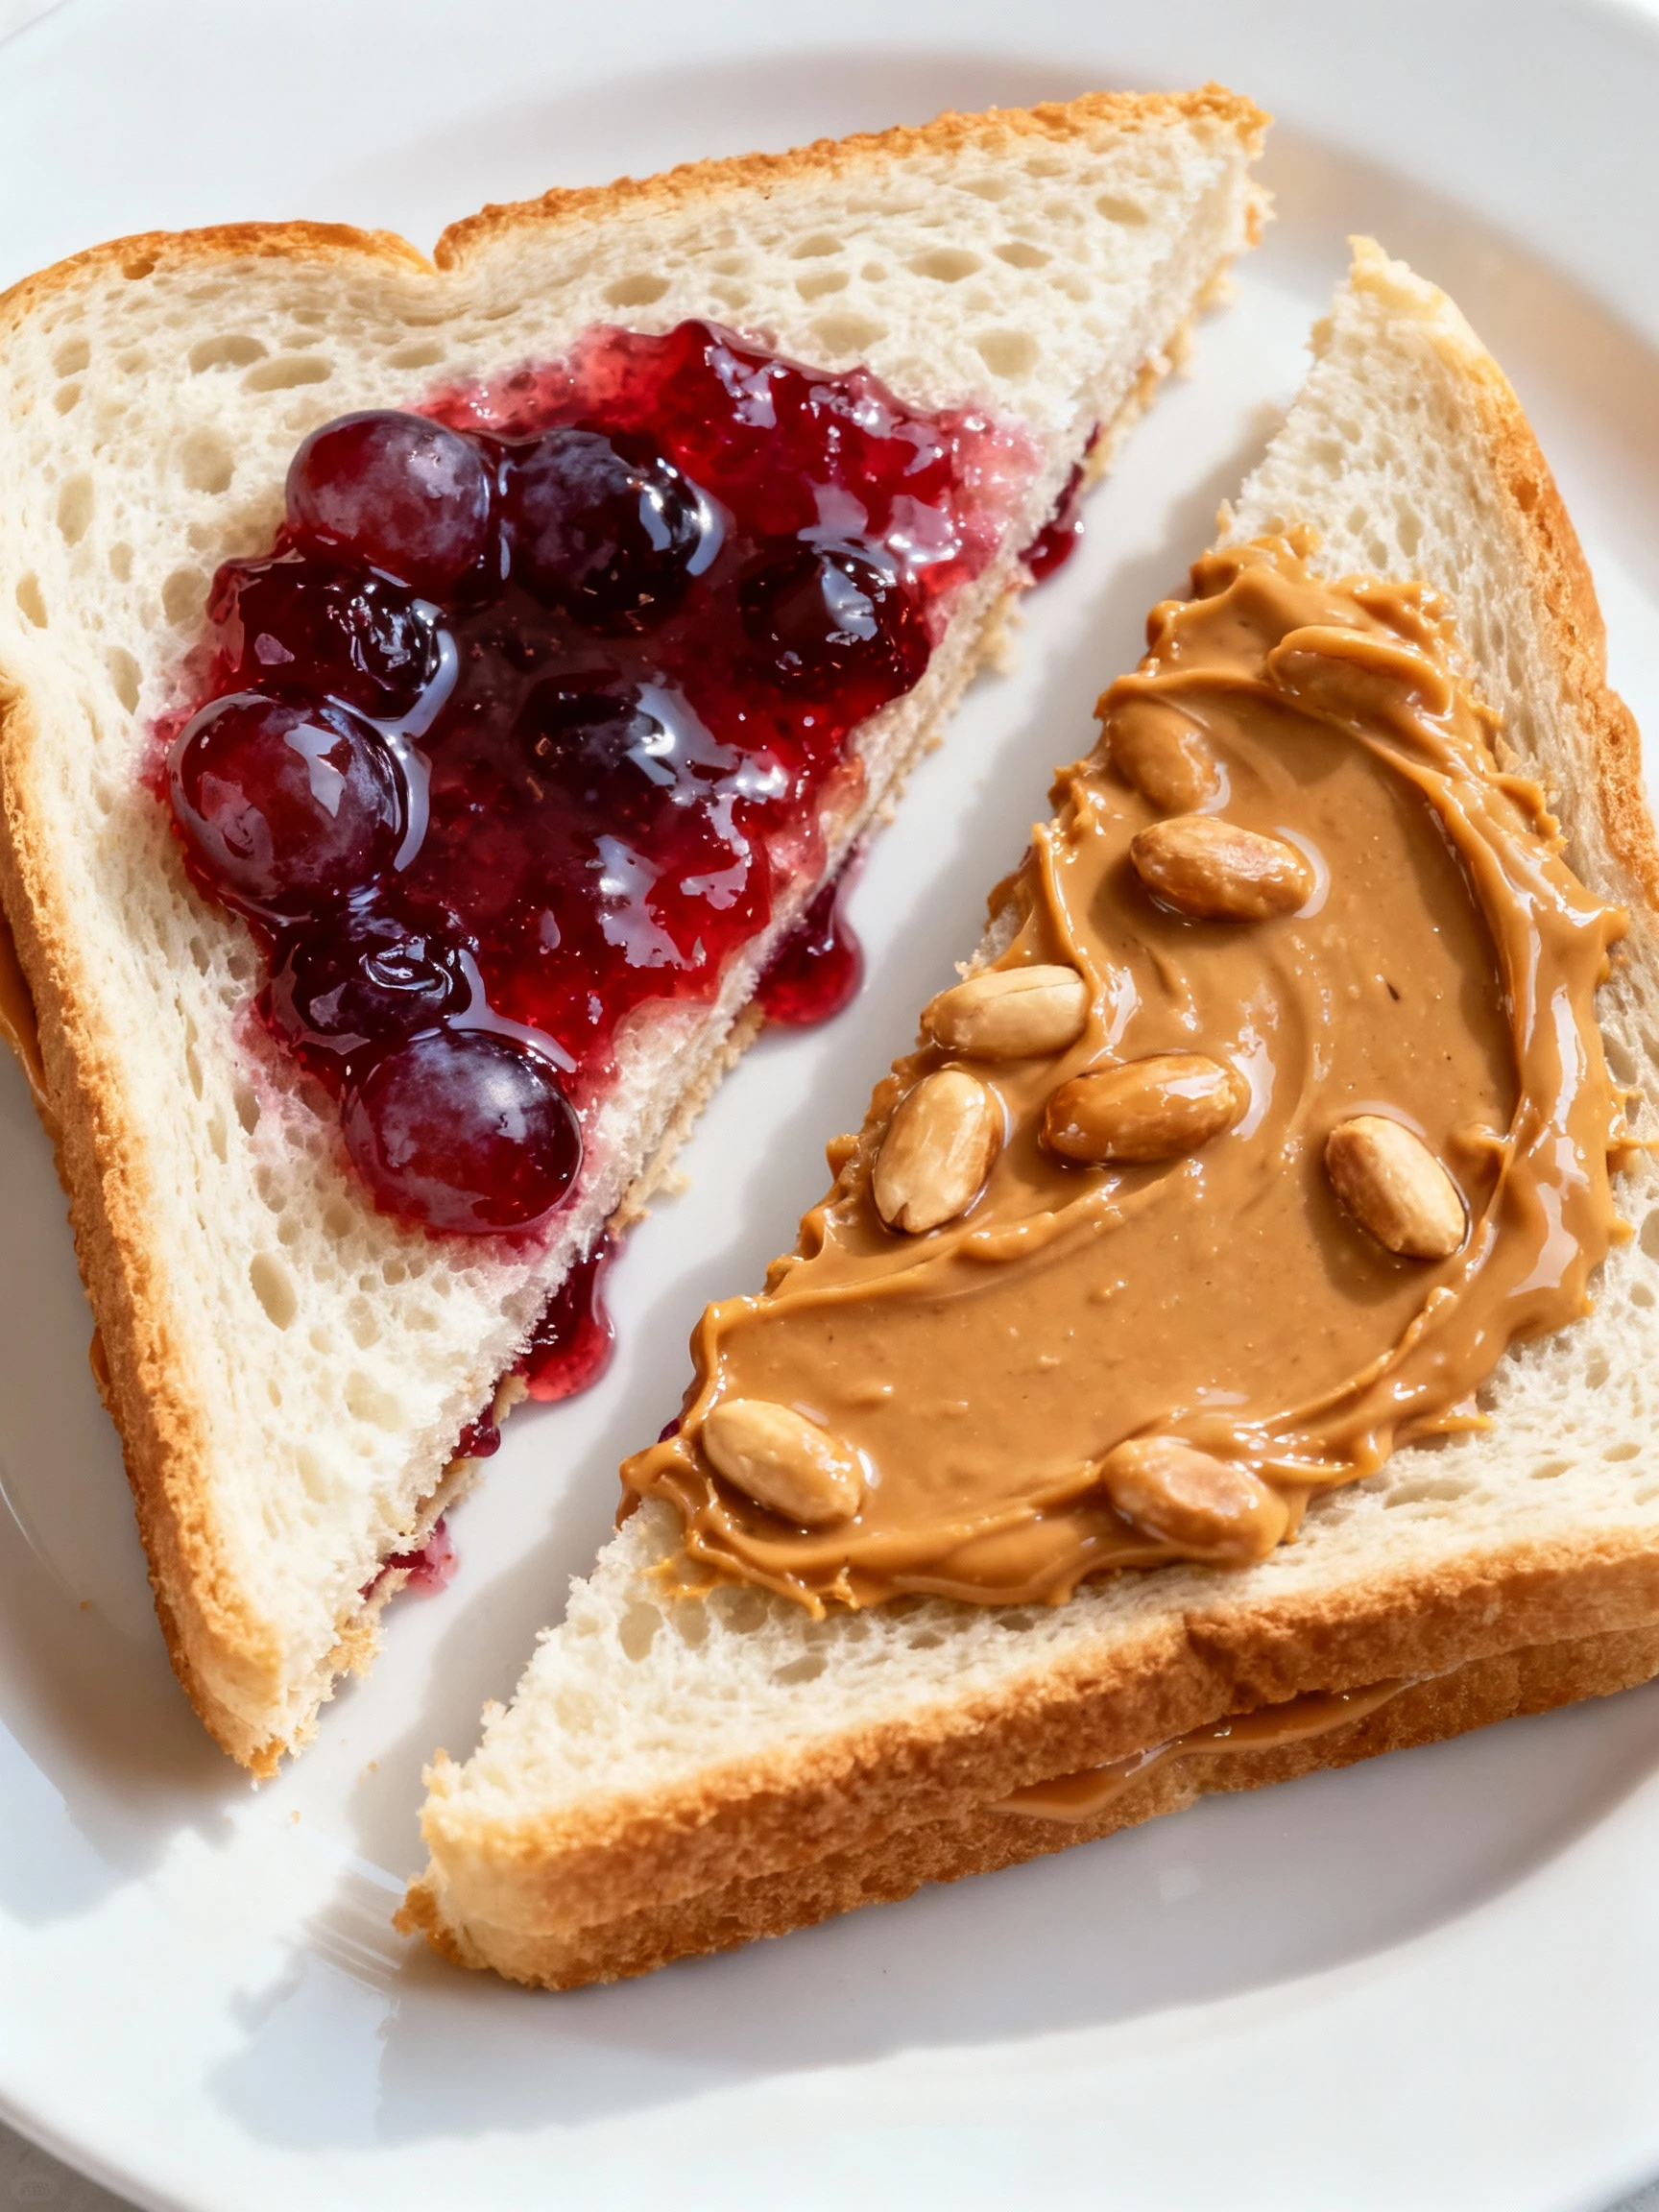
Step 3 — Spread the Peanut Butter
Using a butter knife, spread a generous layer of peanut butter on one slice of bread. Cover the entire surface evenly, reaching the edges to ensure every bite is flavorful.
If your peanut butter is stiff, gently warm it for 10-15 seconds to improve spreadability without making it oily.
Step 4 — Apply the Jelly
On the other slice of bread, spread your jelly evenly. Use a clean knife to prevent peanut butter from mixing into the jelly.
For a less messy sandwich, leave a small border around the edges to contain the jelly when pressed.
Step 5 — Combine the Slices
Carefully place the jelly-covered slice on top of the peanut butter slice, with spreads facing inward. Press down gently to adhere.
Avoid pressing too hard initially to prevent jelly from squeezing out the sides.
Step 6 — Slice and Serve
Using a sharp serrated knife, cut the sandwich diagonally for traditional triangles or straight across for rectangles. A clean cut prevents filling spillage.
Serve immediately for the best texture. If preparing ahead, wrap tightly to keep bread from drying out.
Step 7 — Optional Toasting Variation
For a warm peanut butter jelly time experience, lightly toast the bread before spreading. Toast until golden brown for added crunch.
If toasting, assemble quickly while bread is warm so peanut butter melts slightly for extra creaminess.
Step 8 — Storage Tips
Store any unused peanut butter and jelly at room temperature. Prepared sandwiches are best eaten fresh but can be refrigerated for up to 24 hours.
For longer storage, freeze assembled sandwiches wrapped in parchment paper for up to one month.
Nutritional Information
| Calories | 350 kcal |
| Protein | 12 g |
| Carbohydrates | 45 g |
| Fat | 16 g |
| Fiber | 3 g |
| Sodium | 220 mg |
Note: Estimates based on typical ingredients and serving size.
Healthier Alternatives
- Almond butter — Provides a nuttier flavor with more vitamin E and less saturated fat than traditional peanut butter.
- Powdered peanut butter — Mix with water for a lower-fat, lower-calorie spread that still delivers classic peanut taste.
- Low-sugar fruit preserves — Look for options sweetened with fruit juice or stevia to cut added sugars while keeping the fruity jelly flavor.
- Whole grain or gluten-free bread — Adds fiber and nutrients or accommodates dietary needs without sacrificing texture.
- Mashed berries — Use fresh mashed strawberries or raspberries instead of jelly for a lower-carb, whole-fruit alternative with natural sweetness.
- Seed butter — Sunflower seed butter offers a dairy-free, nut-free option with a rich, slightly earthy flavor profile.
- Low-sodium peanut butter — Choose no-salt-added varieties to significantly reduce sodium content while maintaining the classic peanut butter jelly time taste.
- Greek yogurt spread — Mix plain Greek yogurt with a touch of honey for a high-protein, lower-carb alternative to jelly.
Serving Suggestions
- Pair with a tall glass of cold milk for a classic, comforting combination.
- Serve alongside fresh apple slices or banana coins for a balanced snack.
- Transform it into party finger food by cutting the sandwich into fun shapes using cookie cutters.
- For a warm, decadent treat, grill the sandwich in a buttered pan until golden and crisp.
- Pack it in a lunchbox with carrot sticks and a small container of yogurt for a complete meal.
- Create a brunch board by serving deconstructed elements with assorted breads, nut butters, and fruit preserves.
For an elegant touch, use artisanal bread and serve the sandwich on a wooden board with a dusting of powdered sugar.
Common Mistakes to Avoid
- Mistake: Using the wrong bread type, leading to sogginess or structural failure. Fix: Opt for sturdy, thick-sliced bread like sourdough or Texas toast to maintain integrity.
- Mistake: Spreading peanut butter and jelly unevenly, causing messy bites. Fix: Spread ingredients evenly to the edges, creating a consistent flavor and texture in every bite.
- Mistake: Choosing jelly with high water content, which soaks into the bread. Fix: Use thick, high-quality preserves or fruit spreads to prevent a soggy sandwich.
- Mistake: Applying ingredients straight from the refrigerator, making them hard to spread. Fix: Let peanut butter and jelly sit at room temperature for 10–15 minutes for easier, smoother application.
- Mistake: Overloading the sandwich with fillings, causing it to fall apart. Fix: Use a moderate amount of each spread to keep the sandwich neat and manageable.
- Mistake: Skipping the “seal” around the edges, allowing fillings to leak out. Fix: Press the crust edges firmly after assembly to create a tight seal.
- Mistake: Using warm or freshly toasted bread for immediate assembly, which can make the bread gummy. Fix: Allow toasted bread to cool slightly before adding spreads to preserve texture.
- Mistake: Neglecting to pair complementary flavors, resulting in a one-dimensional taste. Fix: Experiment with different jelly flavors like raspberry or apricot to complement the peanut butter’s richness.
- Mistake: Cutting the sandwich with a dull knife, which squishes rather than slices cleanly. Fix: Use a sharp serrated knife for a clean cut that preserves the sandwich’s structure.
- Mistake: Storing the sandwich improperly for later, leading to sogginess. Fix: Wrap tightly in wax paper or store in an airtight container to maintain freshness and texture.
Storing Tips
- Fridge: Store in an airtight container for up to 3 days. Keep refrigerated at or below 40°F for food safety.
- Freezer: Wrap tightly or place in a freezer-safe container for up to 1 month. Thaw in the refrigerator before reheating.
- Reheat: Warm gently in a microwave or oven until it reaches an internal temperature of 165°F, stirring occasionally for even heating.
For the best texture and flavor, enjoy your peanut butter jelly creation fresh, but these tips will keep it tasty and safe when stored properly.
Conclusion
This classic peanut butter jelly time recipe delivers the perfect nostalgic comfort food. It’s simple to make and always satisfying. For more sweet treats, try this easy Hot Fudge recipe or these Acorn Cookies are almost too cute to eat and with just three ingredients they come together so quickly. Give this recipe a try and share your results in the comments!
PrintPeanut Butter and Jelly Sandwich

A classic peanut butter and jelly sandwich made with creamy peanut butter and grape jelly spread between two slices of bread.
- Prep Time: 5 minutes
- Cook Time: 0 minutes
- Total Time: 5 minutes
- Yield: 1 sandwich 1x
- Method: Snack or Lunch
- Cuisine: American
Ingredients
- 2 slices of bread
- 2 tablespoons peanut butter
- 2 tablespoons grape jelly or jam
Instructions
- Place 2 slices of bread on a plate.
- Spread peanut butter on one side of a slice of bread.
- Spread grape jelly or jam on the other side of the other slice.
- Place the slices together with the peanut butter and jelly sides facing each other.
- Cut the sandwich in half or as desired.
- Enjoy your peanut butter and jelly sandwich!
Notes
To avoid soggy bread for packed lunches, spread peanut butter on both sides of the bread and place the jelly in the middle.
Nutrition
- Calories: 315
- Sugar: 14
- Sodium: 387
- Fat: 10
- Saturated Fat: 2
- Unsaturated Fat: 7
- Trans Fat: 0
- Carbohydrates: 48
- Fiber: 3
- Protein: 9
- Cholesterol: 0
FAQs
Can I use chunky peanut butter for this recipe?
Yes, you can use chunky peanut butter if you prefer a bit of texture. It works perfectly well for this It’s peanut butter jelly time #recipe #cooking #foodasmr #food. The choice between creamy and chunky is entirely up to your personal preference.
What type of jelly or jam works best?
Grape jelly is the classic choice for this It’s peanut butter jelly time #recipe #cooking #foodasmr #food, but strawberry jam or raspberry preserves are also excellent. Use your favorite flavor to make the sandwich uniquely yours.
How can I prevent the bread from getting soggy?
Spread a thin layer of peanut butter on both slices of bread before adding the jelly. This creates a protective barrier that helps keep the bread from becoming soggy, especially if you plan to pack the sandwich for later.


