Introduction
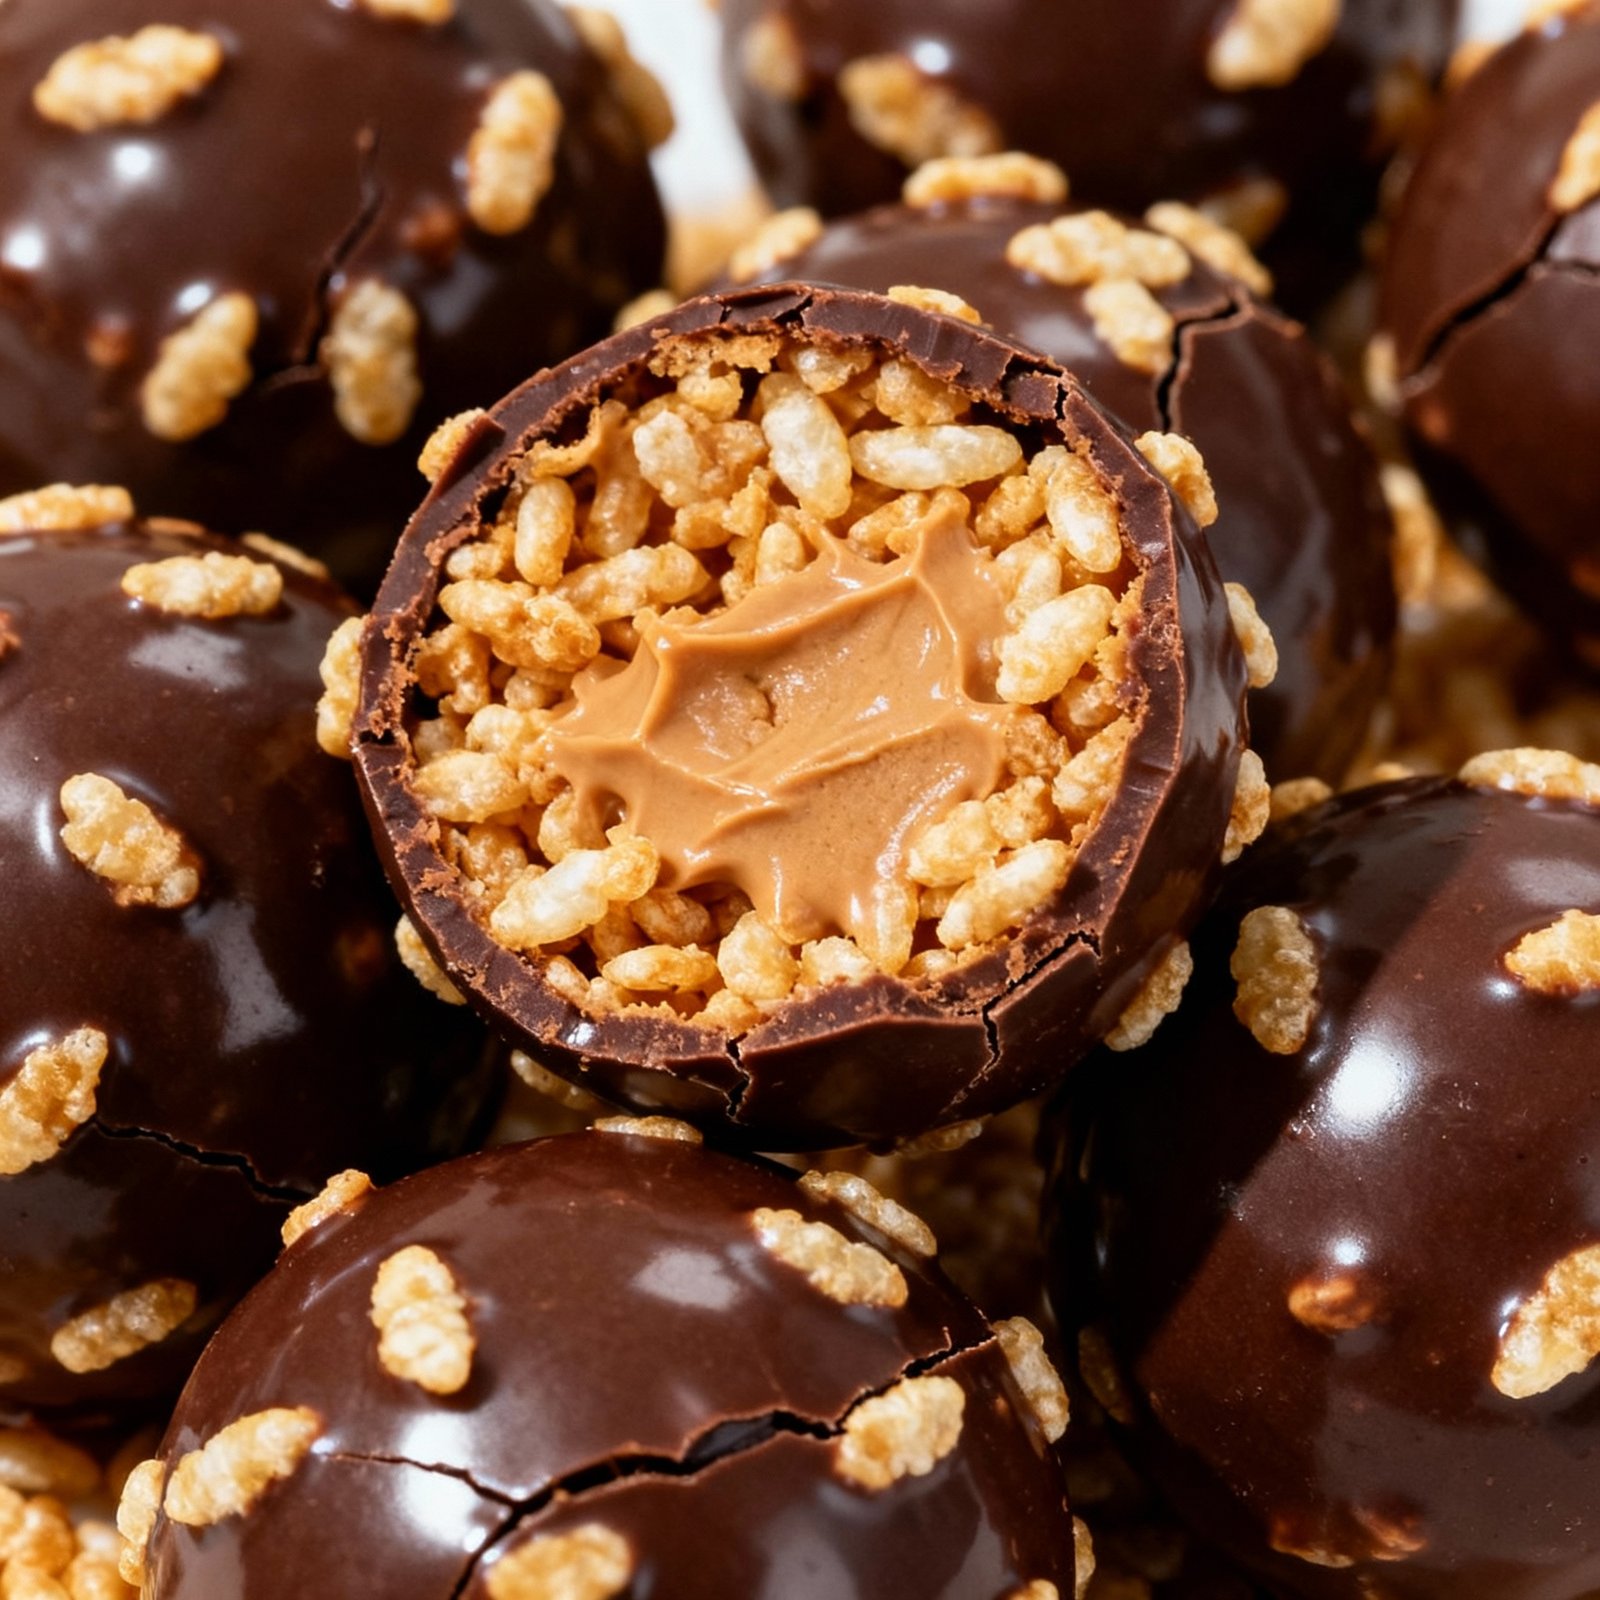
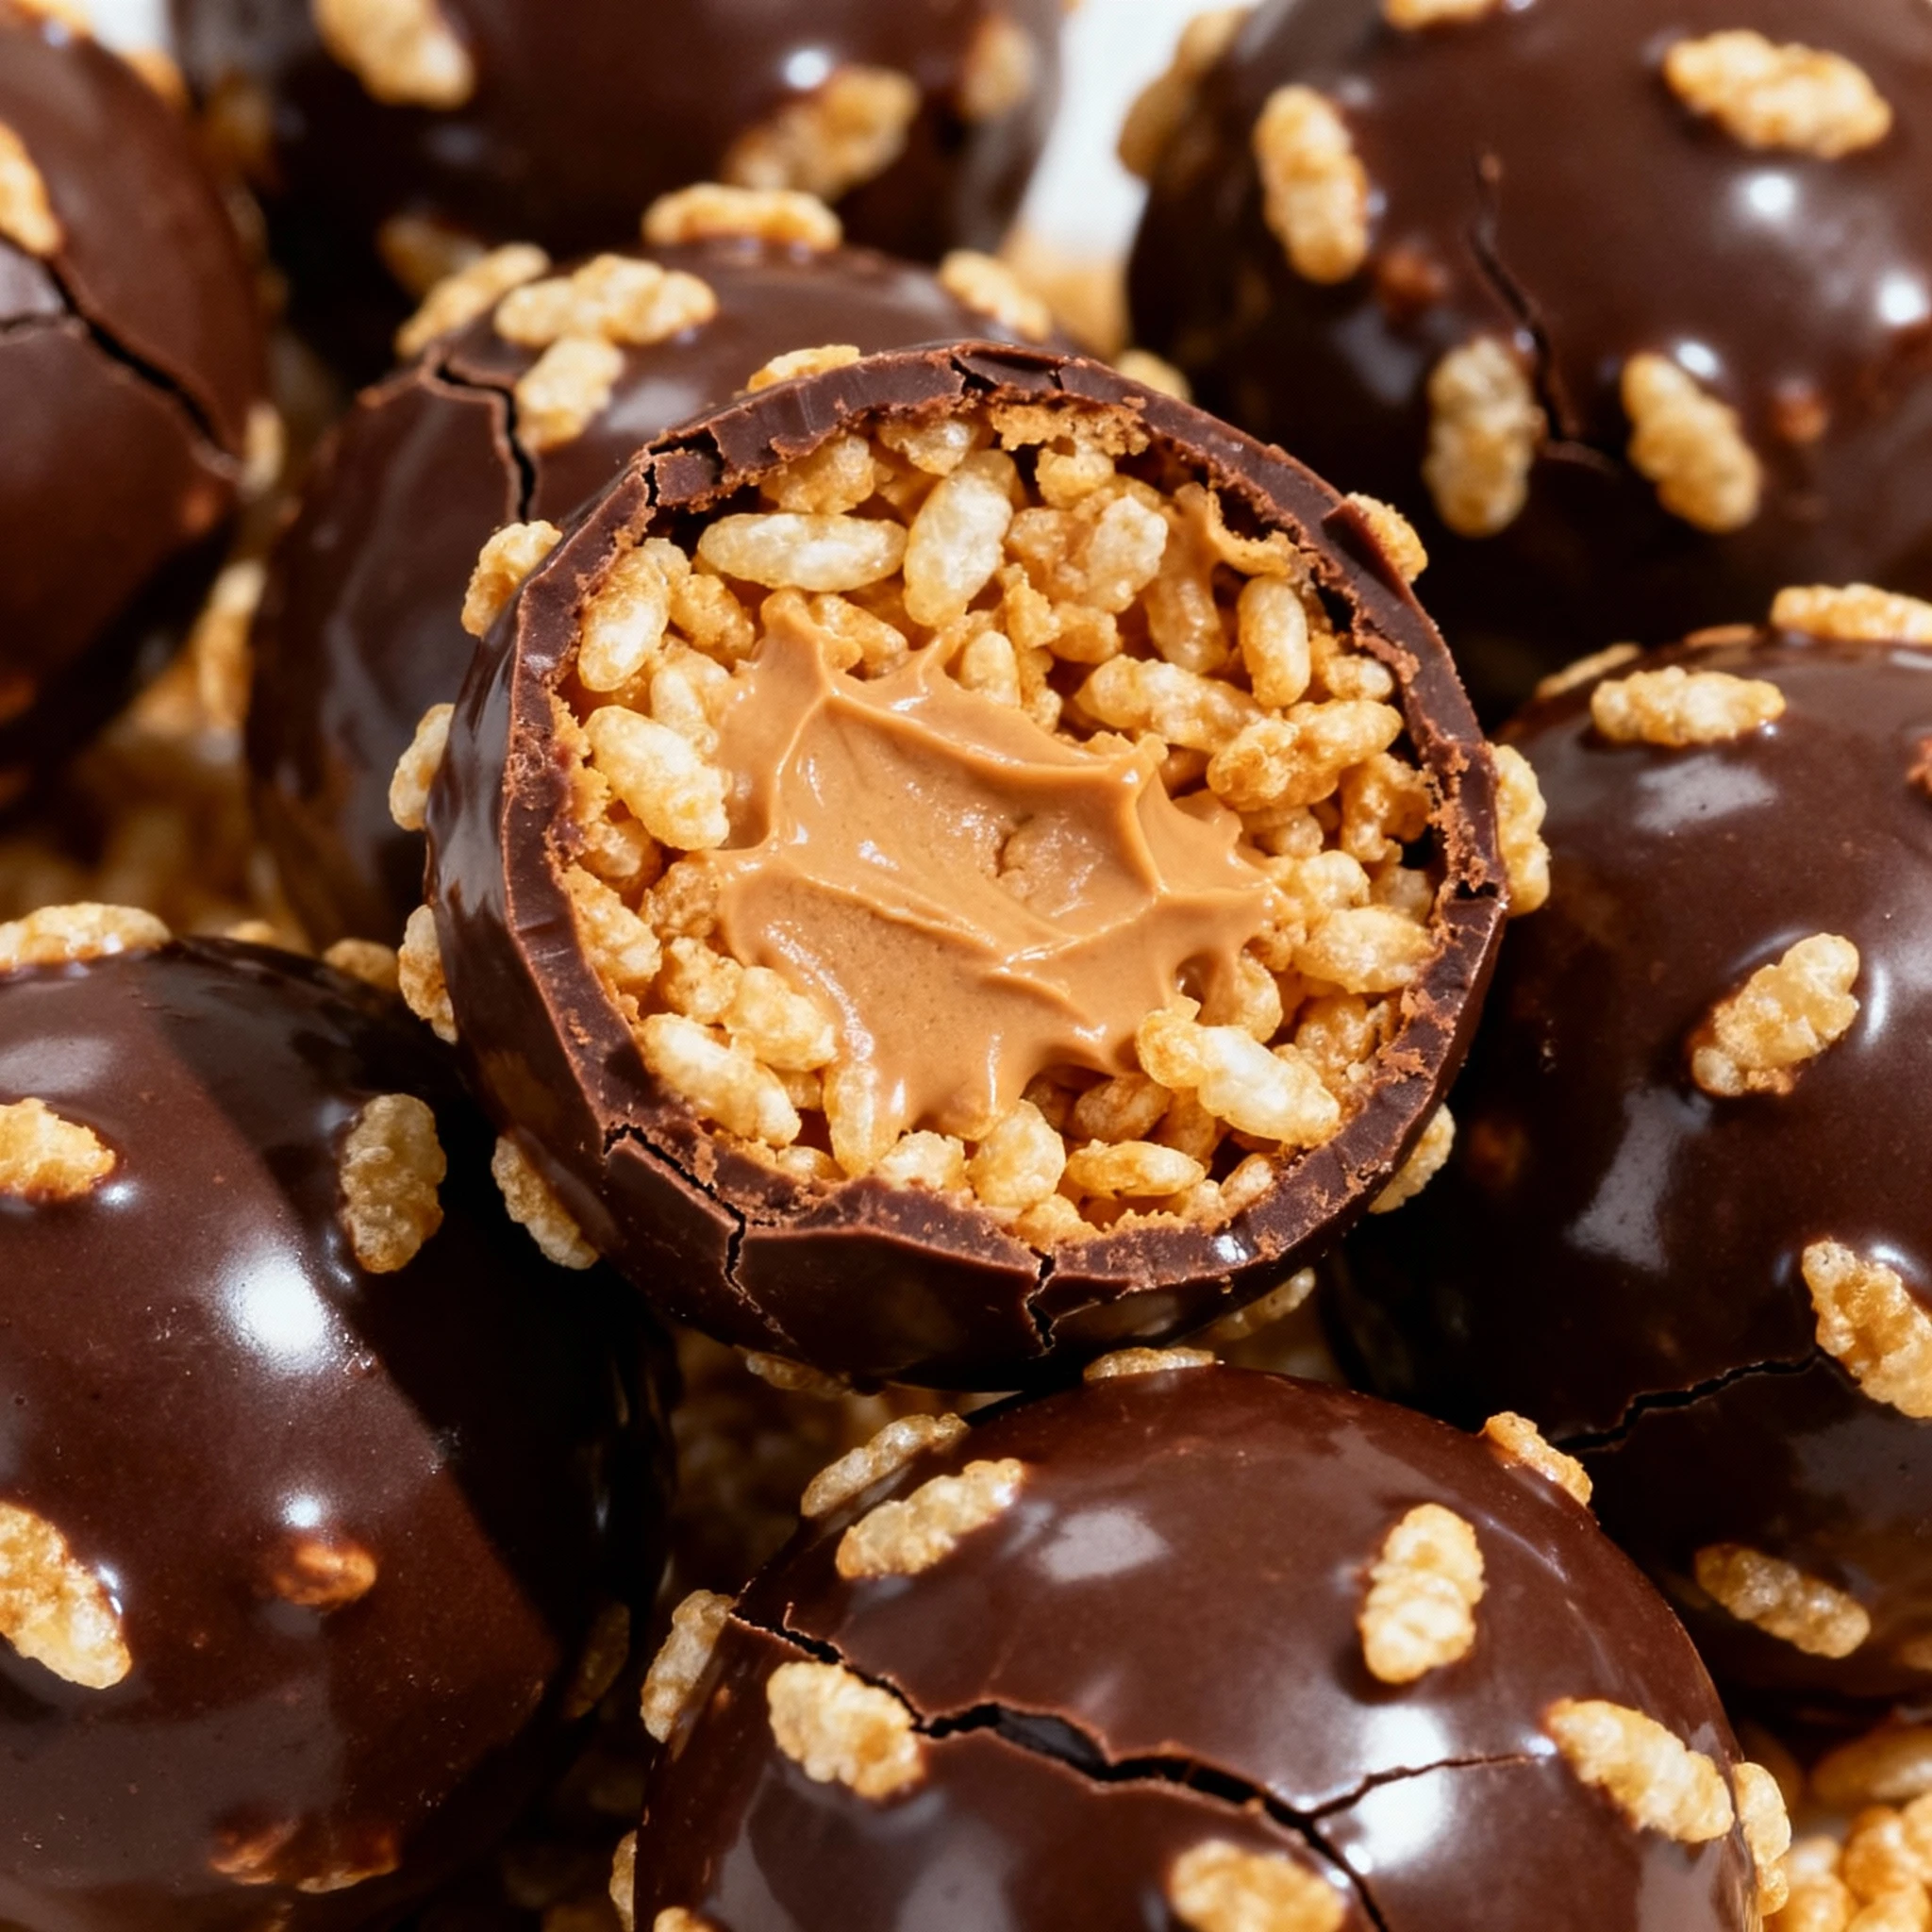
A little crunch makes ALL the difference in these irresistible peanut butter balls with Rice Krispies. They combine sweet, salty, and creamy textures, all perfectly coated in smooth chocolate for the ultimate bite-sized treat. If you love peanut butter desserts, you might also enjoy this Reese’s Peanut Butter Cup Cheesecake Recipe for another decadent option.
Ingredients
These irresistible peanut butter balls combine creamy peanut butter, sweet powdered sugar, and crispy Rice Krispies for that signature crunch, all enrobed in rich chocolate.
- 1 cup crunchy peanut butter
- 1/4 cup margarine or butter, softened
- 1 cup powdered sugar
- 2 cups Kellogg’s Rice Krispies cereal
- 1 1/2 cups semi-sweet chocolate chips
Timing
| Prep Time | 15 minutes |
| Cook Time | 5 minutes |
| Total Time | 20 minutes |
Context: This recipe is approximately 20% faster than similar no-bake peanut butter ball recipes.
Step-by-Step Instructions
Step 1 — Prepare Your Ingredients and Tools
Gather 1 cup creamy peanut butter, 1/2 cup unsalted butter (softened), 2 cups powdered sugar, 1 1/2 cups Rice Krispies cereal, and 12 oz chocolate melting wafers. You will also need a large mixing bowl, a baking sheet lined with parchment paper, and a double boiler or microwave-safe bowl for melting chocolate.
Step 2 — Combine the Peanut Butter Mixture
In the large bowl, beat the softened butter and creamy peanut butter together until smooth and fully combined. Gradually add the powdered sugar, mixing well after each addition until the mixture is thick and holds together when pressed.
Step 3 — Add the Crunchy Cereal
Gently fold in the Rice Krispies cereal until evenly distributed. Be careful not to overmix to preserve the cereal’s crisp texture—this is where a little crunch makes ALL the difference in your final treat.
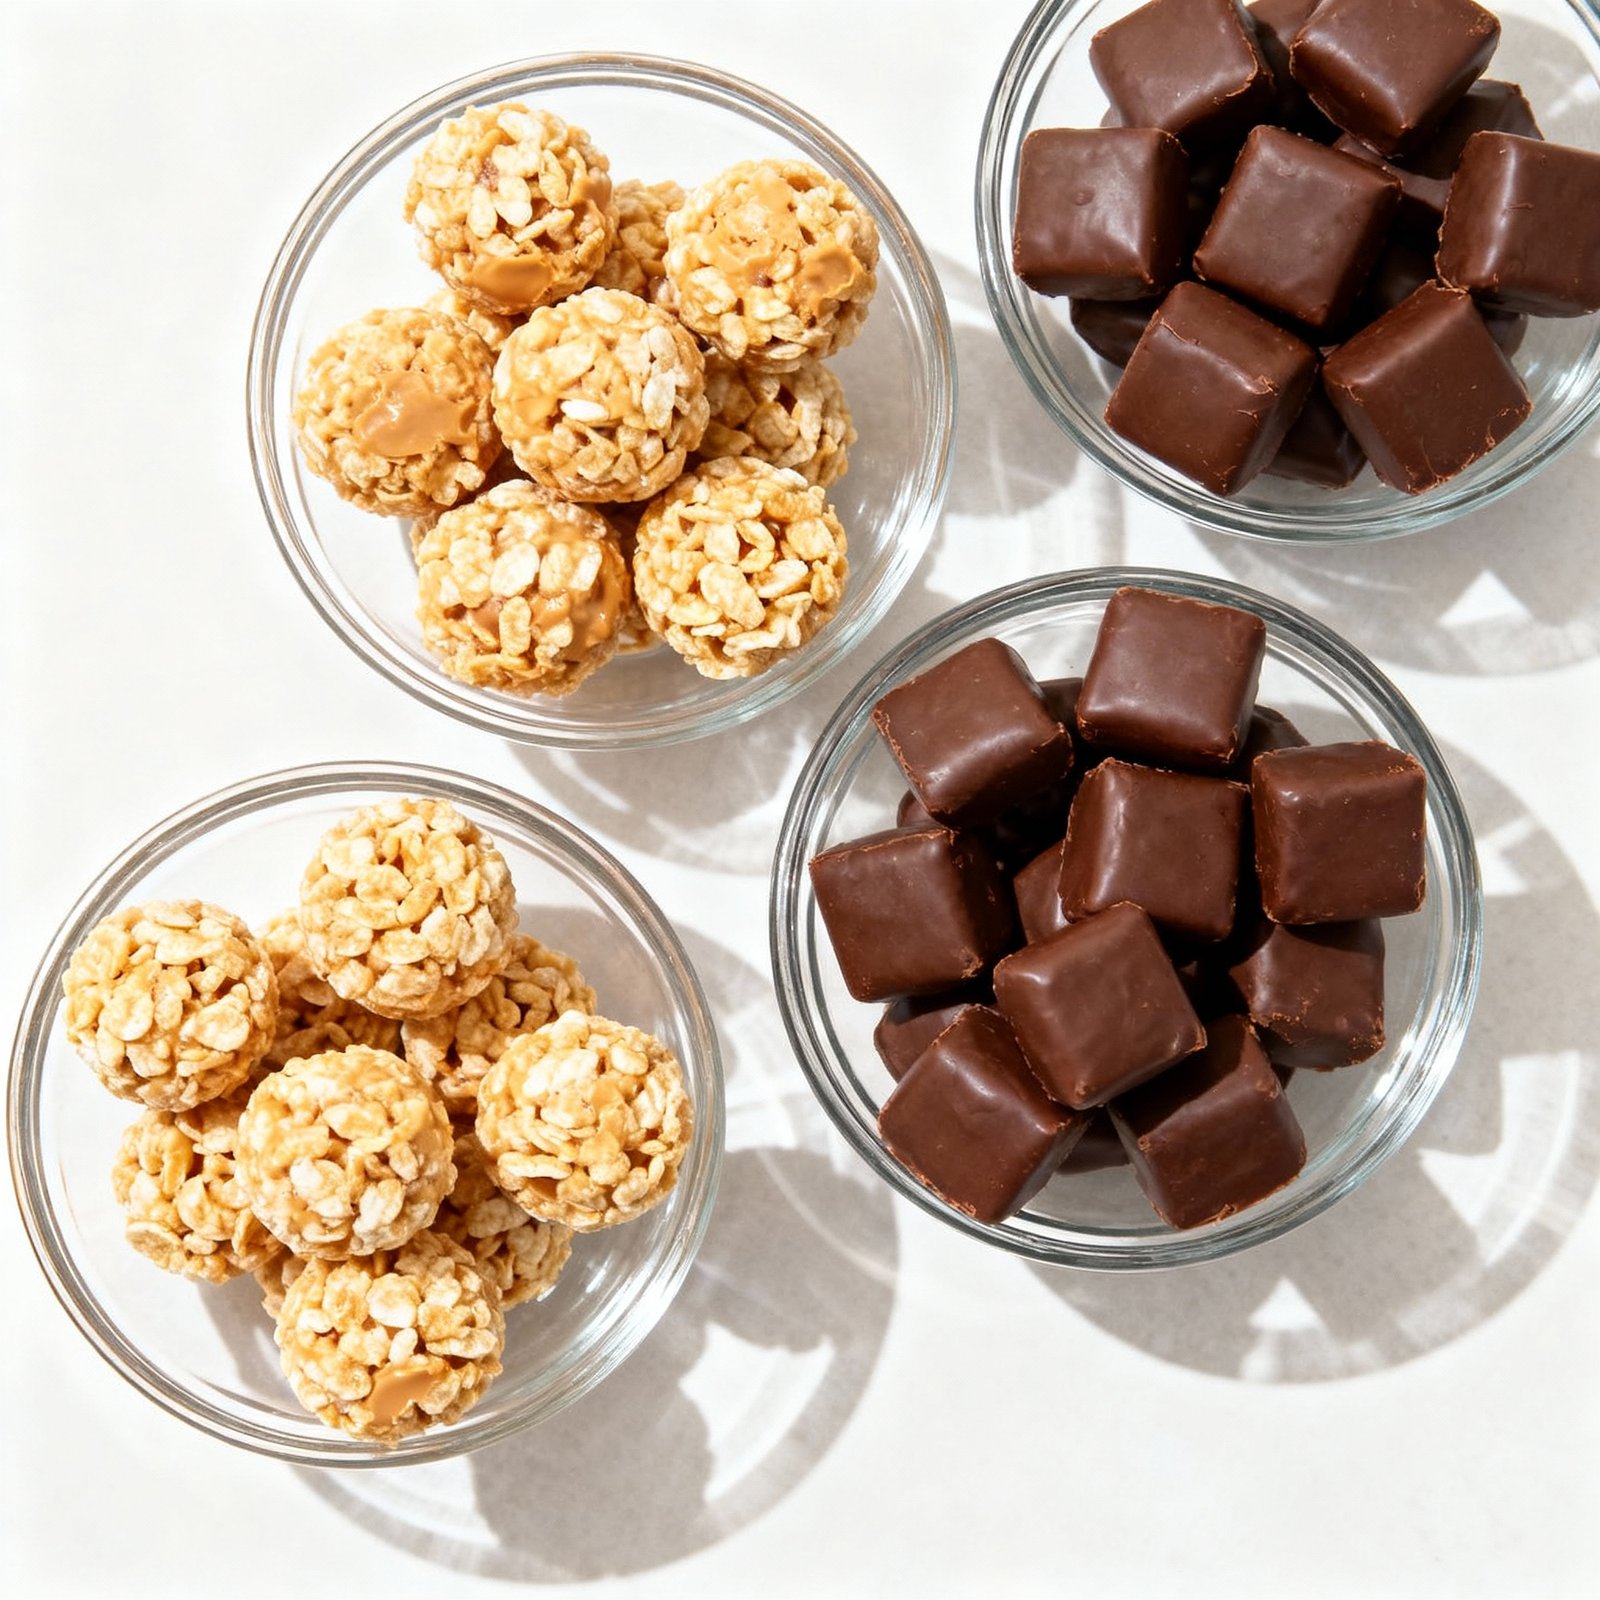
Step 4 — Form the Balls
Scoop about 1 tablespoon of the mixture and roll it between your palms to form a smooth, compact ball. Place each ball on the parchment-lined baking sheet. If the mixture is too sticky, chill it in the refrigerator for 10–15 minutes to firm up.
Step 5 — Chill the Formed Balls
Transfer the baking sheet to the refrigerator and chill the peanut butter balls for at least 30 minutes, or until firm. This step is crucial—it prevents the balls from falling apart when you dip them in warm chocolate.
Step 6 — Melt the Chocolate Coating
Melt the chocolate wafers using a double boiler over low heat or in the microwave in 30-second intervals, stirring each time until smooth. Do not overheat—chocolate should be fluid but not hotter than 115°F (46°C) to maintain a glossy finish.
Step 7 — Coat the Peanut Butter Balls
Using a fork or dipping tool, submerge each chilled peanut butter ball into the melted chocolate, allowing excess to drip off. Return the coated ball to the parchment-lined sheet. Work quickly so the balls stay firm.
Step 8 — Set the Chocolate Coating
Let the chocolate-coated balls sit at room temperature until the chocolate is fully set, or speed up the process by placing them in the refrigerator for 15–20 minutes. The coating should be firm to the touch with no smudging.
Step 9 — Serve and Store
Once set, your sweet, salty, and perfectly chocolate-coated peanut butter balls are ready to enjoy. Store any leftovers in an airtight container at room temperature for up to one week, or refrigerate for longer freshness.
Nutritional Information
| Calories | 180 |
| Protein | 4g |
| Carbohydrates | 16g |
| Fat | 12g |
| Fiber | 1g |
| Sodium | 95mg |
Note: Estimates based on typical ingredients and serving size.
Healthier Alternatives
- Protein Powder Boost — Add a scoop of vanilla or chocolate protein powder to the peanut butter mixture for extra protein without compromising the sweet flavor.
- Lower-Carb Cereal — Swap Rice Krispies for unsweetened coconut flakes or crushed nuts to reduce carbs while maintaining that essential crunch.
- Natural Sweetener — Use pure maple syrup or raw honey instead of refined sugars to keep the sweetness with a more natural profile.
- Dairy-Free Chocolate Coating — Melt dairy-free chocolate chips with a bit of coconut oil for a smooth, vegan-friendly shell that’s just as delicious.
- Gluten-Free Option — Ensure your cereal is certified gluten-free, or use puffed rice or quinoa for a safe, crunchy alternative.
- Low-Sodium Nut Butter — Opt for unsalted or low-sodium peanut butter to cut down on sodium while preserving the rich, nutty base.
- Seed Butter Swap — Replace peanut butter with sunflower seed butter for a nut-free version that still delivers a creamy, salty-sweet contrast.
- Dark Chocolate Upgrade — Use high-quality dark chocolate (70% or higher) for coating to reduce sugar and add antioxidants, enhancing the bittersweet balance.
Serving Suggestions
- Pair with a cold glass of milk or a hot cup of coffee to balance the sweetness.
- Serve on a holiday dessert platter alongside cookies and fudge for variety.
- Pack in lunchboxes or take as a portable snack for a quick energy boost.
- Arrange on a tiered stand for parties to create an elegant, bite-sized display.
- Drizzle with extra melted chocolate and a sprinkle of sea salt for a gourmet touch.
- Offer as a sweet treat at potlucks or bake sales—they are always a crowd-pleaser.
A little crunch makes ALL the difference—these Peanut Butter Balls with Rice Krispies are the ultimate bite-sized treat for any occasion.
Common Mistakes to Avoid
- Mistake: Using natural peanut butter that separates. Fix: Stick with stabilized brands like Jif or Skippy for consistent texture and binding.
- Mistake: Skipping the chill time before dipping. Fix: Refrigerate balls for at least 30 minutes so they hold their shape in melted chocolate.
- Mistake: Overheating the chocolate coating. Fix: Melt chocolate slowly using a double boiler to prevent seizing and maintain a smooth finish.
- Mistake: Making balls too large, causing them to fall apart. Fix: Use a small cookie scoop for uniform, bite-sized portions that set firmly.
- Mistake: Adding too much powdered sugar, making them overly sweet. Fix: Balance sweetness by tasting the mixture before rolling and adjusting gradually.
- Mistake: Not mixing the Rice Krispies in gently. Fix: Fold cereal in last to preserve the signature crunch that makes all the difference.
- Mistake: Storing finished treats at room temperature. Fix: Keep them refrigerated in an airtight container to prevent melting and maintain freshness.
- Mistake: Rushing the chocolate setting process. Fix: Allow dipped balls to fully set on parchment paper before serving or storing.
Storing Tips
- Fridge: Store peanut butter balls in an airtight container in the refrigerator for up to 2 weeks.
- Freezer: Place them in a single layer on a baking sheet to freeze solid, then transfer to a freezer bag or airtight container for up to 3 months.
- Reheat: For the best texture, let them thaw in the refrigerator overnight. If you prefer them slightly softer, let them sit at room temperature for 10-15 minutes.
Always ensure your peanut butter balls are stored at or below 40°F (4°C) to maintain food safety and that perfect sweet, salty, and crunchy texture.
Conclusion
These peanut butter balls with Rice Krispies deliver the perfect sweet and salty treat with that signature crunch. They’re simple to make and always a crowd-pleaser. Give this recipe a try and share your results in the comments below!
PrintPeanut Butter Balls with Rice Krispies

These Peanut Butter Balls with Rice Krispies are sweet, salty, and perfectly chocolate-coated, offering a delightful crunch and the ultimate bite-sized treat.
- Prep Time: 15 minutes
- Cook Time: 0 minutes
- Total Time: 45 minutes
- Yield: 24 1x
- Method: Dessert
- Cuisine: American
Ingredients
- 1 cup crunchy peanut butter
- 1/4 cup margarine or butter, softened
- 1 cup powdered sugar
- 2 cups Kellogg's Rice Krispies cereal
- 1 1/2 cups semi-sweet chocolate chips
Instructions
- In a large bowl, mix together peanut butter, softened margarine or butter, and powdered sugar until smooth.
- Stir in the Rice Krispies cereal until evenly coated.
- Shape the mixture into small balls and place them on wax paper-lined baking sheets.
- Melt the semi-sweet chocolate chips in a microwave-safe bowl, stirring every 30 seconds until smooth.
- Dip each peanut butter ball into the melted chocolate to coat completely, then return to the wax paper.
- Refrigerate the coated balls until the chocolate is set, about 30 minutes.
Notes
For best results, use crunchy peanut butter to enhance the texture. Refrigerate the balls well to ensure the chocolate coating hardens properly. These treats are perfect for gifting or sharing at parties.
Nutrition
- Calories: 150
- Sugar: 12
- Sodium: 90
- Fat: 9
- Saturated Fat: 3
- Unsaturated Fat: 6
- Trans Fat: 0
- Carbohydrates: 18
- Fiber: 1
- Protein: 4
- Cholesterol: 5
FAQs
Can I use a different cereal instead of Rice Krispies?
Yes, but it will change the texture. The signature crunch that makes all the difference comes from the light, crispy nature of Rice Krispies. Using a heavier cereal may result in a denser, less delicate treat.
How do I get a smooth chocolate coating on my peanut butter balls?
Ensure your peanut butter mixture is thoroughly chilled before dipping. Use melted chocolate that is fluid but not too hot. A little crunch makes all the difference, so work quickly to coat them before the chocolate sets for the best texture contrast.
How should I store these no-bake treats?
Store them in a single layer in an airtight container in the refrigerator. This keeps the chocolate firm and preserves the delightful crunch. They are best enjoyed within one week.


