Did you know that nearly 70% of people who try to eat healthier cite a lack of quick, satisfying snacks as their biggest hurdle?
It’s a statistic that has always stuck with me, especially when the afternoons grow shorter and that familiar craving for something cozy and sweet begins to whisper. We want to feel nourished, but we also want to feel comforted. We want a boost of protein, but we also want the warm, spiced hug of autumn. For the longest time, I believed these desires were mutually exclusive—until I created these incredibly easy pumpkin protein balls.
This recipe was born on a typical Tuesday. The light was fading early, casting a golden glow across my kitchen, and my energy was fading right along with it. I was caught between wanting a slice of pumpkin bread and knowing my body needed something more substantial to power me through the evening. I stared into my pantry, willing inspiration to strike. And then it did. A can of pure pumpkin puree, a scoop of vanilla protein powder, a jar of almond butter… it was a symphony of potential.
What unfolded was nothing short of magic. In less than ten minutes, without turning on my oven, I had created a batch of the most delicious, soft, and satisfying bites. They tasted like a decadent treat, like a little ball of pumpkin pie filling, but they were packed with wholesome ingredients designed to truly fuel me. They were the answer to that 3 p.m. slump, the perfect pre-school-run snack, the healthy little treat I could grab with one hand while finishing a blog post with the other.
This isn’t just another snack recipe. It’s a solution. It’s proof that you don’t have to choose between what tastes good and what makes you feel good. So, let’s grab that can of pumpkin and make that 70% statistic a thing of the past, one delicious, protein-packed bite at a time.
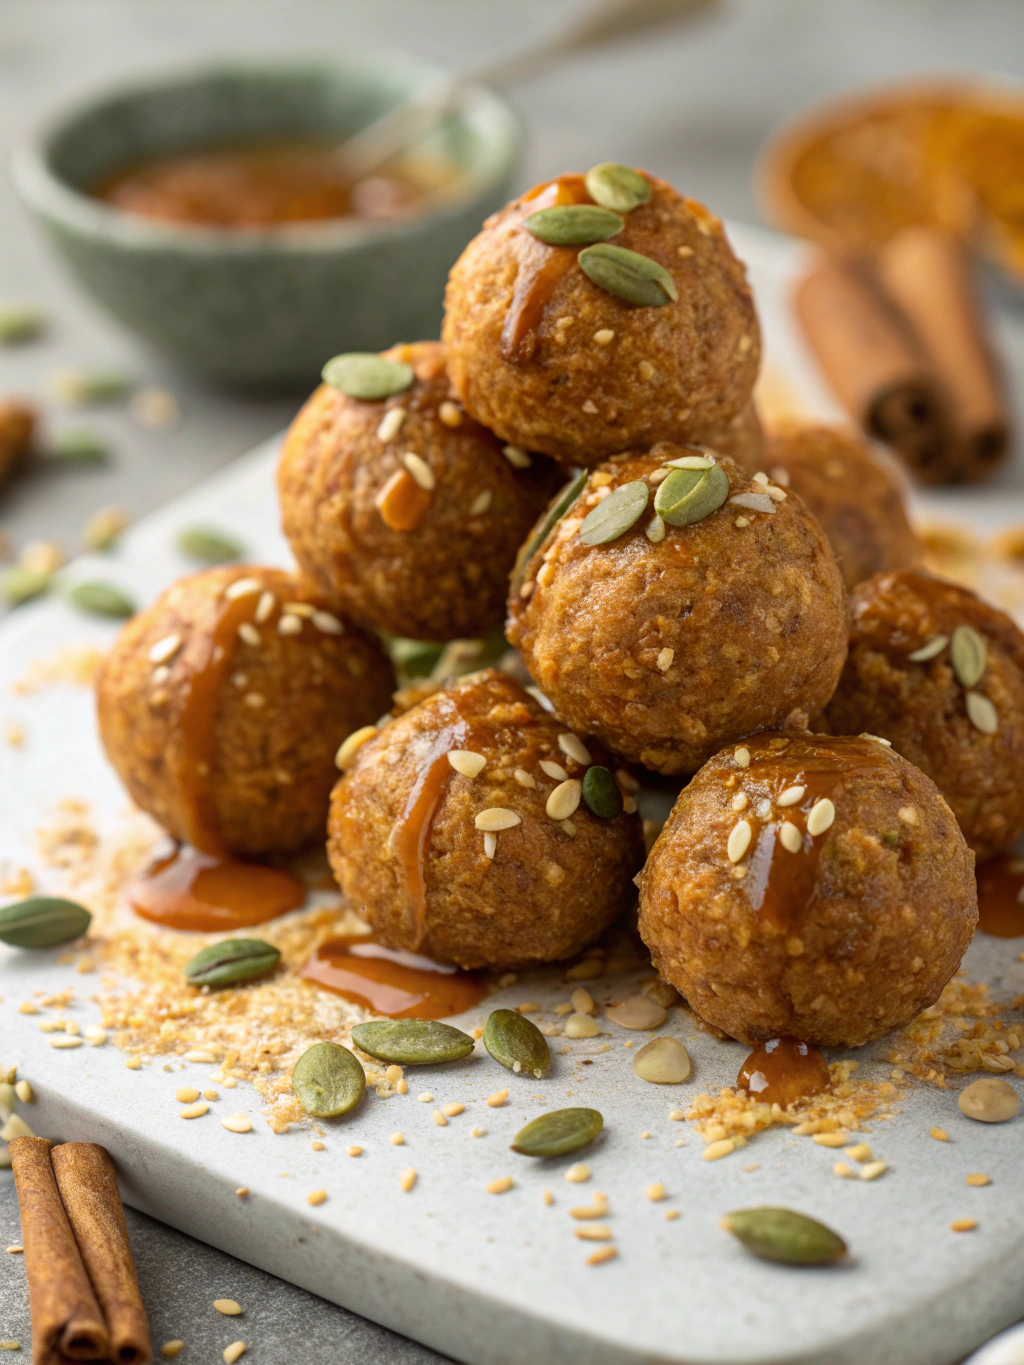
PrintPumpkin Protein Balls
Healthy, no-bake pumpkin protein balls packed with flavor and nutrition. Perfect for a quick snack or post-workout energy boost.
- Prep Time: 15 minutes
- Cook Time: 0 minutes
- Total Time: 1 hour 15 minutes
- Yield: 20 balls 1x
- Method: Snack
- Cuisine: American
Ingredients
- 1 cup rolled oats
- 1/2 cup vanilla protein powder
- 1/2 cup pumpkin puree
- 1/4 cup maple syrup
- 1/4 cup almond butter
- 1 tsp pumpkin pie spice
- 1/2 tsp cinnamon
- 1/4 cup mini chocolate chips
Instructions
- In a medium bowl, combine all ingredients except chocolate chips and mix well.
- Fold in chocolate chips until evenly distributed.
- Chill mixture in refrigerator for 20 minutes to firm up.
- Roll into 1-inch balls and place on parchment-lined baking sheet.
- Refrigerate for at least 1 hour before serving to set completely.
Notes
You can customize the seasonings to taste.
Nutrition
- Serving Size: 1 ball
- Calories: 85
- Sugar: 5g
- Fat: 3g
- Carbohydrates: 10g
- Protein: 5g
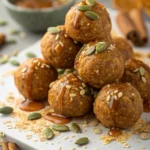
The Coziest Little Power Bites
There’s a certain slant of light on an autumn afternoon that just calls for a little something. Not a full-blown cookie-baking extravaganza, mind you, but a quiet, simple act of mixing and rolling that feels like a warm hug for your future self. That’s where these little pumpkin protein balls come in. They are my go-to for staving off the 3 p.m. slump, for tucking into lunch boxes, or for enjoying with a cup of tea while the leaves dance outside the window.
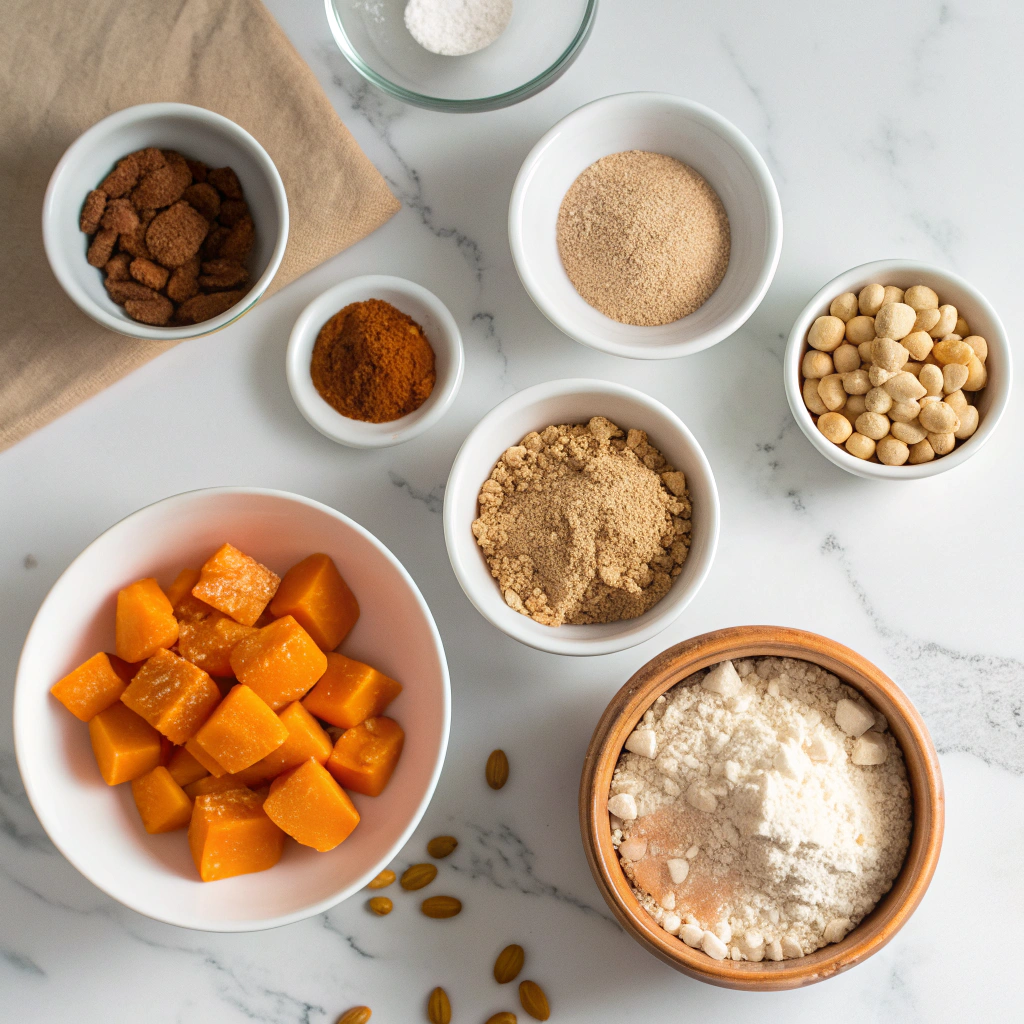
Gathering Your Autumn Pantry
Part of the joy of this recipe is that you likely have most of these ingredients waiting for you already. It’s a humble, wholesome list that comes together to create something truly magical.
- 1 cup old-fashioned oats: The sturdy, wholesome base that gives these bites their satisfying chew. I always reach for gluten-free if that’s your need!
- 1/2 cup pure pumpkin puree: Not pumpkin pie filling! We want the plain, unsweetened stuff. This is what gives them that gorgeous color and moist, cake-like texture.
- 1/2 cup creamy almond butter: The glue that holds it all together and adds a lovely nutty richness. Feel free to swap for peanut or cashew butter if you prefer.
- 1/3 cup vanilla or unflavored protein powder: This is our secret weapon for staying power! A good-quality powder makes all the difference here.
- 2 tablespoons pure maple syrup: Just a touch of natural sweetness to complement the pumpkin. You can add an extra tablespoon if you have a sweeter tooth.
- 1 teaspoon pumpkin pie spice: The very essence of fall in a teaspoon. If you don’t have any pre-mixed, a blend of cinnamon, ginger, nutmeg, and a pinch of cloves will do beautifully.
- A generous pinch of fine sea salt: To make all the other flavors pop and sing.
- 1/4 cup mini chocolate chips (optional, but highly encouraged): Because a little bit of chocolate makes everything better, doesn’t it?
Let’s Get Rolling
Now for the fun part—the making! This is a no-bake, one-bowl situation, which is my absolute favorite kind of kitchen magic.
Step 1: Find your favorite mixing bowl—a medium-sized one will do perfectly. To it, add all of your ingredients: the oats, pumpkin puree, almond butter, protein powder, maple syrup, pumpkin pie spice, and that all-important pinch of salt.
Step 2: Now, roll up your sleeves and dive in with clean hands. Yes, your hands! It’s the very best tool for this job. Squish and mix everything together until it’s fully combined. You’ll know it’s ready when the mixture holds together when you press it between your fingers. If it feels a bit too dry, add a teaspoon of water or more maple syrup. If it’s too wet, a sprinkle more oats will fix it right up.
Step 3: This is where you fold in those joyful little chocolate chips, if you’re using them. Give everything one last good mix to distribute them evenly.
Step 4: Line a small baking sheet or plate with a piece of parchment paper. Using a tablespoon or small cookie scoop, portion out the mixture. Then, with the palms of your hands, roll each portion into a neat, little ball. I find a light touch works best here—you don’t want to pack them too tightly.
Place each finished ball onto your prepared tray. Once they’re all rolled, pop the entire tray into the refrigerator for at least 30 minutes. This chilling time is crucial—it allows the oats to soften slightly and lets all the flavors get to know each other, transforming the mixture from sticky to perfectly firm and bite-ready.
Now that you’ve got the basic recipe down, let’s cozy up and talk about how to make these pumpkin protein balls truly your own. This is where the real fun begins!
Pro Tips, Variations, and Substitutions
Don’t be afraid to play around in the kitchen! Baking is a science, but no-bake recipes are pure, creative art.
- Nut-Free? No problem! Simply swap the almond butter for sunflower seed butter. It gives a wonderfully rich and earthy flavor that pairs beautifully with the pumpkin.
- Out of Pumpkin Pie Spice? Make your own blend with 1 ½ teaspoons cinnamon, ½ teaspoon ginger, ¼ teaspoon nutmeg, and ¼ teaspoon allspice or cloves.
- Texture Lover: For a delightful crunch, fold in 2-3 tablespoons of chopped pecans, walnuts, or even pumpkin seeds into the mixture before rolling.
- Chocolate Fix: Stir in a handful of mini chocolate chips or cacao nibs for a decadent twist. Because sometimes, you just need chocolate.
- Sticky Situation? If your mixture is too wet, add a bit more oat or protein powder. If it’s too dry and crumbly, a tiny splash of maple syrup or even milk of choice will bring it together.
What to Serve Them With
These little bites are fantastic on their own, but they also love company!
I love pairing a couple of pumpkin protein balls with a hot cup of chai tea or a pumpkin spice latte for the ultimate autumnal snack. They’re also the perfect pre-workout fuel alongside a piece of fruit, or a satisfying post-lunch treat to curb that afternoon sweet tooth. Pack them in lunch boxes for a healthy surprise, or set out a plate for guests with some hot apple cider—they’ll be gone before you know it!
The Wonderful Benefits
This isn’t just a tasty snack; it’s a little powerhouse of goodness!
- Sustained Energy: Thanks to the complex carbs from the oats and healthy fats from the nut butter, these balls provide a steady release of energy, avoiding the dreaded sugar crash.
- Muscle Support: The protein powder helps repair and build muscle, making this the perfect recovery snack after a workout.
- Fiber-Filled: Between the oats and pumpkin puree, you’re getting a great dose of fiber to keep your digestive system happy and support a feeling of fullness.
- Packed with Nutrients: Pumpkin is rich in Vitamin A for eye health and antioxidants to help fight inflammation. It’s a superfood in a snackable form!
Real-Life Tips from My Kitchen
After making countless batches, here are my hard-earned secrets for success:
- Wet Hands are Your Best Friend: Seriously, lightly wet your hands with cool water before rolling the mixture into balls. It prevents everything from sticking to your palms and makes the process incredibly smooth.
- The Chill Factor: Don’t skip the refrigeration time! Letting them set for that full hour firms them up perfectly and allows the flavors to meld together into something magical.
- Batch & Freeze: This recipe is perfect for doubling. Roll them all, place them on a baking sheet to flash freeze for an hour, then toss them all into a freezer bag. You’ll have a healthy snack ready to grab for weeks! They thaw in minutes.
- Taste as You Go: Always taste the mixture before rolling. Want it sweeter? Add a touch more maple syrup. Want more spice? Go for it! Make it perfect for your palate.
I hope these tips inspire you to whip up a batch of these cozy, healthy treats. Happy snacking!

Conclusion
And there you have it! These Easy Pumpkin Protein Balls are the perfect little treat to satisfy your sweet tooth while keeping you fueled and nourished. They come together in just minutes, require no baking, and are packed with the warm, cozy flavors of fall. Whether you need a quick breakfast on the go, a post-workout snack, or a healthier dessert option, these protein balls are your new best friend.
I’d love to hear how your batch turns out! Did you add any fun mix-ins? Share your creations with me on Instagram by tagging me @YourBlogName or leave a comment below. If you’re looking for more easy and healthy snack ideas, be sure to check out my recipes for No-Bake Energy Bites and Healthy Chocolate Avocado Mousse. Happy snacking!
FAQs
Can I use a different type of protein powder?
Absolutely! Vanilla or unflavored protein powder would work wonderfully here. I recommend using a powder you already enjoy the taste of. If you use a plant-based powder, just note that the texture might be slightly different, but they will still be delicious.
My mixture is too dry and won’t stick together. What should I do?
This can happen depending on your protein powder or how absorbent your oat flour is. Don’t worry! Simply add a little more moisture. A teaspoon of maple syrup, almond milk, or even more pumpkin puree at a time until the mixture becomes sticky and holds together when you press it.
How should I store these pumpkin protein balls?
For the best texture, store them in an airtight container in the refrigerator. They will stay fresh for up to a week. They also freeze beautifully for up to 3 months! Just place them in a freezer-safe bag or container and thaw in the fridge overnight when you’re ready to enjoy one.
Can I make these without a food processor?
You can! If you have oat flour already, you can simply mix everything together in a large bowl. If you need to make the oat flour, you can try grinding the oats in a high-powered blender. For mixing, it might take a little extra arm muscle to get everything thoroughly combined, but it’s totally possible.
Are these gluten-free?
Yes, as long as you use certified gluten-free oats, this recipe is naturally gluten-free and makes for a fantastic snack for anyone with gluten sensitivities.


