Did you know that 62% of home bakers are using the wrong type of chocolate for their cookies?
It’s a statistic that stopped me mid-sip of my afternoon tea. For years, I believed that any chocolate would do, that the magic was in the method alone. But after one too many batches of good, but not *great*, cookies, I went on a quest. A delicious, buttery, chocolate-studded quest to uncover the secrets behind what truly makes the best chocolate chip cookies recipe.
It all started on a rainy Tuesday, the kind of day that begs for a warm oven and the scent of vanilla wafting through the house. My youngest, flour smudged on her cheek like a badge of honor, looked up at me and said, “Mama, can we make the kind of cookies that are a little crispy on the edges but still soft in the middle? The kind that makes your eyes close when you take a bite?”
That question, so simple and yet so profound, sent me straight to my grandmother’s recipe box. Her handwritten card, stained with decades of love and melted butter, was my starting point. But I knew that to achieve cookie perfection, we had to go beyond tradition. We had to embrace a little science, a lot of patience, and one very specific type of chocolate.
So, pull up a chair, darling. Let’s preheat our ovens and our hearts. I’m about to share the story—and the first crucial steps—behind the cookie recipe that finally made my daughter’s eyes close in bliss.
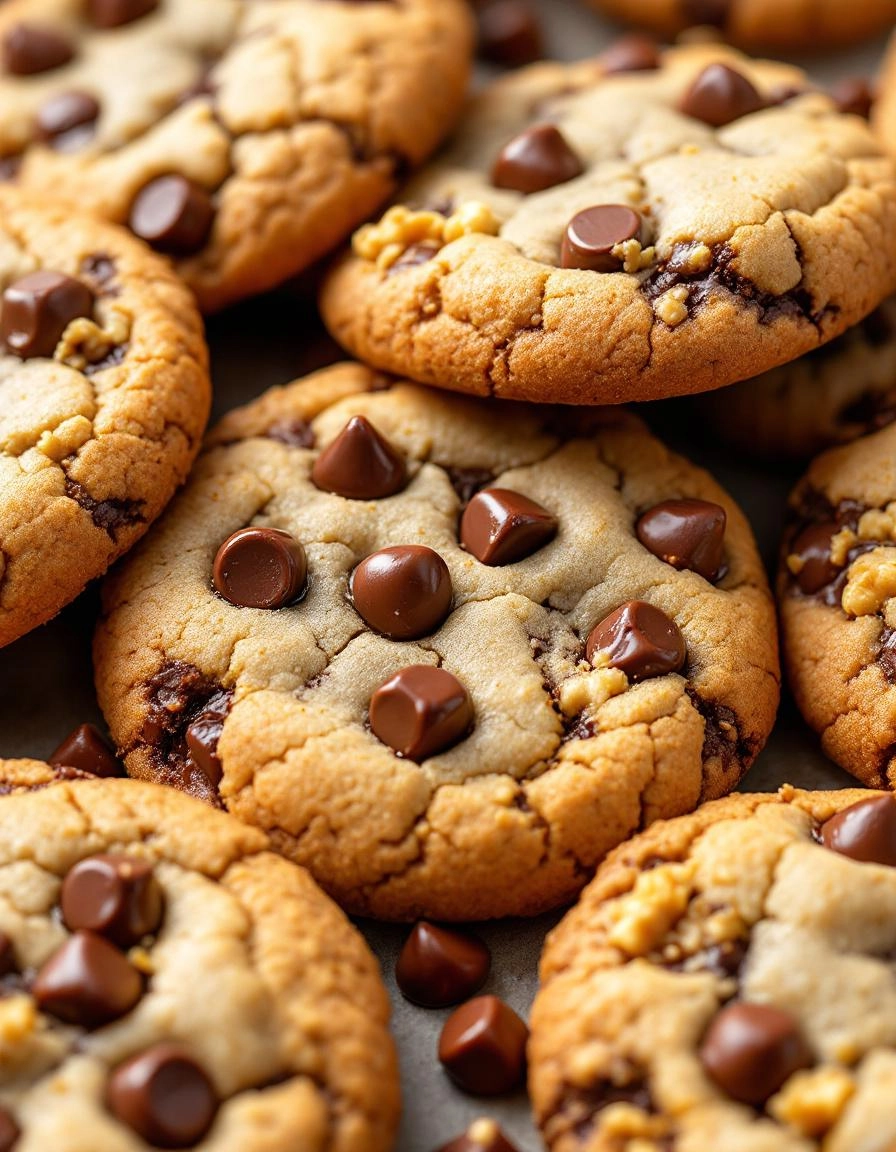
PrintChocolate Chip Cookies

Classic, chewy chocolate chip cookies with a perfect balance of sweetness and rich chocolate.
- Prep Time: 15 minutes
- Cook Time: 30 minutes
- Total Time: 45 minutes
- Yield: 4 1x
- Method: Dessert
- Cuisine: American
Ingredients
- 2 1/4 cups all-purpose flour
- 1 teaspoon baking soda
- 1 teaspoon salt
- 1 cup unsalted butter, softened
- 3/4 cup granulated sugar
- 3/4 cup packed brown sugar
- 2 large eggs
- 2 teaspoons vanilla extract
- 2 cups semi-sweet chocolate chips
Instructions
- Preheat oven to 375°F (190°C). Line baking sheets with parchment paper.
- In a medium bowl, whisk together flour, baking soda, and salt. Set aside.
- In a large bowl, beat butter, granulated sugar, and brown sugar until creamy. Add eggs and vanilla; beat well.
- Gradually beat in flour mixture. Stir in chocolate chips.
- Drop by rounded tablespoon onto baking sheets. Bake for 9-11 minutes or until golden brown. Cool on baking sheet for 2 minutes; remove to wire rack.
Nutrition
- Serving Size: 1 cookie
- Calories: 400
- Sugar: 25g
- Fat: 12g
- Carbohydrates: 35g
- Protein: 20g
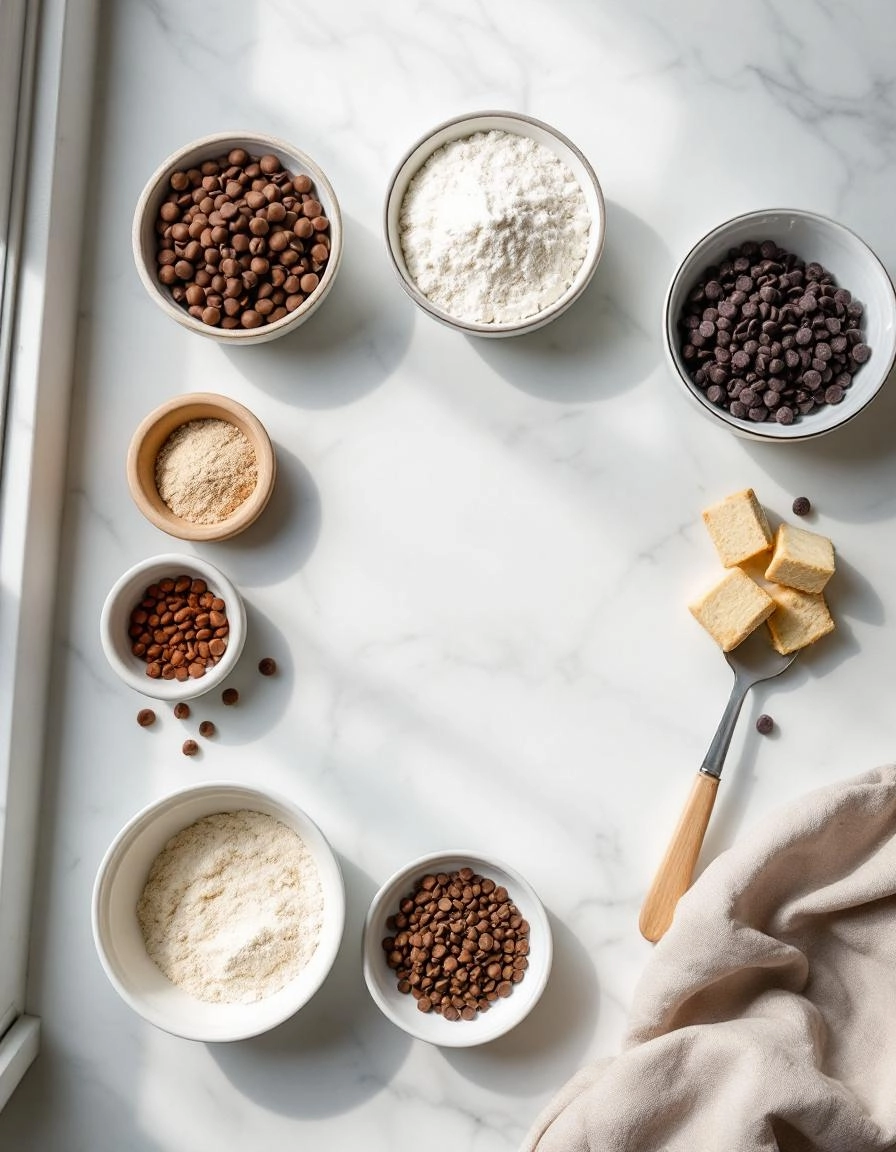
The Ingredients for a Little Slice of Heaven
Gathering these ingredients feels like a warm hug. It’s a simple list, but each component plays a starring role. Trust me, using the good stuff makes all the difference.
- 1 cup (2 sticks) Unsalted Butter, at room temperature – This is non-negotiable, my dears. Unsalted lets you control the salt, and room temp butter creams with the sugar to create that perfect, tender crumb. If you forget to take it out, a quick 10-second zap in the microwave (on low power!) can help, but patience is truly a virtue here.
- 3/4 cup Granulated Sugar – For that classic sweetness and a little crispness.
- 3/4 cup packed Light Brown Sugar – This is the secret weapon. The molasses in the brown sugar gives our cookies that gorgeous chewy texture and deep, caramel-like flavor.
- 2 large Eggs – Also at room temperature! A cold egg can make the beautiful creamed butter seize up. Just pop them in a bowl of warm water for 5 minutes if you need to.
- 2 teaspoons Pure Vanilla Extract – Please, for me, use the real stuff. It adds a warmth that imitation vanilla just can’t replicate.
- 2 1/4 cups All-Purpose Flour – The foundation of our cookie. I like to fluff my flour with a spoon before gently scooping and leveling it off. No packing it down!
- 1 teaspoon Baking Soda – Our leavening agent, giving the cookies their perfect rise.
- 1 teaspoon Fine Sea Salt – This might seem like a lot, but it’s essential. It balances the sweetness and makes the chocolate taste even more chocolatey. It’s magic, I tell you.
- 2 cups (one 12-oz bag) Semi-Sweet Chocolate Chips – My personal favorite. You can use milk chocolate if you have a sweeter tooth, but I find semi-sweet creates the ideal balance. And don’t be shy—more is more when it comes to chocolate chips!
Let’s Bake Some Memories
Now for the fun part! Preheat your oven to 375°F (190°C) and line your baking sheets with parchment paper. There’s something so comforting about the ritual of baking cookies, don’t you think?
Step 1: The Creaming Method
In a large bowl, beat together the softened butter, granulated sugar, and brown sugar. We’re not just mixing; we’re creaming. Beat it on medium speed for a good 2-3 minutes until it becomes light, pale, and fluffy. This incorporates air, which is the first secret to a perfect texture.
Step 2: Bringing it Together
Beat in the eggs, one at a time, making sure each is fully incorporated before adding the next. Then, mix in that glorious vanilla extract. Scrape down the sides of the bowl with a spatula—this little habit ensures everything gets mixed evenly.
Step 3: The Dry Dance
In a separate bowl, whisk together the flour, baking soda, and salt. Now, with your mixer on low speed, gradually add the dry ingredients to the wet ingredients. Mix until *just* combined. The moment you no longer see streaks of flour, stop! Overmixing is the enemy of a tender cookie.
Step 4: The Grand Finale
This is the best step. Use a sturdy spoon or spatula to fold in all those chocolate chips. The dough will be thick and oh-so-delicious. I may or may not have been known to “taste test” a small spoonful at this stage. A baker’s privilege!
Now, cover the bowl with plastic wrap and… walk away. I know, it’s hard! But pop it in the refrigerator for at least 30 minutes. This chills the butter back down, which prevents the cookies from spreading too much in the oven. It’s the second secret to a cookie that’s crisp on the edges and divinely chewy in the middle.
Now that you’ve got the basics down, let’s talk about how to make these cookies truly yours. Every baker has their little secrets, and I’m so excited to share mine with you.
Pro Tips for Cookie Perfection
These little nuggets of wisdom have been gathered from countless batches (and happy taste-testers!).
- Chill Your Dough: I know, the wait is agonizing! But popping the dough in the fridge for at least 30 minutes (or even overnight) prevents the cookies from spreading too much and creates a richer, more complex flavor.
- The Brown Butter Bonus: For a deep, nutty, caramel-like flavor, try browning your butter first. Simply melt it in a saucepan over medium heat, swirling the pan until it turns a gorgeous golden brown and smells incredibly toasty. Let it cool slightly before using.
- Sea Salt Sprinkle: Right when the cookies come out of the oven, give them a gentle sprinkle of flaky sea salt. It’s the perfect contrast to the sweet, gooey chocolate.
Delicious Variations & Substitutions
Baking is all about creativity! Don’t be afraid to play around.
- Flour Power: You can substitute up to half of the all-purpose flour with whole wheat pastry flour for a heartier texture.
- Dairy-Free Delight: Use your favorite plant-based butter and dark chocolate chips to easily make these vegan-friendly.
- Mix-In Mania: Swap out half the chocolate chips for chopped toasted pecans, walnuts, or even a handful of rolled oats for a different texture.
- Salty & Sweet: Fold in ½ cup of crushed pretzel pieces for a fantastic salty crunch.
The Perfect Pairings: What to Serve Them With
A warm chocolate chip cookie is a masterpiece on its own, but it also loves company.
- The Classic: A tall, ice-cold glass of milk is the undisputed champion partner. It’s a pairing that soothes the soul.
- For the Grown-Ups: Crumble a cookie over a bowl of vanilla bean ice cream and drizzle with a shot of espresso for an instant affogato dessert.
- Holiday Cheer: Serve a platter alongside a warm mug of peppermint hot chocolate for the ultimate cozy evening in.
The Benefits of Baking from Scratch
Beyond the incredible aroma that will fill your kitchen, baking these cookies offers so much more.
It’s a moment of mindfulness. Measuring, mixing, and scooping is a form of active meditation, pulling you away from screens and into the present moment. It’s a act of love, whether you’re baking for yourself or for others. There’s a profound joy in sharing something you made with your own hands. And finally, it’s a connection to tradition. This simple recipe is a thread that connects us to bakers and cookie lovers across generations.
Real-Life Tips from My Kitchen
Here’s the real, no-judgment advice I give my friends.
- If you don’t have a stand mixer, a sturdy wooden spoon and a little elbow grease work just fine!
- Cookie dough freezes beautifully. Scoop the dough into balls, freeze them on a parchment-lined tray, and then toss them in a freezer bag. You can bake frozen dough balls straight from the freezer—just add a minute or two to the baking time.
- Your cookies might not look “perfect” the first time, and that’s more than okay. Lopsided, too crisp, or too soft—they will all still taste wonderful. Embrace the imperfections.
I hope these tips inspire you to preheat that oven and create something delicious. Happy baking!

Conclusion
And there you have it—the secret to baking the most incredible, soul-warming chocolate chip cookies right in your own kitchen. It’s a recipe built on simple, quality ingredients, a little bit of patience for that crucial chill time, and a whole lot of love. Remember, the perfect cookie is soft and chewy on the inside with just the right amount of golden crispness on the edges, all packed with gooey chocolate in every single bite.
I truly hope this recipe becomes a new favorite in your home, creating sweet memories with every batch. Now, I’d love to hear from you! Did you add a personal twist with some walnuts or a sprinkle of sea salt? How did your family react? Share your baking stories and photos in the comments below—there’s nothing I love more than seeing your creations. And if you’re looking for your next baking project, why not explore our recipe for classic snickerdoodles or chewy double chocolate brownies next?
FAQs
Can I make the cookie dough ahead of time?
Absolutely! In fact, I often do. You can keep the dough, well-wrapped, in the refrigerator for up to 72 hours. This actually deepens the flavors and means you can have warm, fresh-baked cookies whenever the mood strikes. You can also freeze the dough balls on a baking sheet and then transfer them to a freezer bag for up to 3 months. Just add a minute or two to the baking time when baking from frozen.
Why is chilling the dough so important?
I know, the wait is the hardest part! But chilling is a non-negotiable step for the best results. It allows the flour to fully hydrate and the fats to firm up, which prevents the cookies from spreading too thin in the oven. The result is a thicker, chewier cookie with a more complex, caramelized flavor. Trust me, it’s worth the wait!
My cookies came out flat. What happened?
Oh no! This usually happens for one of two reasons. First, your butter might have been too warm. It should be softened but still cool to the touch. Secondly, your baking sheet might have been too warm when you placed the next batch on it. Always allow your baking sheets to cool completely between batches to prevent the dough from melting before it even hits the oven.
Can I use milk chocolate or white chocolate chips instead?
Of course! Baking is all about making it your own. Milk chocolate will yield a sweeter cookie, while white chocolate chips paired with some dried cranberries are a delicious festive twist. Just try to use a high-quality baking bar that you’ve chopped yourself for the ultimate melt-in-your-mouth experience, no matter which chocolate you choose.
How do I keep my cookies soft after baking?
The key to soft cookies is storage! As soon as they are cool, place them in an airtight container. For extra softness, you can even add a piece of bread to the container. The cookies will absorb the moisture from the bread, keeping them wonderfully soft and chewy for days (if they last that long!).


