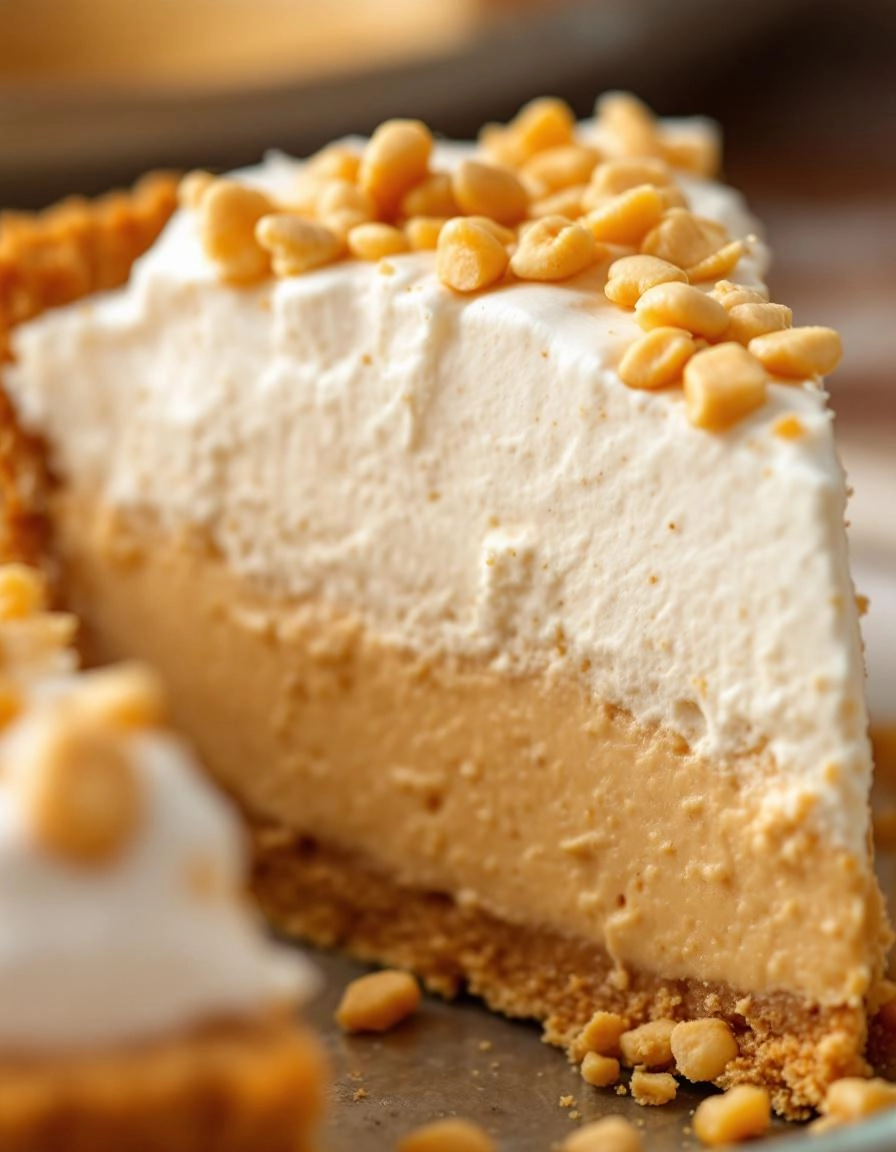
There are some flavor combinations that just feel like a hug from the inside, aren’t there? For me, that’s always been peanut butter and marshmallow. It takes me right back to sitting at the laminate kitchen counter after school, carefully spreading creamy peanut butter on one slice of bread and fluffy marshmallow fluff on the other, then pressing them together to create my masterpiece. It was the ultimate treat.
This Fluffernutter Pie is that beloved childhood sandwich, all grown up and dressed in a decadent, no-bake pie crust. It’s the dessert I make when I need a little comfort, when I’m hosting a casual get-together with friends, or when I simply want to see the joy on my family’s faces. It’s incredibly simple to throw together, requires no oven time, and is guaranteed to satisfy that sweet, salty, nostalgic craving.
Gathering Your Cozy Ingredients
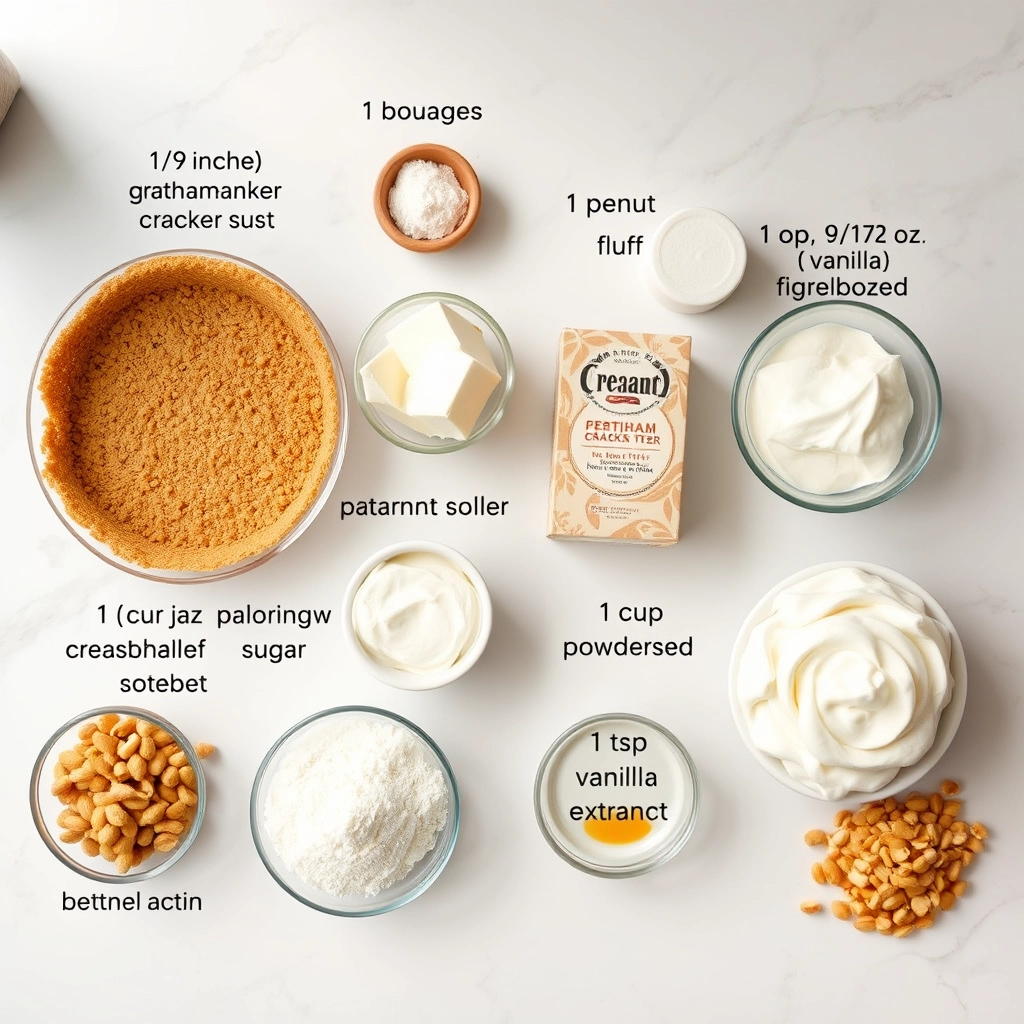
This recipe comes together with just a handful of simple ingredients. Here’s what you’ll need:
- 1 (9-inch) graham cracker pie crust – I often use a store-bought one for ultimate ease, but if you’re feeling fancy, a homemade one is divine.
- 1 cup creamy peanut butter – Not the natural kind that separates, but the classic, creamy, shelf-stable variety. This helps ensure the filling sets properly and has that familiar flavor we all love.
- 1 (8 oz) block of cream cheese – Softened to room temperature. This is non-negotiable! Let it sit on the counter for a good hour to avoid lumpy filling.
- 1 cup powdered sugar – It sweetens and helps create that lovely, smooth texture.
- 1 (8 oz) tub of frozen whipped topping (like Cool Whip), thawed – The secret to that light, airy, and fluffy texture.
- 1 (7 oz) jar of marshmallow fluff – The star of the show! Give it a good stir in the jar before measuring to make it easier to work with.
- Mini marshmallows and melted chocolate – For garnishing. Because everything is better with a little extra flourish!
Let’s Make Some Magic
Now for the fun part! Let’s create this dreamy, no-bake pie together.
- First, in a large mixing bowl, beat the softened cream cheese with an electric mixer until it’s completely smooth and fluffy. This is the base of our filling, so we want no lumps here!
- Next, add in the creamy peanut butter and beat again until the two are perfectly combined into a thick, pale brown mixture. Scrape down the sides of the bowl to make sure everything is incorporated.
- Now, gently beat in the powdered sugar until just combined. Then, it’s time for the marshmallow fluff! Fold it in gently with a spatula until you have a uniform, swoon-worthy batter.
- Here comes the ingredient that makes it so light and airy: the thawed whipped topping. Add about a third of the tub at a time, folding gently with your spatula after each addition. We want to keep all that air in the mixture, so be patient and fold until no white streaks remain.
- Carefully spoon this heavenly fluffernutter filling into your waiting graham cracker crust. Smooth the top with the back of a spoon or an offset spatula.
- Now, pop the whole pie into the refrigerator. It needs to chill for at least four hours, but honestly, overnight is even better. This allows the flavors to meld and the pie to set up perfectly for slicing.
Right before serving, I love to drizzle the top with a little melted chocolate and scatter a handful of mini marshmallows for that classic fluffernutter look. Then, just slice, serve, and get ready for the compliments to roll in!
Pro Tips & Happy Variations
This pie is wonderfully adaptable! Here are a few ways to make it your own:
- For a Crunch: Fold in ½ cup of crushed peanut butter cups or honey-roasted peanuts into the filling before pouring it into the crust.
- Chocolate Lover’s Dream: Use a chocolate cookie crust instead of graham cracker. You could even swirl some chocolate syrup into the filling.
- Dairy-Free? Use a dairy-free cream cheese alternative and a coconut-based whipped topping. It works beautifully!
- Room Temperature is Key: I can’t stress enough how important it is for the cream cheese to be truly soft. This is the number one tip for a silky-smooth, lump-free filling.
The Perfect Pairing
This pie is rich and sweet, so it pairs wonderfully with a strong cup of black coffee or a tall glass of cold milk for the ultimate nostalgic experience. For a dinner party, serving it with a lightly sweetened whipped cream or a drizzle of salted caramel sauce can elevate it into something truly special.
Keeping the Comfort Going
This pie must be stored covered in the refrigerator. It will keep beautifully for 3-4 days. I do not recommend freezing it, as the texture of the whipped topping can become watery and grainy upon thawing. It’s always best enjoyed fresh and cold!
Your Fluffernutter Questions, Answered
Can I use natural peanut butter?
I don’t recommend it. Natural peanut butters tend to be oilier and can separate, which might prevent your pie from setting firmly and could make the texture greasy.
My filling is too soft to slice neatly. What happened?
It likely just needed more time to chill! This pie needs a full 4 hours, and preferably overnight, to firm up properly. If your kitchen is very warm, pop it in the freezer for 20-30 minutes before slicing to get clean cuts.
Can I make this into mini pies?
Absolutely! This recipe would be adorable in a muffin tin lined with graham cracker crusts. Just reduce the chilling time to about 2 hours.
Is there a substitute for the whipped topping?
You can use an equal amount of freshly whipped heavy cream sweetened with a tablespoon of powdered sugar. Just be sure to whip it to stiff peaks so your pie holds its shape.
I hope this recipe brings as much joy to your kitchen as it does to mine. It’s more than just a dessert; it’s a little bite of happiness, a sweet reminder of simpler times, and the perfect thing to share with someone you love. So whip one up, put the kettle on, and enjoy every blissful, fluffy, peanut-buttery bite.
With love from my kitchen to yours,
Naomi

Now that you’ve got the basics down, let’s talk about making this pie truly your own. A recipe is just a starting point, after all!
Pro Tips, Variations & Substitutions
For the fluffiest, most stable meringue, make sure your bowl and whisk are completely clean and free of any grease. Even a tiny bit of fat can prevent those glorious peaks from forming!
If you’re feeling adventurous, try swirling a few tablespoons of chocolate chips or a ribbon of melted chocolate into the peanut butter filling before adding the meringue. A sprinkle of sea salt on top of the meringue before baking also creates a wonderful sweet-and-salty contrast.
For substitutions, creamy almond butter or sunflower seed butter work beautifully for a nut-free version. And if you’re short on time, a store-bought graham cracker crust is a perfectly acceptable shortcut—we won’t tell!
What to Serve With Your Fluffernutter Pie
This pie is a star all on its own, but a little accompaniment never hurts. A dollop of freshly whipped cream or a scoop of vanilla bean ice cream melts wonderfully into the warm meringue. For a truly decadent experience, drizzle individual slices with a warm chocolate sauce. A cold glass of milk is, of course, the classic and non-negotiable beverage pairing.
Storage & Reheating Tips
Because of the meringue topping, this pie is best enjoyed the day it’s made. However, you can store any leftovers (lucky you!) loosely covered in the refrigerator for up to 2 days. The meringue may weep a little, but it will still taste delicious.
To recapture a bit of that fresh-from-the-oven magic, let a slice sit on the counter for 20-30 minutes to take the chill off. For a warm experience, place a slice on an oven-safe plate and warm it in a 300°F (150°C) oven for about 10 minutes, just until the meringue is slightly toasted again.
Your Fluffernutter Pie Questions, Answered
Can I make this pie ahead of time?
You can prepare the crust and the peanut butter filling a day in advance. Keep them separate, cover tightly, and store the crust at room temperature and the filling in the fridge. Whip and bake the meringue topping on the day you plan to serve it for the best texture.
My meringue is weeping! What happened?
Weeping (those little droplets of syrup on the surface) can happen if the meringue is undercooked or if the pie is stored in a very humid environment. Making sure to bake the meringue until it’s beautifully golden helps seal it, and always cool the pie away from any drafts.
Is there a way to make this without torching the meringue?
Absolutely! If you don’t have a kitchen torch, simply pop the assembled pie under your oven’s broiler for just 60-90 seconds. Watch it like a hawk—it can go from golden to burnt in a flash!
Can I use marshmallow fluff instead of making meringue?
While you could technically spread marshmallow fluff on top, the baked meringue provides a lighter, less sweet, and more elegant texture and flavor that perfectly balances the rich peanut butter. I highly recommend giving the meringue a try!
There’s something so wonderfully comforting about a pie that tastes like a cherished childhood memory. This Fluffernutter Pie is more than just a dessert; it’s a warm, gooey, sweet-and-salty hug on a plate. It’s the perfect centerpiece for a family gathering, a surefire hit at a potluck, or a special treat to make a simple Tuesday feel extraordinary. I hope it finds its way into your kitchen and becomes a new favorite in your recipe box. Happy baking!
PrintFluffernutter Pie
A creamy, no-bake pie that combines the classic flavors of peanut butter and marshmallow fluff in a graham cracker crust.
- Author: Trusted Blog
Ingredients
For the Crust:
- 1 (9-inch) graham cracker crust
- 1 cup creamy peanut butter
- 1 (7 oz) jar marshmallow fluff
- 1 (8 oz) package cream cheese, softened
- 1 cup powdered sugar
- 1 cup heavy whipping cream
- 1 tsp vanilla extract
- Chopped peanuts for garnish (optional)
Instructions
1. Prepare the Crust:
- In a large bowl, beat the softened cream cheese until smooth.
- Add the peanut butter, marshmallow fluff, and powdered sugar, and mix until well combined.
- In a separate bowl, whip the heavy cream and vanilla until stiff peaks form.
- Gently fold the whipped cream into the peanut butter mixture until no streaks remain.
- Spoon the filling into the graham cracker crust and smooth the top.
- Refrigerate for at least 4 hours or until set. Garnish with chopped peanuts if desired before serving.
Notes
You can customize the seasonings to taste.


