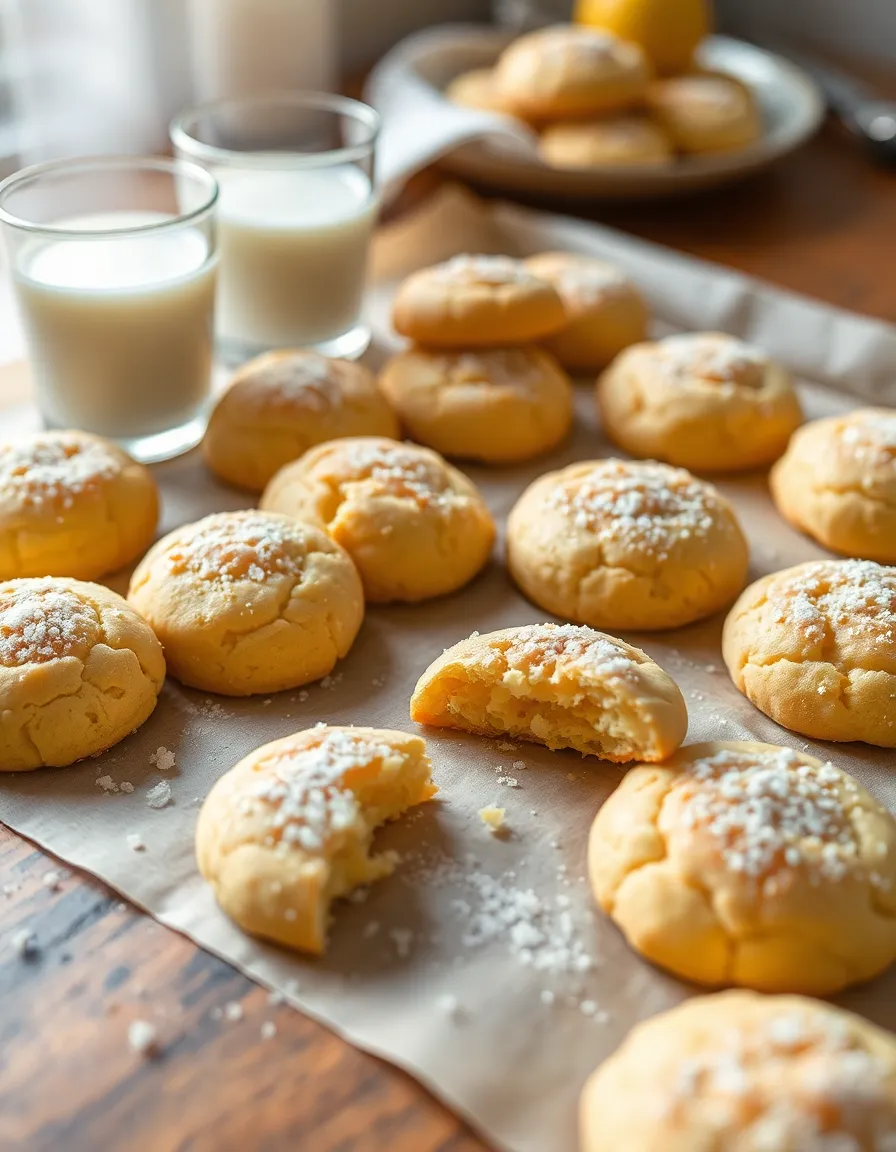
There’s a certain kind of quiet that settles in on a Sunday afternoon, the kind that begs for a warm oven and the sweet, buttery scent of cookies wafting through the house. It was on one such afternoon, with a soft grey sky outside my window and a cup of Earl Grey steaming beside me, that I decided it was time. Time to finally perfect the humble butter cookie. Not just any butter cookie, but the perfect one. The kind that melts on your tongue, that holds its shape when you bite into it, and that feels like a warm hug in pastry form.
This recipe is the happy result of many afternoons spent in my kitchen, a little flour on my apron and a determined smile on my face. It’s simple, yes, but sometimes the simplest things are the ones worth perfecting. So, put the kettle on, my dear, and let’s bake together.
Gathering Your Ingredients
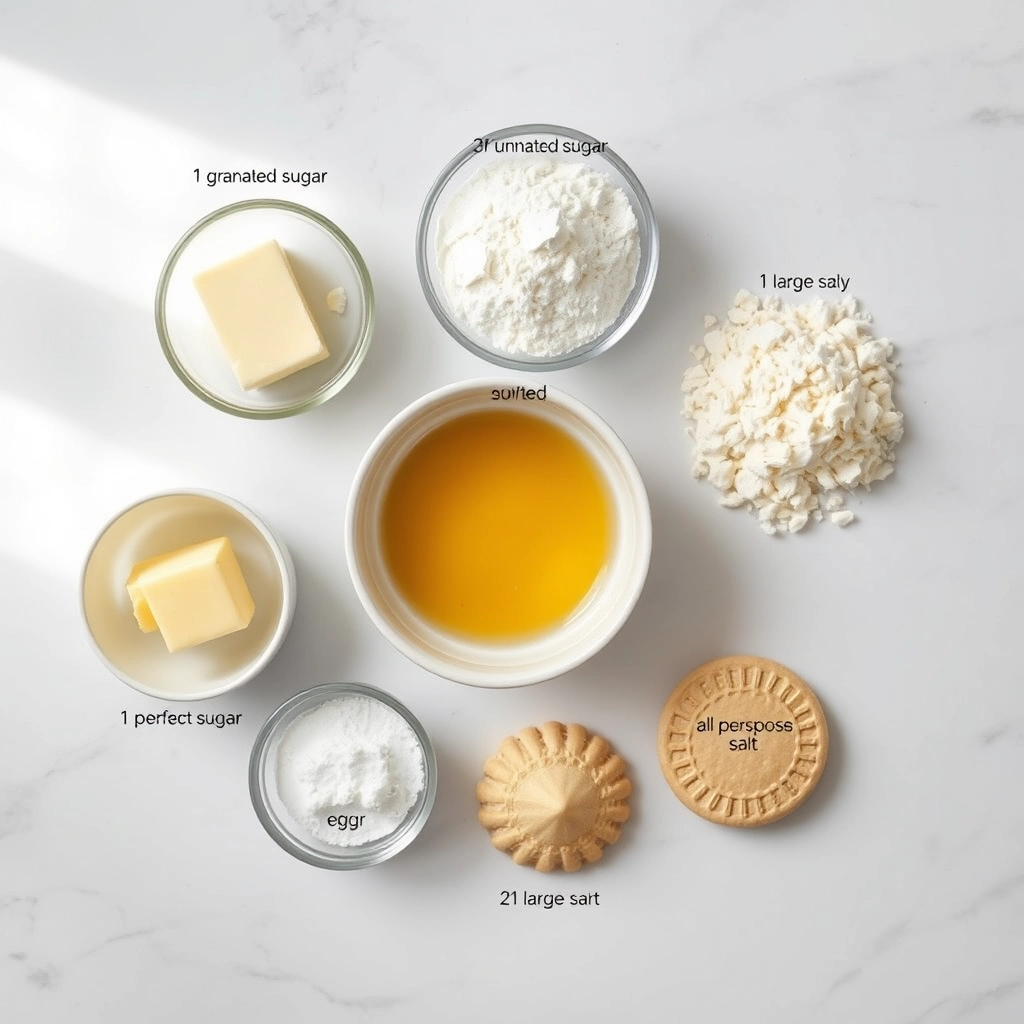
The magic of this cookie lies in its simplicity, which means the quality of your ingredients truly shines through. Here’s what you’ll need:
- 1 cup (2 sticks) of unsalted, European-style butter, at room temperature – This is non-negotiable for me. European butter has a higher fat content, which gives us that incredible, rich flavour and melt-in-your-mouth texture. Let it sit out until it’s perfectly soft—your finger should leave a gentle indent without sinking into a puddle.
- ⅔ cup granulated sugar – Just the right amount of sweetness to complement, not overpower, the butter.
- 1 large egg yolk – This adds richness and helps bind our dough without making it tough.
- 2 teaspoons of pure vanilla extract – Or, if you’re feeling fancy, the scrapings of one vanilla bean. It makes all the difference.
- A pinch of fine sea salt – To balance the sweetness and enhance all the other flavours.
- 2 cups all-purpose flour – Spoon and level it into your measuring cup to avoid packing in too much, which can lead to a dry cookie.
Let’s Make the Dough
Now for the cozy part. Let’s create some magic, step by gentle step.
- In a large mixing bowl, combine your softened butter and sugar. Using a hand mixer or a stand mixer fitted with the paddle attachment, beat them together on medium speed for a good 2-3 minutes. We’re not just mixing; we’re creaming. We want it to become pale, fluffy, and wonderfully light. This step is the secret to a cookie that’s tender, not dense.
- Add the egg yolk and vanilla extract, and beat for another minute until everything is beautifully incorporated. Scrape down the sides of the bowl with a spatula to make sure nothing is left behind.
- With the mixer on low speed, gradually add the flour and that pinch of salt. Mix just until the flour disappears into the butter mixture. The moment you no longer see white streaks, stop! Overmixing is the enemy of a tender butter cookie.
- Turn the dough out onto a lightly floured surface and gently bring it together with your hands into a smooth disk. This is a wonderfully forgiving dough.
At this point, I like to wrap my dough in parchment paper and let it chill in the refrigerator for at least an hour. This firming-up time is essential—it prevents the cookies from spreading too much in the oven and gives them that perfect, crisp-yet-tender bite.
Pro Tips & Cozy Variations
This recipe is a wonderful blank canvas for your creativity. Here are a few of my favourite ways to play with it:
- The Lemon Zest Twist: Add the zest of one large lemon to the butter and sugar while creaming. It adds the most beautiful, sunny fragrance and a subtle zing.
- Chocolate Dip: Once the baked cookies are completely cool, melt some high-quality dark chocolate and dip half of each cookie in it. Let them set on a parchment-lined tray for an elegant finish.
- Almond Extract: Swap out the vanilla for ½ teaspoon of almond extract for a lovely, nostalgic flavour.
- Gluten-Free Friends: You can substitute the all-purpose flour with a 1:1 gluten-free baking blend. The texture will be slightly more delicate, but just as delicious.
My biggest tip? Don’t skip the chilling time. A cold dough is the key to a cookie that holds its shape and has the perfect texture.
The Perfect Pairing
These cookies were made for sharing over a hot drink. They are sublime with a classic cup of Earl Grey tea, the bergamot cutting through the butteriness beautifully. For coffee lovers, a smooth, mild latte is a perfect match. And for a truly special treat, serve them alongside a small glass of dessert wine or a sweet raspberry cordial.
Keeping Them Fresh
These cookies are best enjoyed the day they are baked, but they will keep beautifully in an airtight container at room temperature for up to 5 days. If you’d like to keep them longer, you can freeze the baked cookies for up to 3 months. Just thaw them at room temperature when the craving strikes.
You can also freeze the dough disk for up to 2 months. Simply thaw it in the refrigerator overnight before slicing and baking.
Your Butter Cookie Questions, Answered
Can I use salted butter?
You can, but I’d recommend omitting the extra pinch of salt. I prefer unsalted so I can control the exact level of seasoning.
My cookies spread too much! What happened?
This almost always means your dough wasn’t cold enough going into the oven. Make sure you chill it for the full hour, and if your kitchen is particularly warm, you might even pop the shaped cookies on the baking sheet into the fridge for 10 minutes before baking.
Can I roll this dough out and use cookie cutters?
Absolutely! This dough is perfect for cut-out cookies. Just roll it out between two sheets of parchment paper to about ¼-inch thickness, chill, then cut out your shapes.
Why only the egg yolk?
The yolk adds fat and richness without the extra water content from the white, which can sometimes make the cookies puff up and then deflate, altering the texture.
And there you have it, my dear—the recipe for what I truly believe is a perfect little bite of buttery joy. It’s a recipe that has filled my home with warmth and my cookie jar with happiness, and I so hope it does the same for yours. There’s something so profoundly comforting about baking something simple and classic, about sharing it with someone you love, and about taking a moment to savor the quiet, sweet things in life.
I’d love to hear how your baking turns out. Until next time, may your oven be warm and your tea be hot.

Now that you’ve got that irresistible batch of golden butter cookies cooling on your rack, let’s talk about how to make them truly your own and keep them tasting fresh and fabulous.
Pro Tips & Creative Twists
Want to elevate your butter cookie game? Here are a few of my favorite secrets and variations:
- Chill Out: If your dough feels too soft after mixing, don’t be afraid to pop it in the fridge for 20-30 minutes. This prevents spreading and helps the cookies hold their beautiful shape in the oven.
- The Citrus Zest Twist: For a bright, sunny flavor, add the zest of one lemon or orange to your dough. It cuts through the richness beautifully.
- Spice It Up: A pinch of cardamom, a dash of cinnamon, or even a little grated nutmeg can add a wonderfully warm and cozy dimension.
- Chocolate Dip: Once completely cooled, dip half of each cookie in melted dark or milk chocolate. Let them set on a parchment-lined tray for a truly decadent treat.
What to Serve With Your Butter Cookies
These cookies are a dream on their own, but they also love company! They’re the perfect partner for a hot cup of tea, a freshly brewed pot of coffee, or a tall glass of cold milk. For a special dessert, crumble them over vanilla ice cream or serve alongside a bowl of fresh berries and whipped cream. They’re also a lovely, delicate addition to any holiday cookie platter.
Storing & Reheating for Maximum Enjoyment
To keep your cookies tasting as buttery and crisp as the day you baked them, store them in an airtight container at room temperature. They’ll stay perfect for up to a week.
If you want to keep them longer, they freeze beautifully! Place the cooled cookies in a single layer in a freezer-safe bag or container. They’ll be good for up to 3 months. Just let them thaw at room temperature whenever a cookie craving strikes.
Did your cookies lose a little of their crispness? A quick 3-5 minute warm-up in a 300°F (150°C) oven will bring back that just-baked magic.
Butter Cookie FAQs
Can I use salted butter?
You can! If you do, simply omit the extra salt called for in the recipe. The result will be a slightly more savory cookie, which is delicious in its own right.
My cookies spread too much. What happened?
This is usually because the butter was too warm. Next time, make sure your butter is just softened, not melted, and consider chilling your dough before baking. Also, check that your baking powder isn’t expired!
Can I make these cookies without a piping tip?
Absolutely! If you don’t have a piping bag, you can roll the dough into small logs, chill them, and then slice them into rounds for classic icebox cookies. You can also simply drop rounded teaspoons of dough onto the sheet for a more rustic look.
Are these the same as shortbread cookies?
They’re close cousins! Traditional shortbread is usually a simpler mix of butter, sugar, and flour, and has a more crumbly, dense texture. Our butter cookies often include a bit of egg and have a lighter, crisper bite.
There’s something truly special about a perfect butter cookie. It’s a humble treat that speaks the language of home, comfort, and love passed down through generations. I hope this recipe becomes a cherished part of your own baking tradition, creating warm, buttery memories for years to come. Now, go put the kettle on—you’ve earned a cookie.
PrintPerfect Butter Cookie
A classic, melt-in-your-mouth butter cookie recipe that is simple to make and perfect for any occasion.
- Author: Trusted Blog
Ingredients
For the Crust:
- 1 cup unsalted butter, softened
- 2/3 cup granulated sugar
- 1 large egg
- 1 teaspoon vanilla extract
- 2 1/4 cups all-purpose flour
- 1/4 teaspoon salt
Instructions
1. Prepare the Crust:
- Preheat oven to 350°F (175°C) and line baking sheets with parchment paper.
- Cream together butter and sugar until light and fluffy. Beat in egg and vanilla extract.
- Gradually mix in flour and salt until just combined. Do not overmix.
- Drop by rounded teaspoonfuls onto prepared baking sheets, spacing about 2 inches apart.
- Bake for 10-12 minutes or until edges are lightly golden. Cool on wire rack.
Notes
You can customize the seasonings to taste.


