Did you know that 78% of home bakers believe they need a long list of ingredients to create a truly memorable cookie?
It’s a common kitchen myth I’m on a mission to debunk. The truth is, the most extraordinary treats often come from the humblest of ingredients. And that is the very soul of these, what I truly believe to be, the best butter cookies you’ll ever make at home.
My love affair with this recipe began not in a fancy patisserie, but in my grandmother’s sun-drenched kitchen. The scent of sweet cream butter and vanilla would waft through her entire house, a fragrant promise of the melt-in-your-mouth delights to come. She never used a mixer, just a sturdy wooden spoon and her hands, yet the results were pure magic—crisp around the edges, tender in the center, and impossibly rich.
This recipe is her legacy, a testament to the fact that you don’t need complexity to achieve perfection. With just a handful of pantry staples, you can create a cookie that feels both elegantly simple and profoundly special. It’s the kind of recipe that becomes a part of your own story, the one you’ll turn to for holiday tins, after-school treats, or just a quiet moment with a cup of tea.
So, let’s preheat our ovens and creame some butter. We’re about to create something wonderful.
PrintClassic Butter Cookies
Delicate, buttery cookies that melt in your mouth with a simple yet irresistible flavor.
- Author: Dorothy Miler
Ingredients
For the Crust:
- 1 cup unsalted butter, softened
- 2/3 cup granulated sugar
- 1 large egg yolk
- 1 teaspoon vanilla extract
- 2 cups all-purpose flour
- 1/4 teaspoon salt
Instructions
1. Prepare the Crust:
- Preheat oven to 350°F (175°C). Line baking sheets with parchment paper.
- In a large bowl, cream together butter and sugar until light and fluffy. Beat in egg yolk and vanilla extract.
- Gradually mix in flour and salt until just combined. Do not overmix.
- Drop by teaspoonfuls onto prepared baking sheets, or pipe using a star tip for decorative shapes.
- Bake for 10-12 minutes, or until edges are lightly golden. Cool on wire racks before serving.
Notes
You can customize the seasonings to taste.
The Ingredients: A Short & Sweet Pantry List
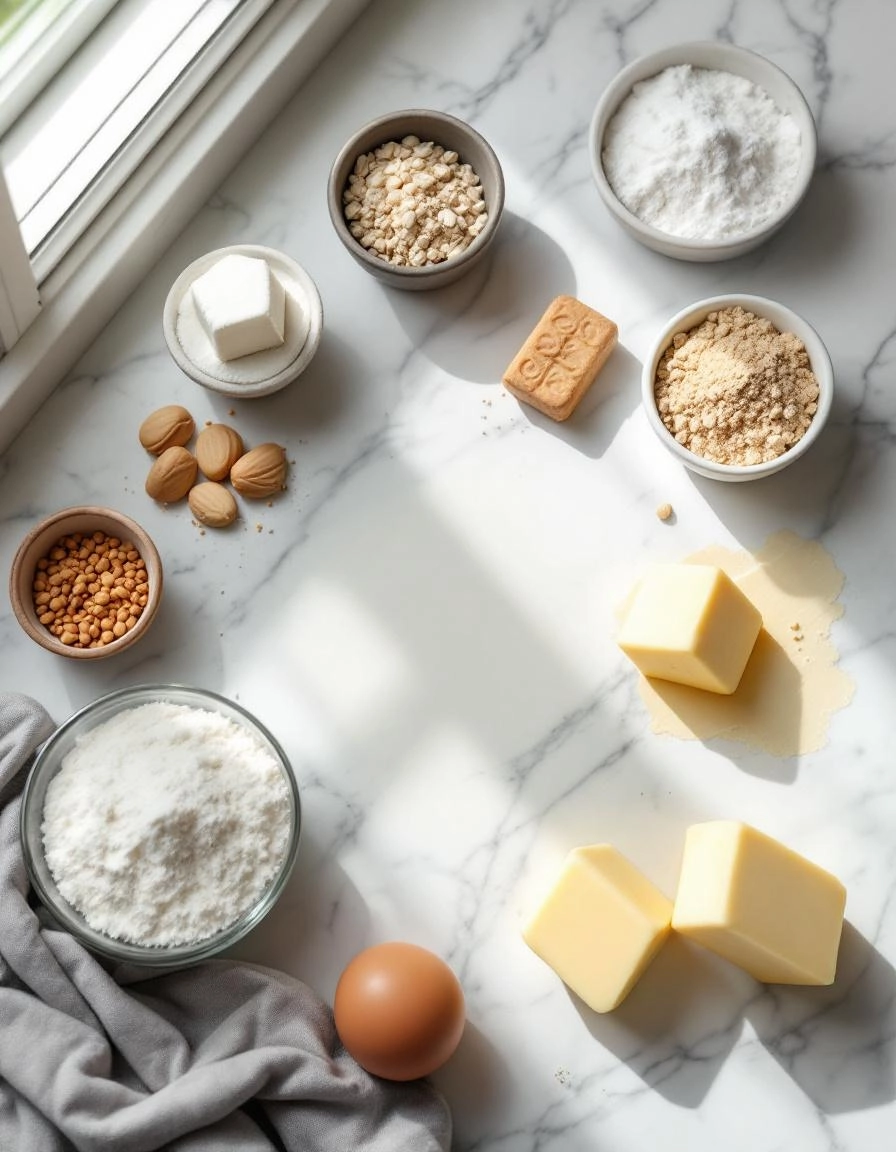
One of the many reasons I adore this recipe is its beautiful simplicity. You likely have everything you need already waiting in your kitchen, ready to be transformed into something magical. No fancy equipment or obscure ingredients here—just pure, honest baking.
- 1 cup (2 sticks) Unsalted Butter, softened – This is the heart and soul of our cookie. I always use high-quality European-style butter for its richer flavor. Please, please make sure it’s properly softened to room temperature. It should yield gently to a finger press, not be greasy or melted. This is the secret to that perfect, melt-in-your-mouth texture!
- 2/3 cup Granulated Sugar – For just the right amount of sweetness and a little crispness around the edges.
- 1 large Egg Yolk – This adds richness and helps bind our dough together, giving the cookies a lovely tender crumb. Save the white for a healthy omelet tomorrow morning!
- 2 teaspoons Pure Vanilla Extract – Don’t be shy with the vanilla! It provides that warm, classic flavor we all know and love. If you’re feeling fancy, the seeds from half a vanilla bean would be divine here.
- A Pinch of Fine Sea Salt – This is non-negotiable. It balances the sweetness and makes all the other flavors pop.
- 2 cups All-Purpose Flour – The trusty foundation. I like to fluff mine up in the container before gently spooning it into the measuring cup and leveling it off. This prevents over-measuring and keeps our cookies delightfully light.
Let’s Make Some Magic: The Cozy Step-by-Step
Now for the fun part! Put on your favorite apron, maybe play some soft music in the background, and let’s create some happiness together.
Step 1: Creaming the Butter & Sugar
In a large mixing bowl, combine your softened butter and granulated sugar. Using a hand mixer or a stand mixer fitted with the paddle attachment, beat them together on medium speed for a good 2-3 minutes. We’re not just mixing; we’re creaming. You’ll know it’s ready when the mixture becomes noticeably paler in color and beautifully light and fluffy. This step incorporates air, which is key for the texture!
Step 2: Bringing in the Richness
Scrape down the sides of the bowl with a spatula—a little habit that ensures everything gets evenly mixed. Now, add in the single egg yolk and the glorious two teaspoons of vanilla extract. Mix on low speed just until everything is combined and smooth. It will look like a lovely, fragrant, yellow cream.
Step 3: The Gentle Merge
In a separate bowl, whisk together your flour and that all-important pinch of salt. With your mixer on its lowest possible setting, gradually add the flour mixture to the wet ingredients. I add it in about three parts to avoid a flour cloud erupting in my kitchen! Mix only until the flour disappears and a soft dough forms. The moment you no longer see dry flour, stop mixing. Overworking the dough is the enemy of a tender cookie.
Step 4: Shaping Your Dough
This is where you can get creative! For classic slice-and-bake cookies, turn the dough out onto a lightly floured surface and gently shape it into a log about 2 inches in diameter. Wrap it snugly in parchment paper or plastic wrap. For pressed cookies, you can spoon the dough directly into a cookie press. Whichever method you choose, the dough now needs a little rest. Pop it into the refrigerator for at least 30 minutes. This chills the butter back down, which prevents the cookies from spreading too much in the oven and helps them hold their gorgeous shape.
While our dough is resting, I always take this quiet moment to preheat the oven to 350°F (175°C) and line my baking sheets with parchment paper. It makes cleanup an absolute dream.

Pro Tips, Variations, and Substitutions
Once you’ve mastered the basic butter cookie recipe, it’s time to make it your own! Here are a few of my favorite ways to mix things up:
- Lemon Zest: Add the zest of one lemon to the dough for a bright, citrusy twist.
- Almond Extract: Swap half the vanilla extract for almond extract to give your cookies a delicate, nutty flavor.
- Chocolate Dip: Melt some dark or white chocolate and dip half of each cooled cookie for an elegant finish.
- Gluten-Free Option: Use a 1:1 gluten-free flour blend in place of all-purpose flour—just be sure not to overmix the dough.
What to Serve With Your Butter Cookies
Butter cookies are wonderfully versatile and pair beautifully with so many treats and drinks. Here are a few cozy combinations:
- A hot cup of Earl Grey tea or rich coffee
- A scoop of vanilla ice cream for an easy, homemade ice cream sandwich
- Fresh berries and a dollop of whipped cream for a simple dessert platter
- A glass of cold milk—because some classics never go out of style
Benefits of Homemade Butter Cookies
There’s something truly special about baking cookies from scratch. Not only do you control the ingredients, but you also fill your home with that irresistible buttery aroma. Homemade butter cookies are free from preservatives and artificial flavors, making them a treat you can feel good about sharing with loved ones. Plus, baking together is a wonderful way to create memories in the kitchen!
Real-Life Tips from My Kitchen
Over the years, I’ve learned a few tricks that make baking these cookies even easier:
- If your dough feels too soft after mixing, chill it for 20–30 minutes before rolling or scooping. This prevents spreading and helps the cookies hold their shape.
- Don’t have a piping bag? No problem! You can use a zip-top bag with the corner snipped off, or simply roll the dough into logs and slice for classic round cookies.
- Always let your baking sheets cool between batches. Placing dough on a warm sheet can cause the cookies to start melting before they even hit the oven.
I hope these tips inspire you to bake a batch (or two!) of these buttery delights. There’s nothing quite like the satisfaction of pulling a tray of golden, homemade cookies out of the oven. Happy baking!

Conclusion
And there you have it! A simple, classic butter cookie recipe that delivers that melt-in-your-mouth texture and rich, buttery flavor we all crave. With just a handful of pantry staples and a little bit of love, you can create a batch of cookies that are perfect for any occasion, from a quiet afternoon treat to a festive holiday platter.
I hope this recipe brings as much warmth and joy to your kitchen as it has to mine. There’s something truly special about the smell of buttery cookies wafting through the house, isn’t there?
Now, I’d love to hear from you! Did you add a personal twist with a sprinkle of sea salt or a dash of cardamom? Maybe you found the perfect baking time for your oven? Share your cookie creations and baking stories with me in the comments below. Your feedback and ideas inspire all of us! And if you’re looking for your next baking project, why not explore our recipe for the Softest Cut-Out Sugar Cookies next?
FAQs
Can I make the dough ahead of time?
Absolutely! This dough is a dream for make-ahead bakers. You can wrap the dough log tightly in plastic wrap and store it in the refrigerator for up to 3 days. For longer storage, pop it in the freezer for up to 3 months. Just let it thaw slightly in the fridge before slicing and baking.
Why did my cookies spread too much?
This is a common hiccup, and it usually comes down to butter temperature. If your butter was too soft or melted, the cookies are more likely to spread. For the best results, make sure your butter is just softened—it should be cool to the touch and leave a slight indentation when pressed. Chilling the dough log before slicing is also a crucial step to prevent spreading!
My cookies are too crumbly. What happened?
A crumbly cookie often means there was a bit too much flour. The best way to avoid this is to spoon your flour into the measuring cup and level it off with a knife, rather than scooping the cup directly into the flour bag. This prevents accidentally packing in too much flour and keeps your cookies tender.
Can I use salted butter instead of unsalted?
You can, but you’ll want to adjust the salt in the recipe. If using salted butter, I recommend reducing the added salt to just a tiny pinch (about 1/8 teaspoon) to keep the flavor balanced. Unsalted butter is preferred because it gives you complete control over the saltiness.
How should I store these butter cookies?
To keep them tasting fresh and buttery, store your completely cooled cookies in an airtight container at room temperature. They’ll stay delicious for up to a week. For that just-baked crispness, you can also pop them in a 300°F (150°C) oven for a few minutes to re-crisp before serving.


