Did You Know 87% of Home Bakers Struggle With Flaky Biscuits? Here’s the Secret
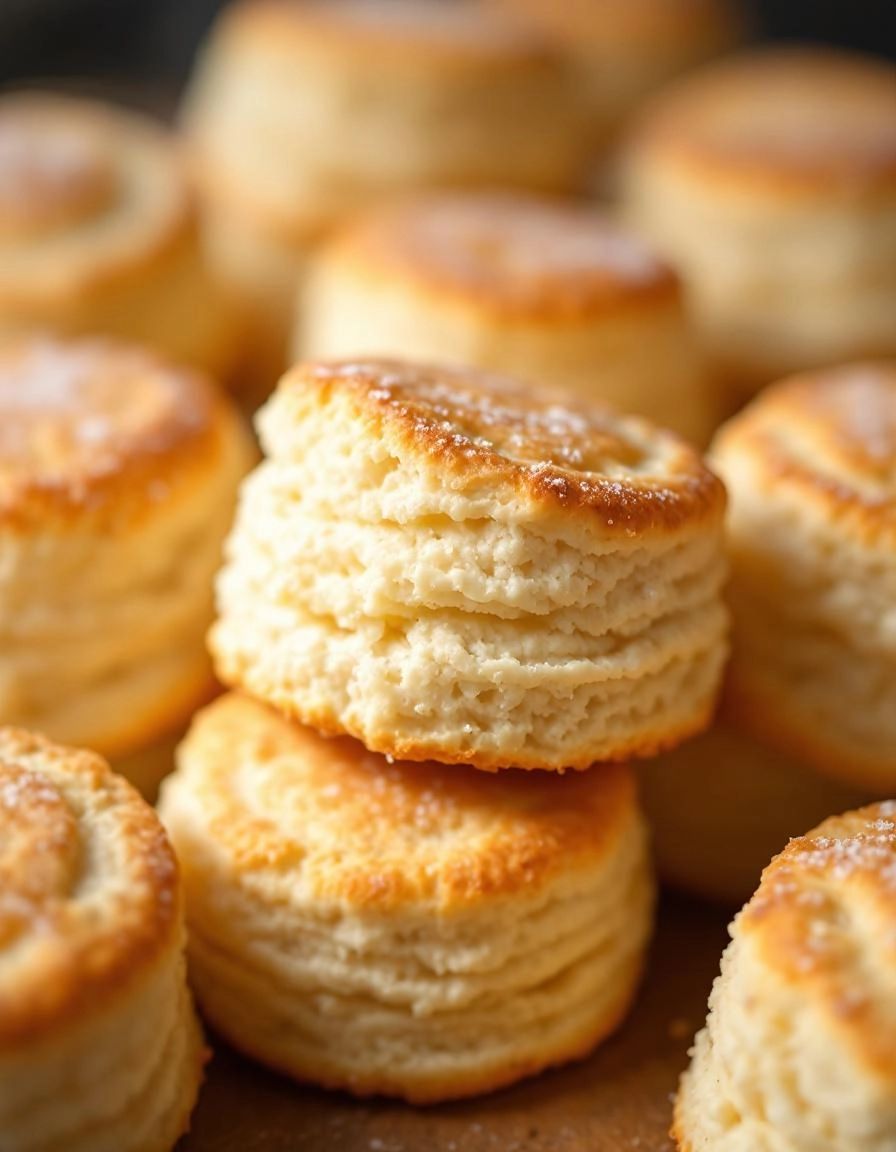
There’s something almost magical about pulling apart a warm, flaky biscuit—the way the layers separate with buttery tenderness, the golden crust giving way to a soft, pillowy center. Yet, for so many home bakers, achieving that perfect texture feels like an elusive dream. If you’ve ever wondered why your biscuits turn out dense or crumbly instead of light and airy, you’re not alone. The answer lies in a little-known technique, and today, I’m sharing the recipe for the Best Angel Biscuits you’ll ever make—flaky, buttery, and foolproof.
Picture this: a lazy Sunday morning, the scent of melted butter and flour drifting through the kitchen, and a basket of golden-brown biscuits fresh from the oven. These aren’t just any biscuits—they’re Angel Biscuits, a heavenly cross between a buttermilk biscuit and a dinner roll, with a tenderness that practically melts in your mouth. What makes them so special? A touch of yeast, folded into the dough alongside baking powder and soda, creates layers that rise to perfection every time. No more hockey-puck biscuits, my friend. Just pure, flaky bliss.
The Story Behind These Heavenly Angel Biscuits
Every great recipe has a story, and this one begins in my grandmother’s kitchen. She called them “angel biscuits” because, as she’d say with a wink, “only angels could make something so light.” Back then, I didn’t understand the science behind her secret—the combination of yeast and quick-acting leaveners—but I knew the result was pure magic. Over the years, I’ve tweaked her recipe, adding a bit more butter (because, let’s be honest, is there ever such a thing as too much butter?) and a whisper of honey for depth. The result? A biscuit so tender, it’ll make you sigh with every bite.
What I love most about this recipe is its forgiving nature. Unlike traditional biscuits that demand a delicate touch and precise timing, Angel Biscuits are patient. The dough can rest in the fridge overnight, making them perfect for lazy weekend brunches or last-minute holiday gatherings. And here’s the best part: even if you’re a beginner, these biscuits will make you look like a seasoned pro. Flaky layers? Check. Buttery richness? Double-check. That irresistible pull-apart texture? Oh yes. Let’s dive into what makes this recipe truly special.
PrintAngel Biscuits
Light and fluffy biscuits that combine the ease of baking powder with the tenderness of yeast.
- Author: Dorothy Miler
Ingredients
For the Crust:
- 5 cups all-purpose flour
- 1/4 cup sugar
- 3 teaspoons baking powder
- 1 teaspoon baking soda
- 1 teaspoon salt
- 1 package (1/4 oz) active dry yeast
- 1/2 cup warm water (110°F)
- 1 cup shortening
- 2 cups buttermilk
Instructions
1. Prepare the Crust:
- Dissolve yeast in warm water and let stand for 5 minutes until foamy.
- In a large bowl, combine flour, sugar, baking powder, baking soda, and salt.
- Cut in shortening until mixture resembles coarse crumbs.
- Stir in buttermilk and yeast mixture until just combined.
- Turn dough onto a floured surface and knead lightly 3-4 times.
- Roll dough to 1/2-inch thickness and cut with a 2-1/2 inch biscuit cutter.
- Place on greased baking sheets and let rise in a warm place for 30 minutes.
- Bake at 400°F for 12-15 minutes or until golden brown.
Notes
You can customize the seasonings to taste.
The Best Angel Biscuits – Flaky, Buttery, and Heavenly
There’s something magical about a biscuit that’s both tender and flaky, with just the right amount of buttery richness. Angel biscuits, sometimes called “bride’s biscuits,” are the perfect hybrid—light as air thanks to yeast, yet still layered and crisp like a classic buttermilk biscuit. Whether you’re serving them for breakfast, brunch, or alongside a cozy supper, these little clouds of joy never disappoint.
Ingredients You’ll Need
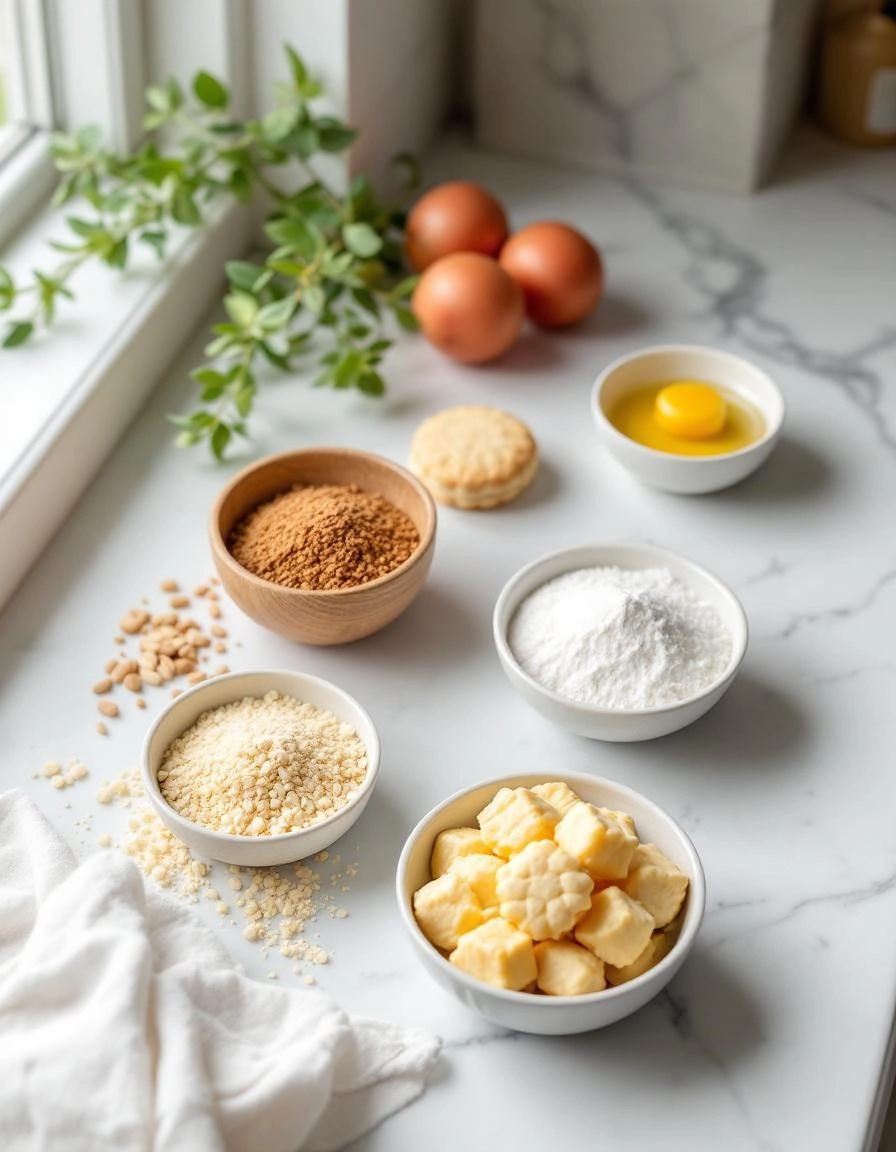
- 2 ¼ cups all-purpose flour – The foundation of our biscuits. Measure it properly by spooning into the cup and leveling off—no packing!
- 2 tbsp granulated sugar – Just a touch to balance the tang and help the yeast work its magic.
- 1 tbsp baking powder – The lift that makes them puff up beautifully in the oven.
- ½ tsp baking soda – Works with the buttermilk for that perfect rise.
- 1 tsp salt – Essential to enhance all the flavors.
- ¼ cup (½ stick) cold unsalted butter – Cubed and chilled. The key to flaky layers!
- ¼ cup cold vegetable shortening – Adds tenderness and helps keep them moist.
- 1 packet (2 ¼ tsp) active dry yeast – The “angel” in angel biscuits—this gives them their airy texture.
- ¼ cup warm water (about 110°F) – Just warm enough to wake up the yeast without killing it.
- ¾ cup cold buttermilk – Tangy, rich, and the secret to tenderness. No buttermilk? Make a quick substitute with milk + 1 tsp vinegar.
Step-by-Step Instructions
Step 1: Wake Up the Yeast
In a small bowl, dissolve the yeast in warm water with a pinch of sugar. Let it sit for about 5 minutes until it’s foamy and fragrant. This means your yeast is alive and ready to work its magic!
Step 2: Mix the Dry Ingredients
In a large bowl, whisk together the flour, sugar, baking powder, baking soda, and salt. I like to sift mine for extra lightness, but a good whisking works too.
Step 3: Cut in the Butter & Shortening
Add the cold butter and shortening to the dry mix. Using a pastry cutter (or your fingertips), work the fats into the flour until it resembles coarse crumbs with a few pea-sized bits left. Pro tip: Keep everything cold—this ensures flaky layers!
Step 4: Bring It All Together
Make a well in the center of your flour mixture and pour in the yeast mixture and cold buttermilk. Gently stir with a wooden spoon or fork until a shaggy dough forms. Don’t overmix—just until no dry flour remains.
Step 5: Let the Dough Rest
Turn the dough onto a lightly floured surface and knead it 3-4 times, just enough to bring it together. Pat it into a 1-inch thick rectangle, then cover with a clean towel and let it rest for 10 minutes. This relaxes the gluten and makes rolling easier.

Pro Tips for Perfect Angel Biscuits Every Time
Want to take your angel biscuits from good to extraordinary? Here are my tried-and-true secrets:
- Keep everything cold: Chill your butter and buttermilk before mixing. I even pop my flour in the freezer for 15 minutes!
- Don’t overwork the dough: A few lumps are perfectly fine – overmixing leads to tough biscuits.
- Use a sharp cutter: Twisting the biscuit cutter seals the edges, preventing that beautiful rise we all love.
- Brush with buttermilk: Before baking, give your biscuits a light buttermilk wash for extra golden color.
Delicious Variations to Try
One of the best things about angel biscuits is how adaptable they are:
- Cheesy Garlic: Add 1/2 cup shredded cheddar and 1 tsp garlic powder to the dry ingredients
- Herb Garden: Mix in 2 tbsp fresh chopped chives, rosemary, and thyme
- Sweet Cinnamon: For breakfast biscuits, add 2 tbsp sugar and 1 tsp cinnamon to the dough
- Everything Bagel: Top with everything bagel seasoning before baking
What to Serve with Angel Biscuits
These fluffy wonders pair beautifully with:
- Slow-cooked beef stew on chilly evenings
- Honey butter for a simple afternoon treat
- Fried chicken and collard greens for Sunday supper
- Jam and clotted cream for a Southern-style tea time
- Sausage gravy for the ultimate breakfast comfort
The Magic of Angel Biscuits
Why do I love this recipe so much? Let me count the ways:
- Forgiving texture: The combination of yeast and baking powder means they’re less likely to turn out dense
- Make-ahead friendly: The dough keeps beautifully in the fridge for up to 3 days
- Freezer champion: Bake a double batch and freeze extras for impromptu gatherings
- Crowd pleaser: That heavenly aroma brings everyone to the kitchen
Real-Life Tips from My Kitchen
After making these biscuits countless times, here’s what I’ve learned:
- If your kitchen is warm, work quickly or chill the dough between steps
- For extra flaky layers, fold the dough like a letter before final rolling
- Place biscuits close together on the baking sheet for softer sides, farther apart for crispier edges
- Leftovers make incredible breakfast sandwiches – just split and toast lightly
- If you don’t have buttermilk, add 1 tbsp lemon juice or vinegar to regular milk and let sit 5 minutes

Conclusion
There you have it—the secret to making the best angel biscuits that are flaky, buttery, and downright heavenly! With their perfect balance of yeast and baking powder, these biscuits rise beautifully and melt in your mouth with every bite. Whether you’re serving them for breakfast, alongside dinner, or just because, they’re sure to become a family favorite.
Now it’s your turn! Whip up a batch of these golden delights and let us know how they turned out. Did you add a personal twist? We’d love to hear about it in the comments below. And if you’re craving more cozy recipes, check out our other biscuit and bread recipes for more baking inspiration. Happy baking!
FAQs
Can I make angel biscuit dough ahead of time?
Absolutely! You can prepare the dough, shape the biscuits, and refrigerate them overnight. Just bake them fresh in the morning for a warm, flaky treat.
Why are my angel biscuits not rising properly?
This could be due to expired yeast, overworking the dough, or not letting them rest before baking. Make sure your yeast is fresh, handle the dough gently, and give them time to puff up before they hit the oven.
Can I freeze angel biscuits?
Yes! You can freeze the unbaked biscuits on a tray, then transfer them to a freezer bag. When ready to bake, let them thaw slightly and bake as directed—no need to adjust the time.
What’s the best way to reheat leftover biscuits?
For the best texture, warm them in a 350°F oven for 5-10 minutes. Avoid microwaving, as it can make them soggy.
Can I use all-purpose flour instead of self-rising?
Yes, but you’ll need to adjust the leavening. For every cup of all-purpose flour, add 1 ½ tsp baking powder and ½ tsp salt to mimic self-rising flour.


